
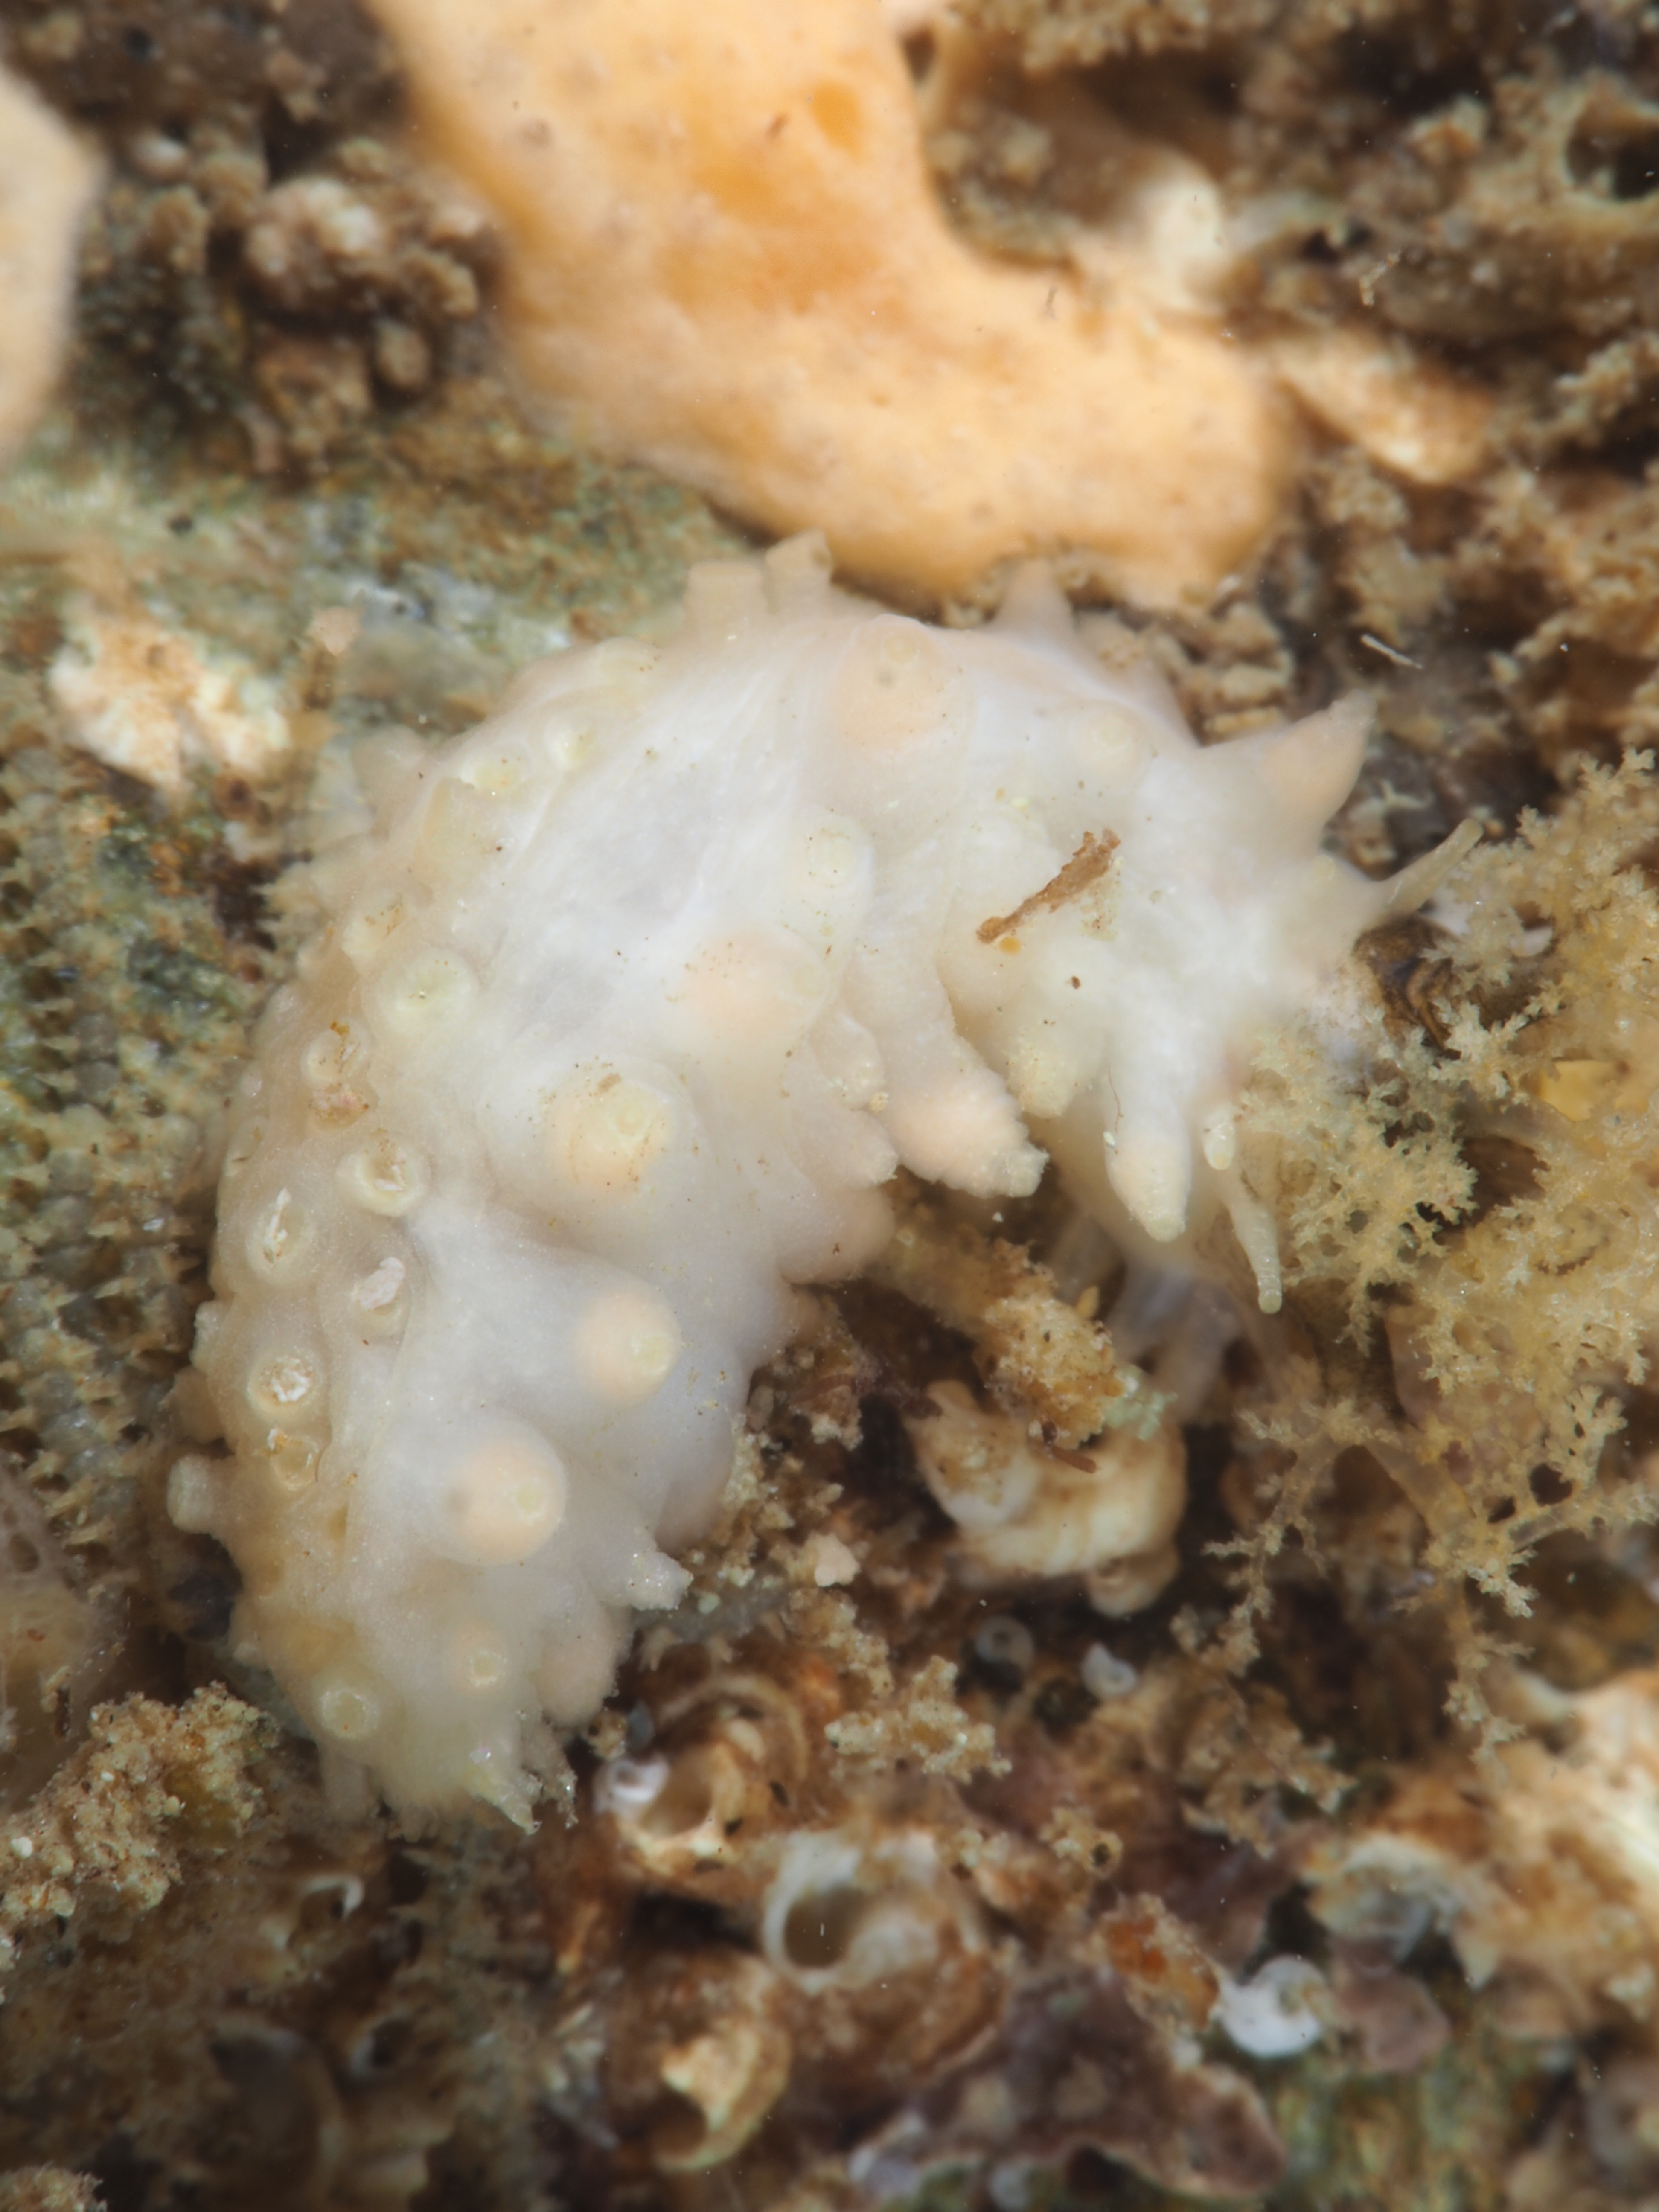


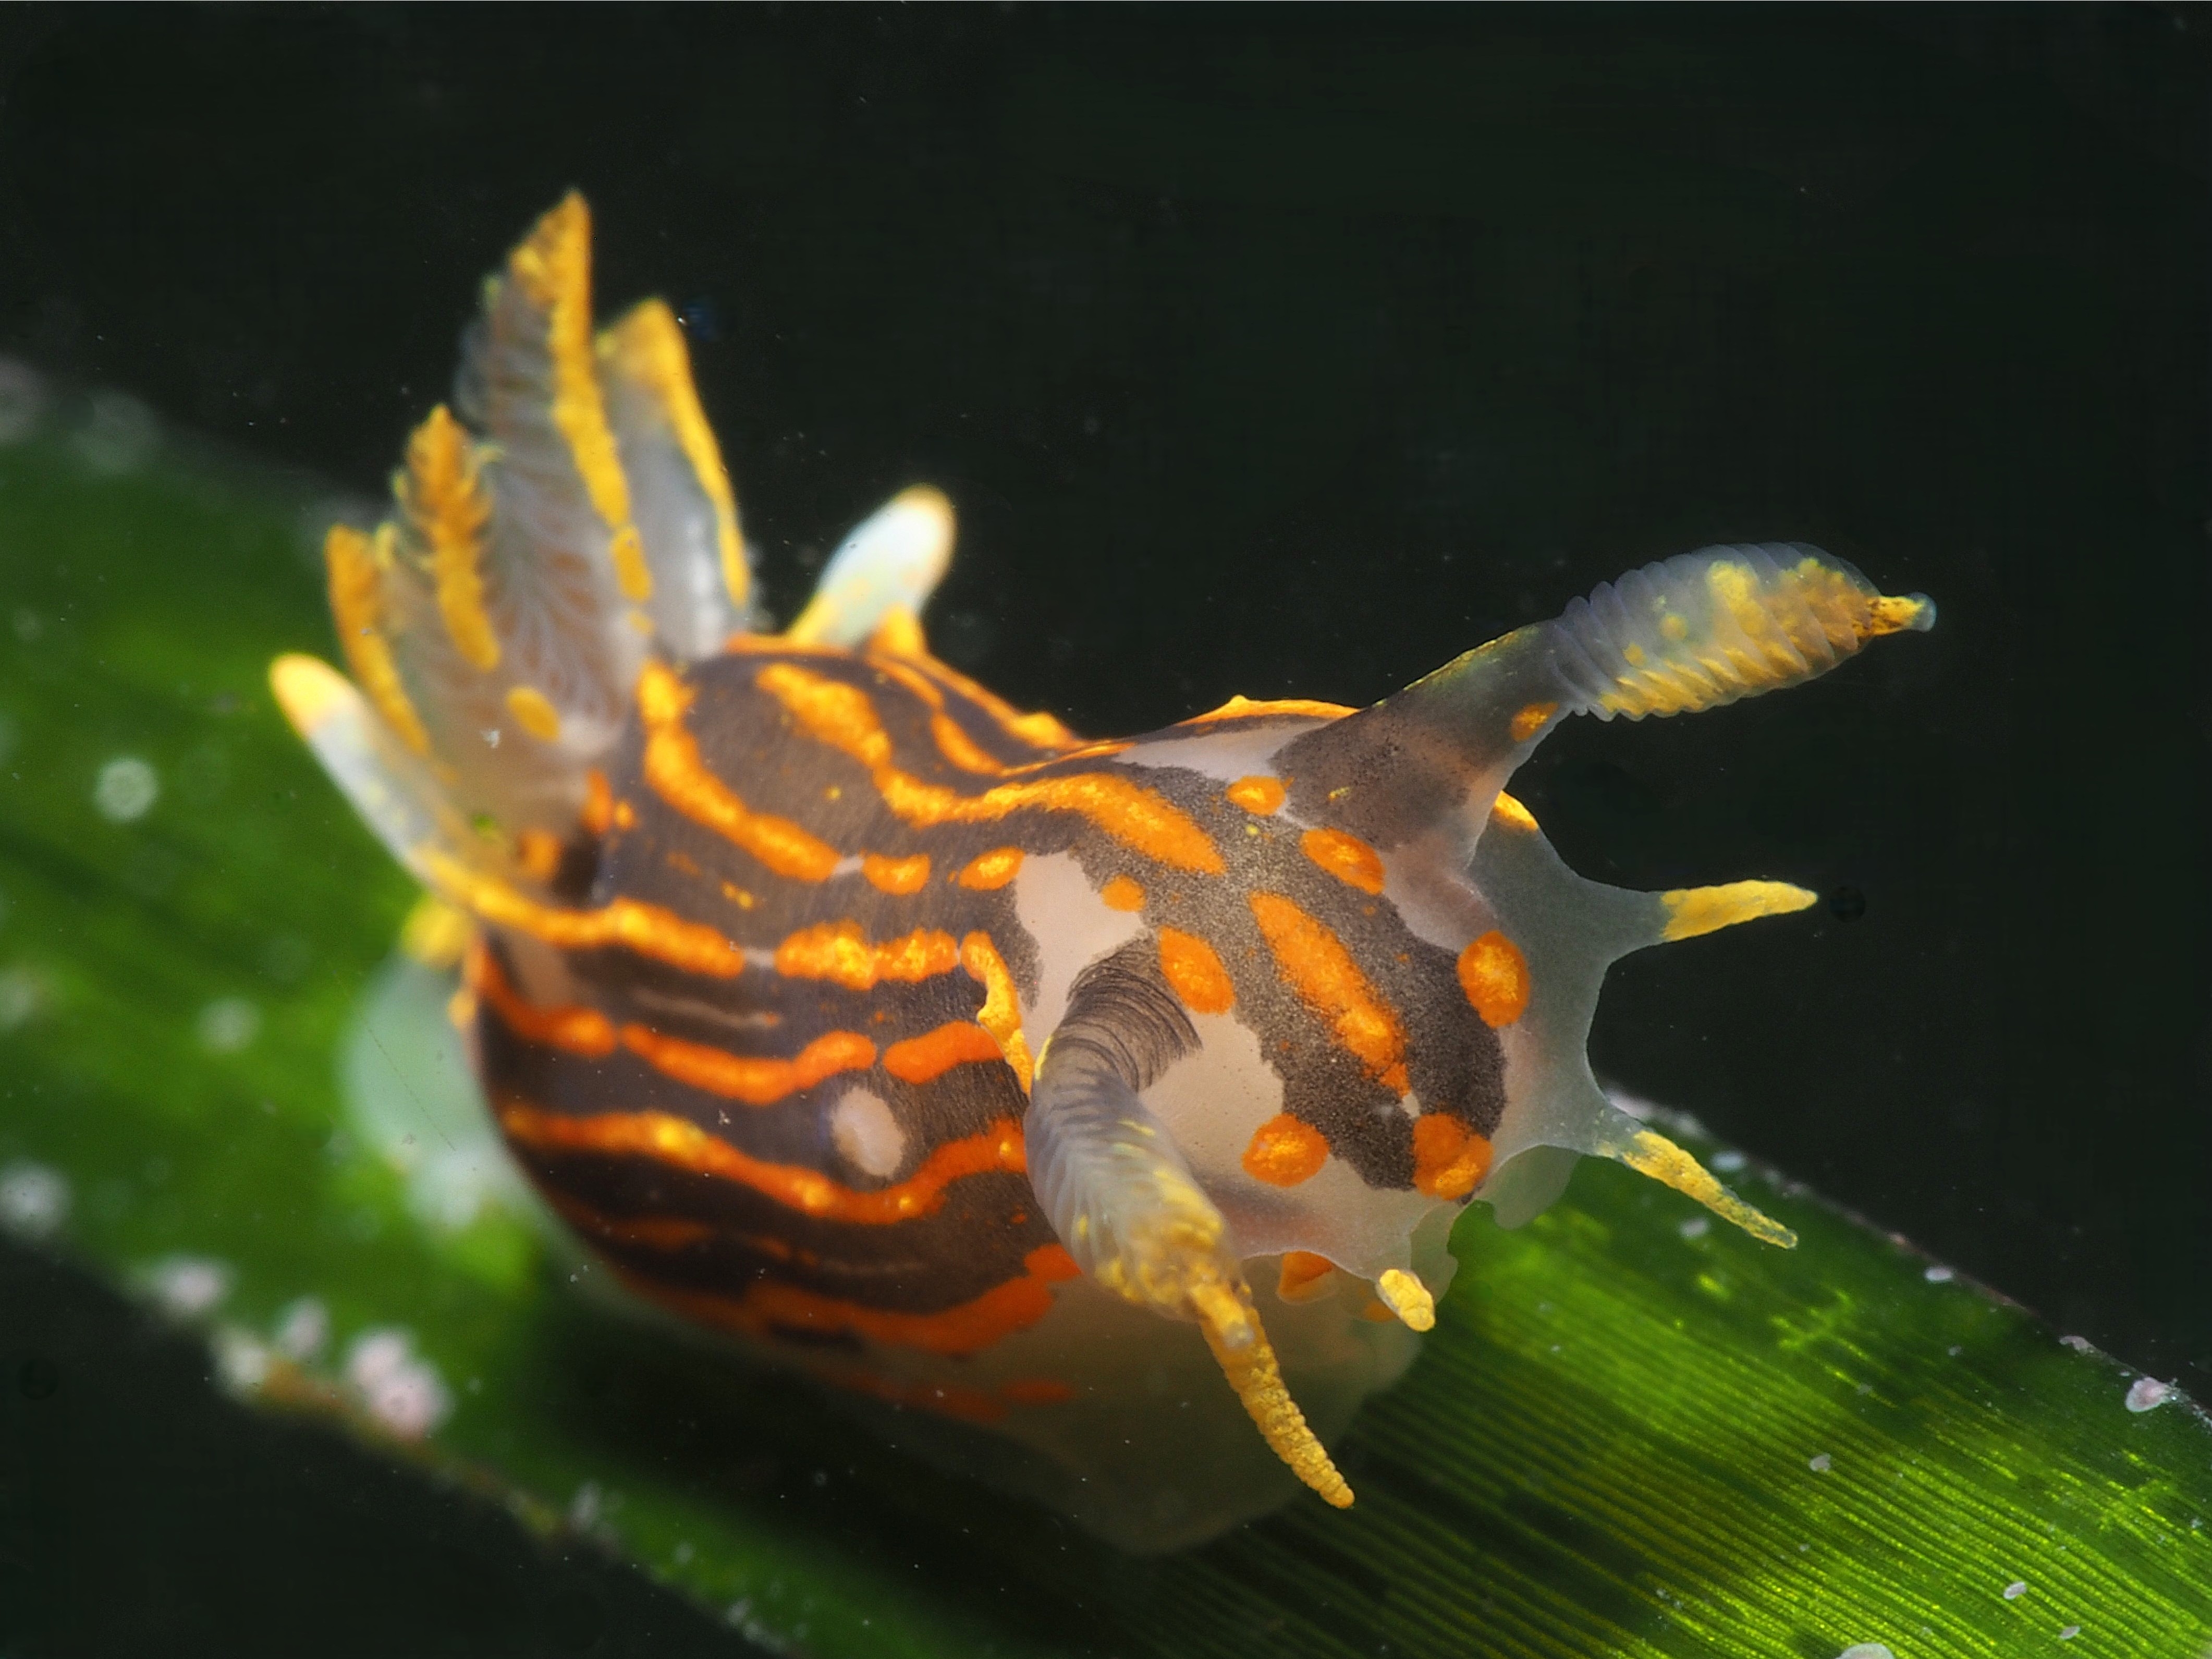
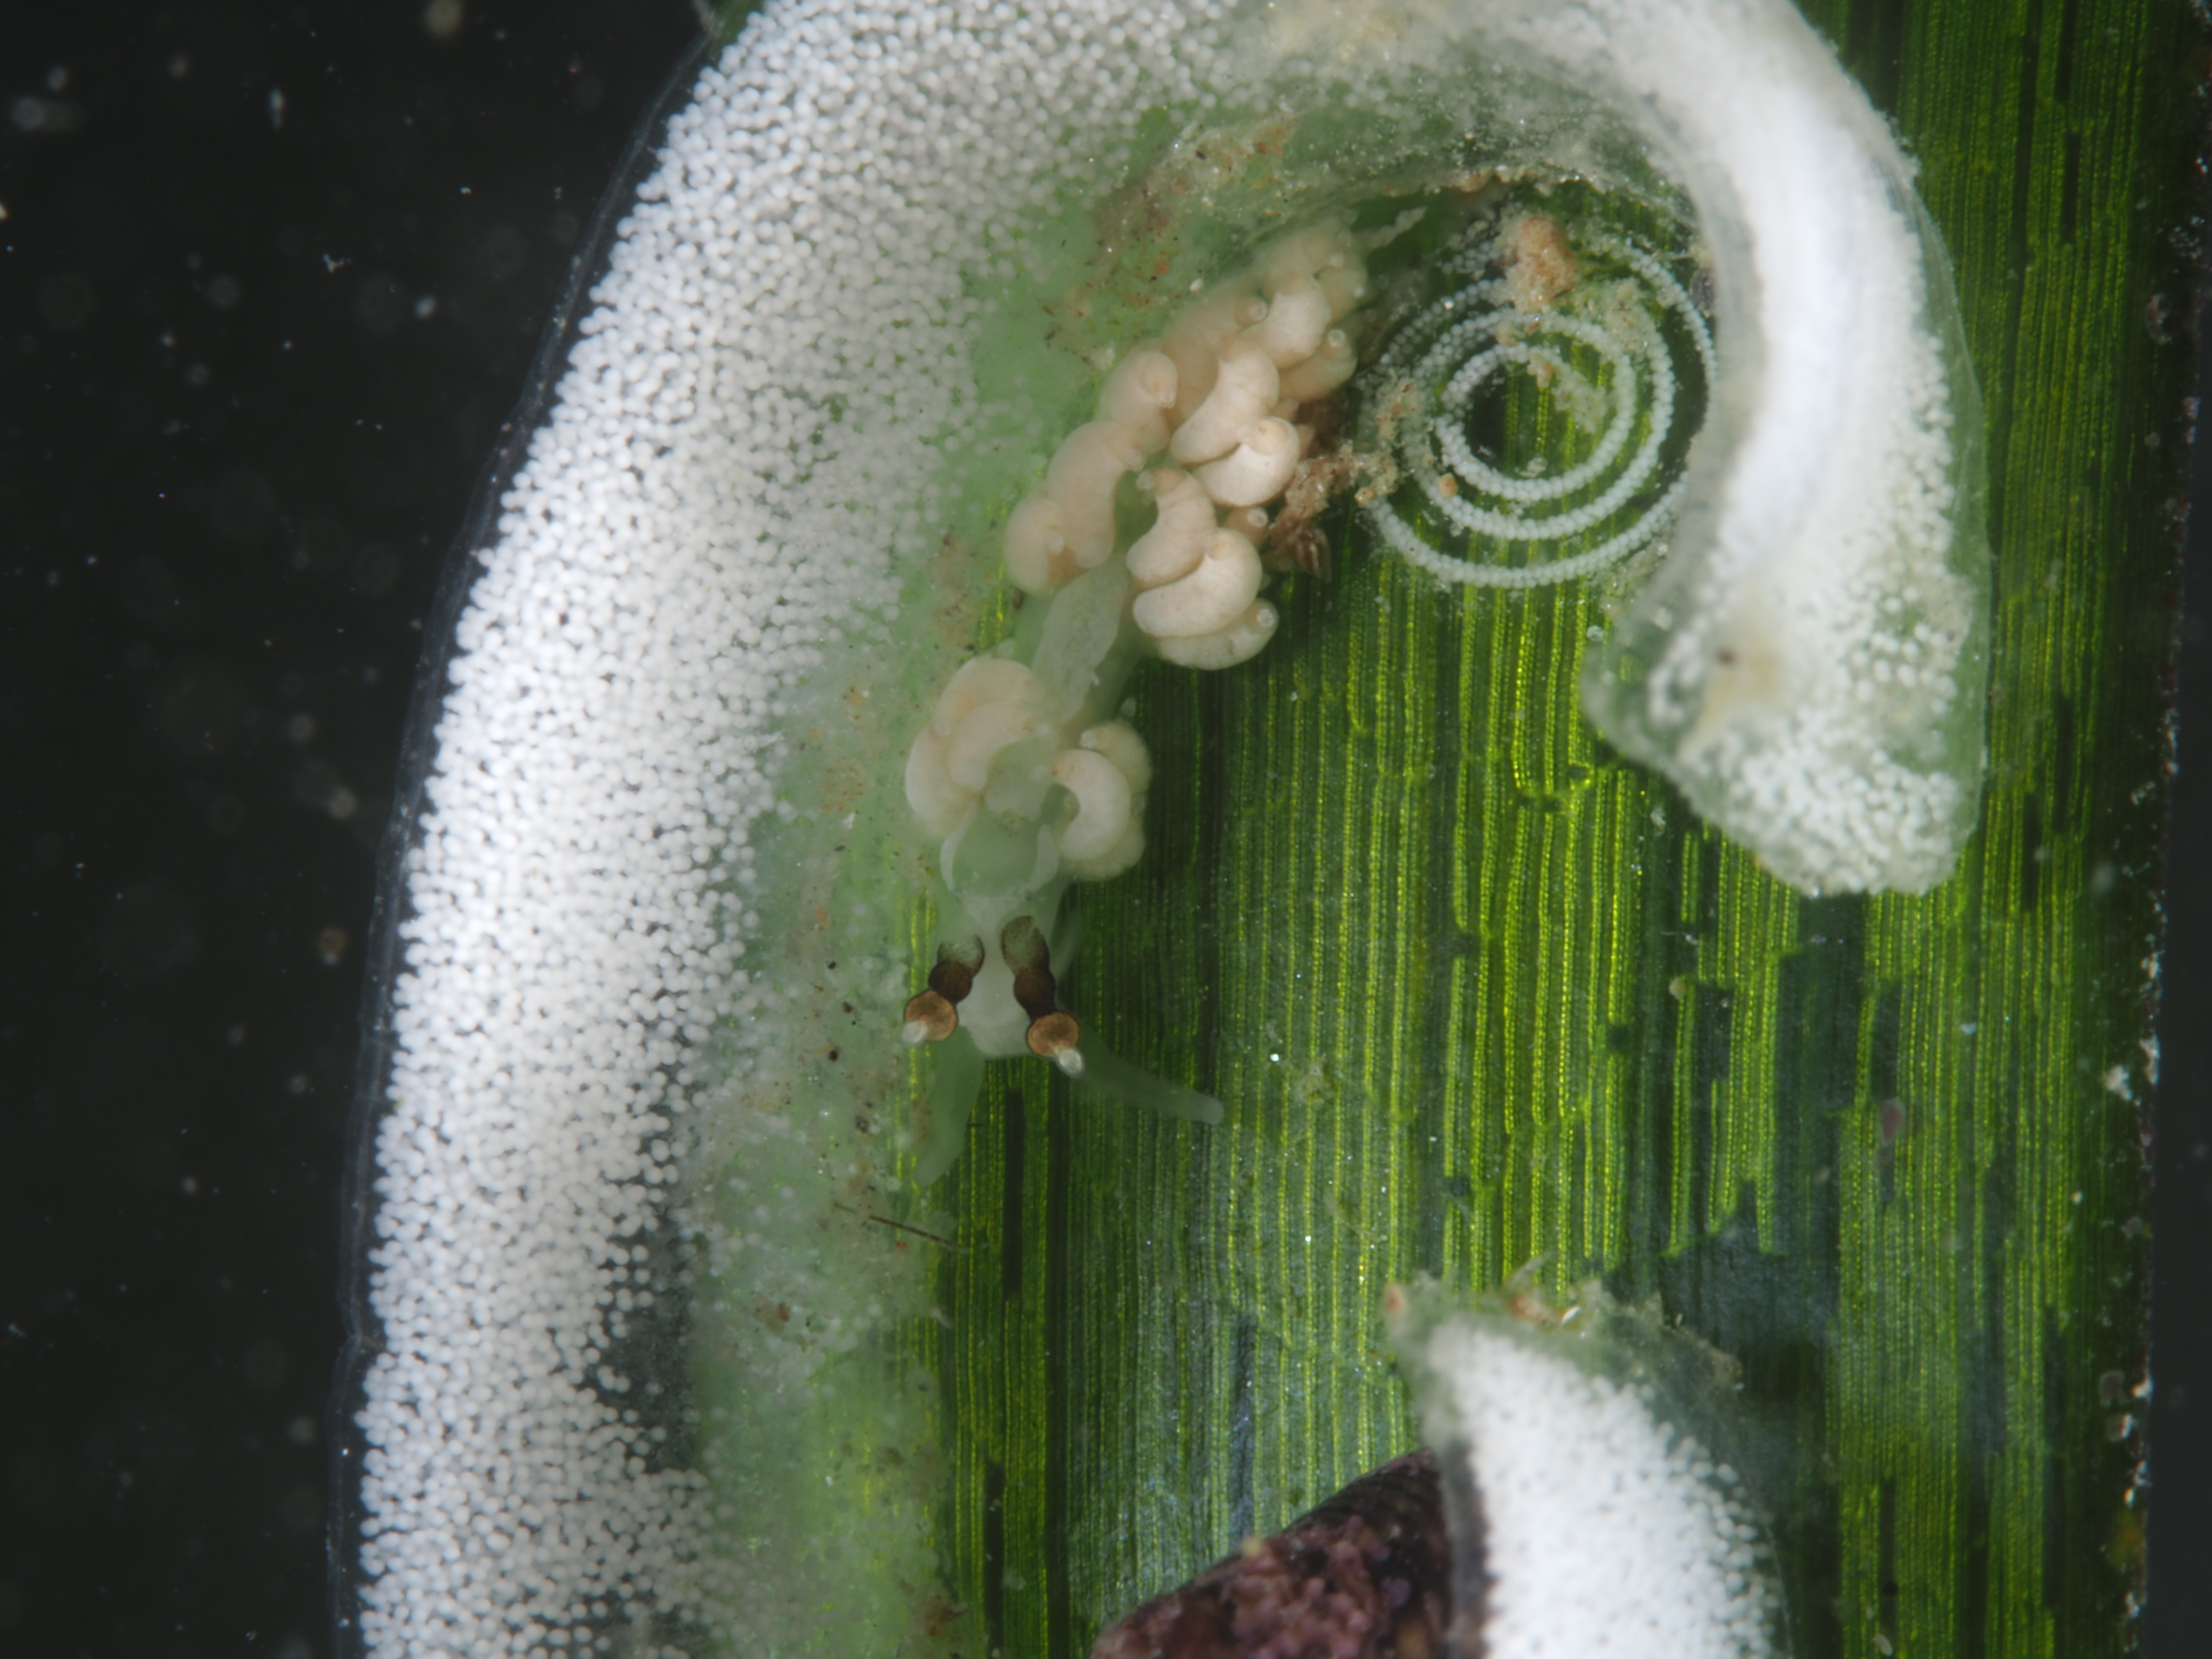
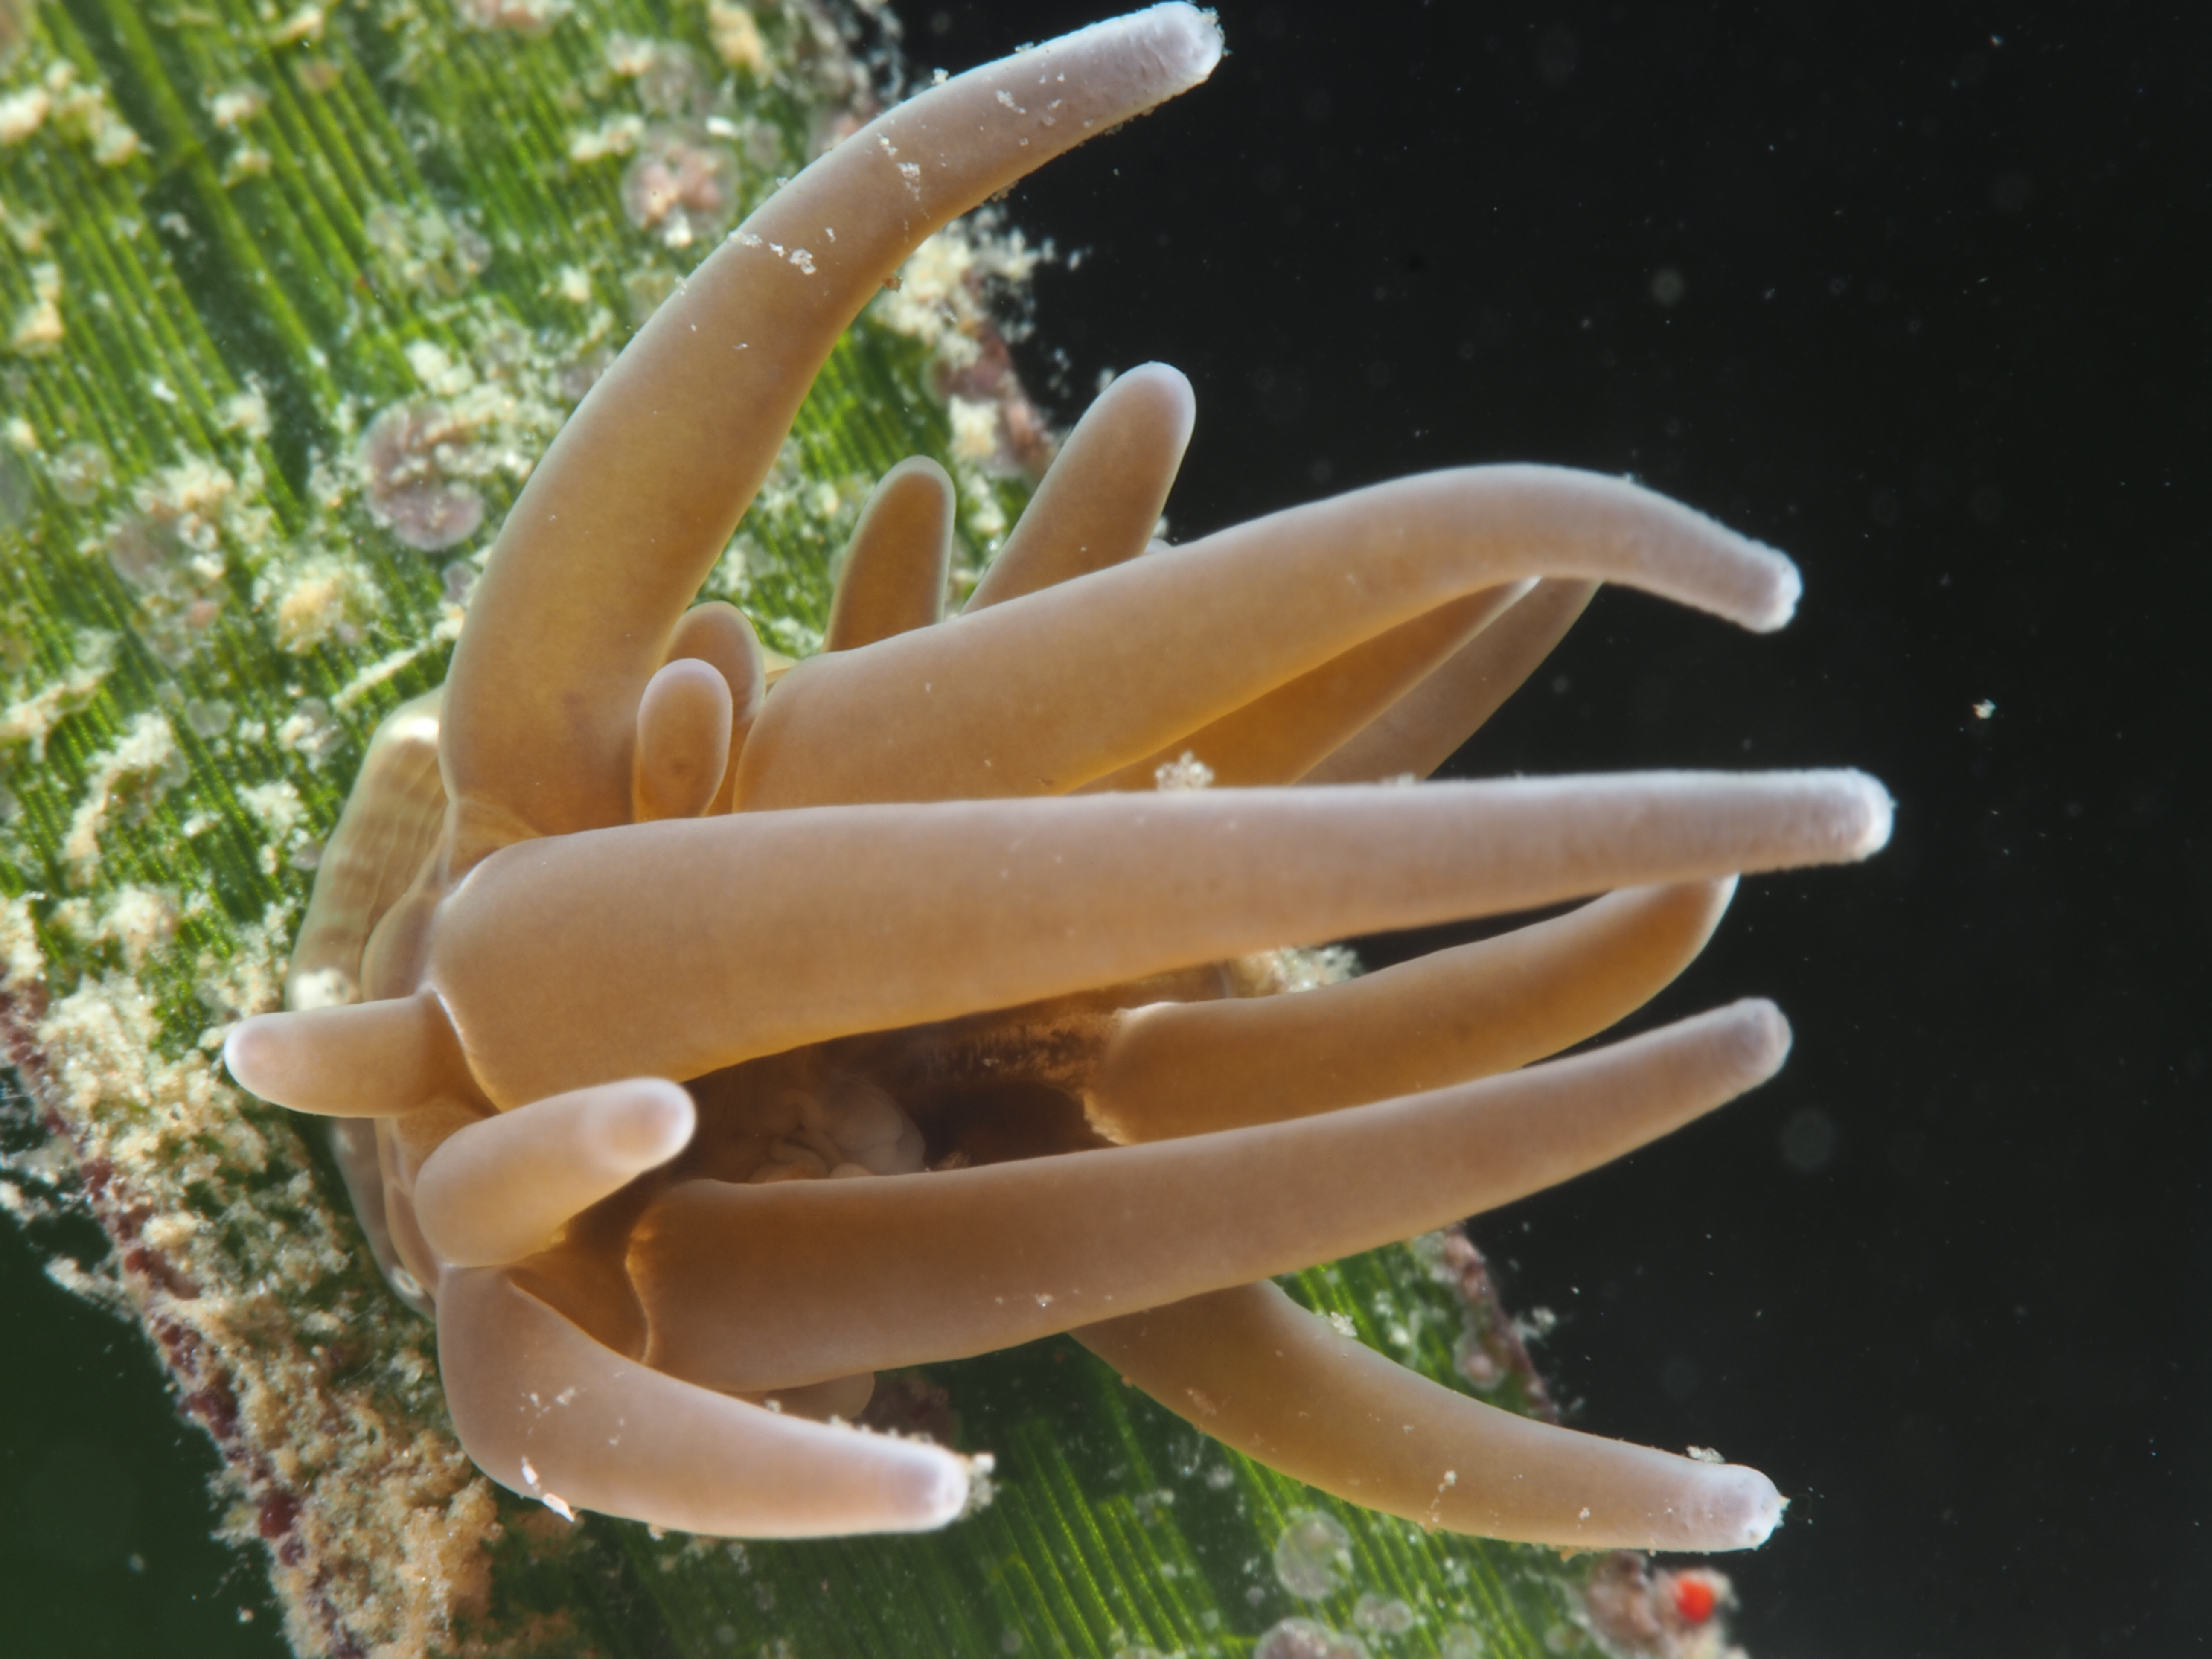
I had a couple of good snorkels at the end of summer in the seagrass beds off my local beach in Flushing. The water at the end of summer is warm enough to go without wetsuit – I just had a weightbelt to let me sink down on the sand at low tide, no fins needed. I managed to do what I normally find very difficult: spot nudibranchs! Mainly one of the more common species, Polycera quadrilineata, but that was fine by me, as they are very beautiful, especially the black colour morph pictured above. I spotted one other species, the egg-eating Favorinus branchialis (with its own eggs also visible). Not great photos, but in my defense they are very small!
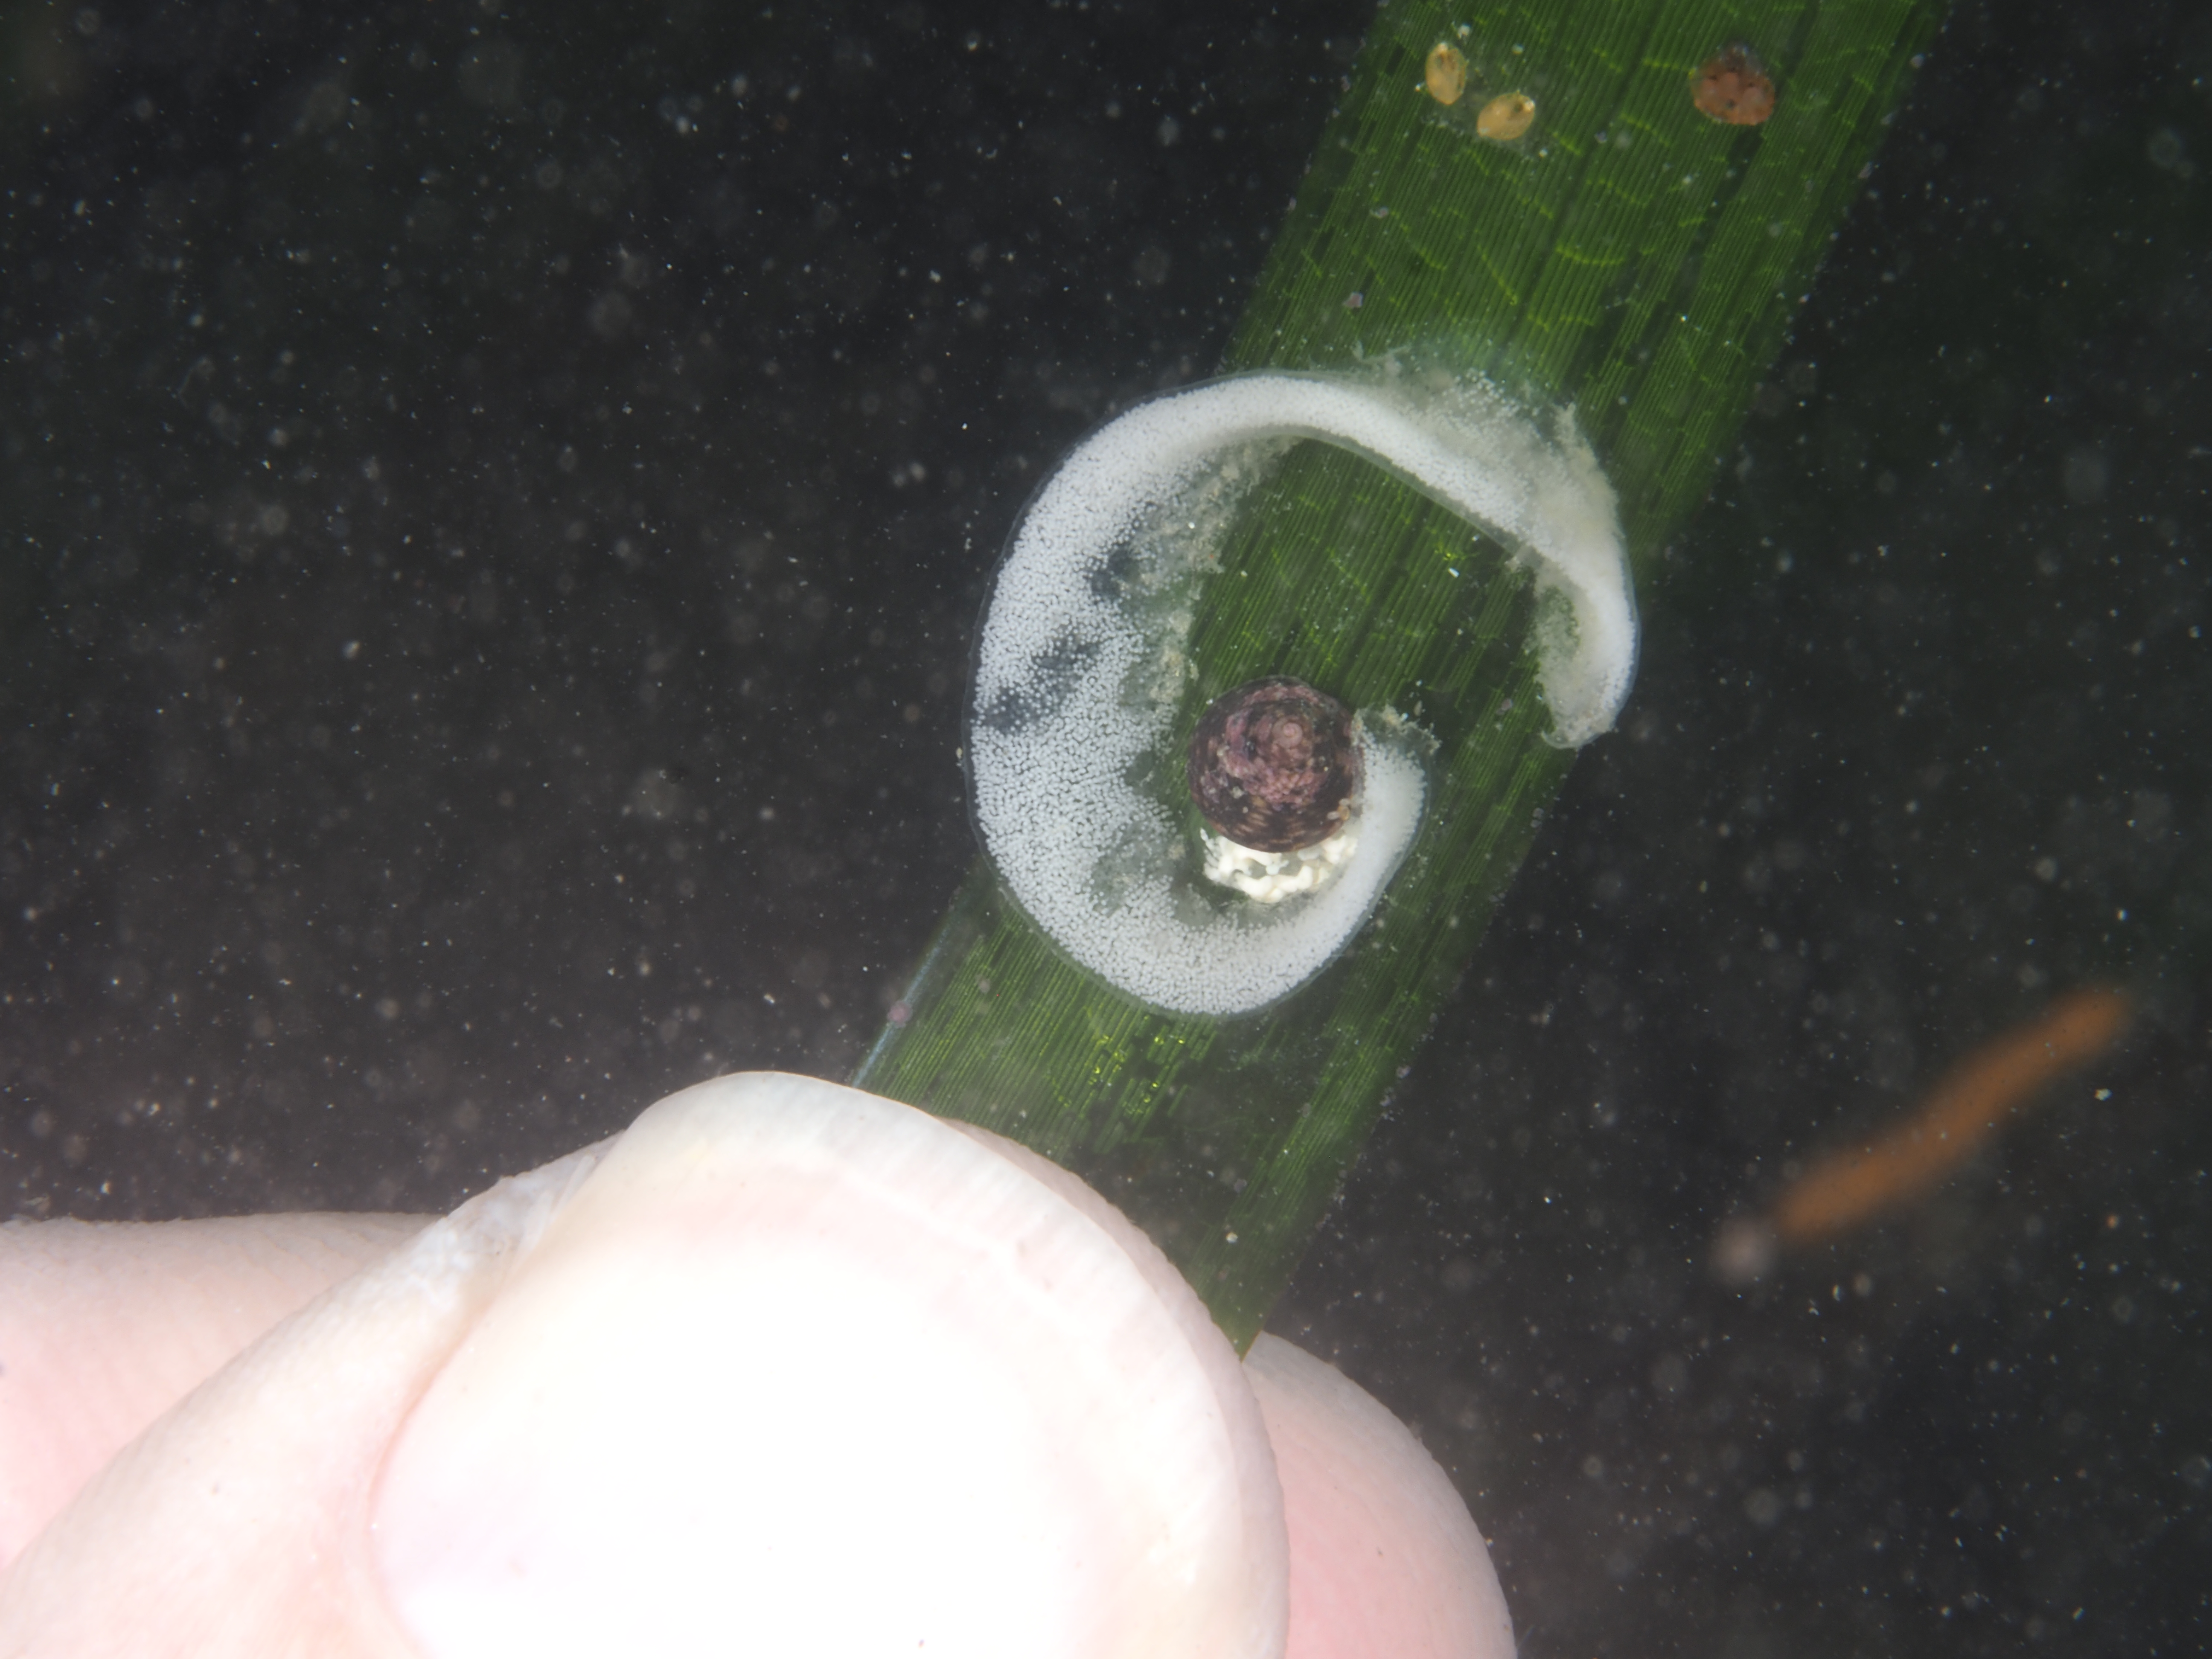
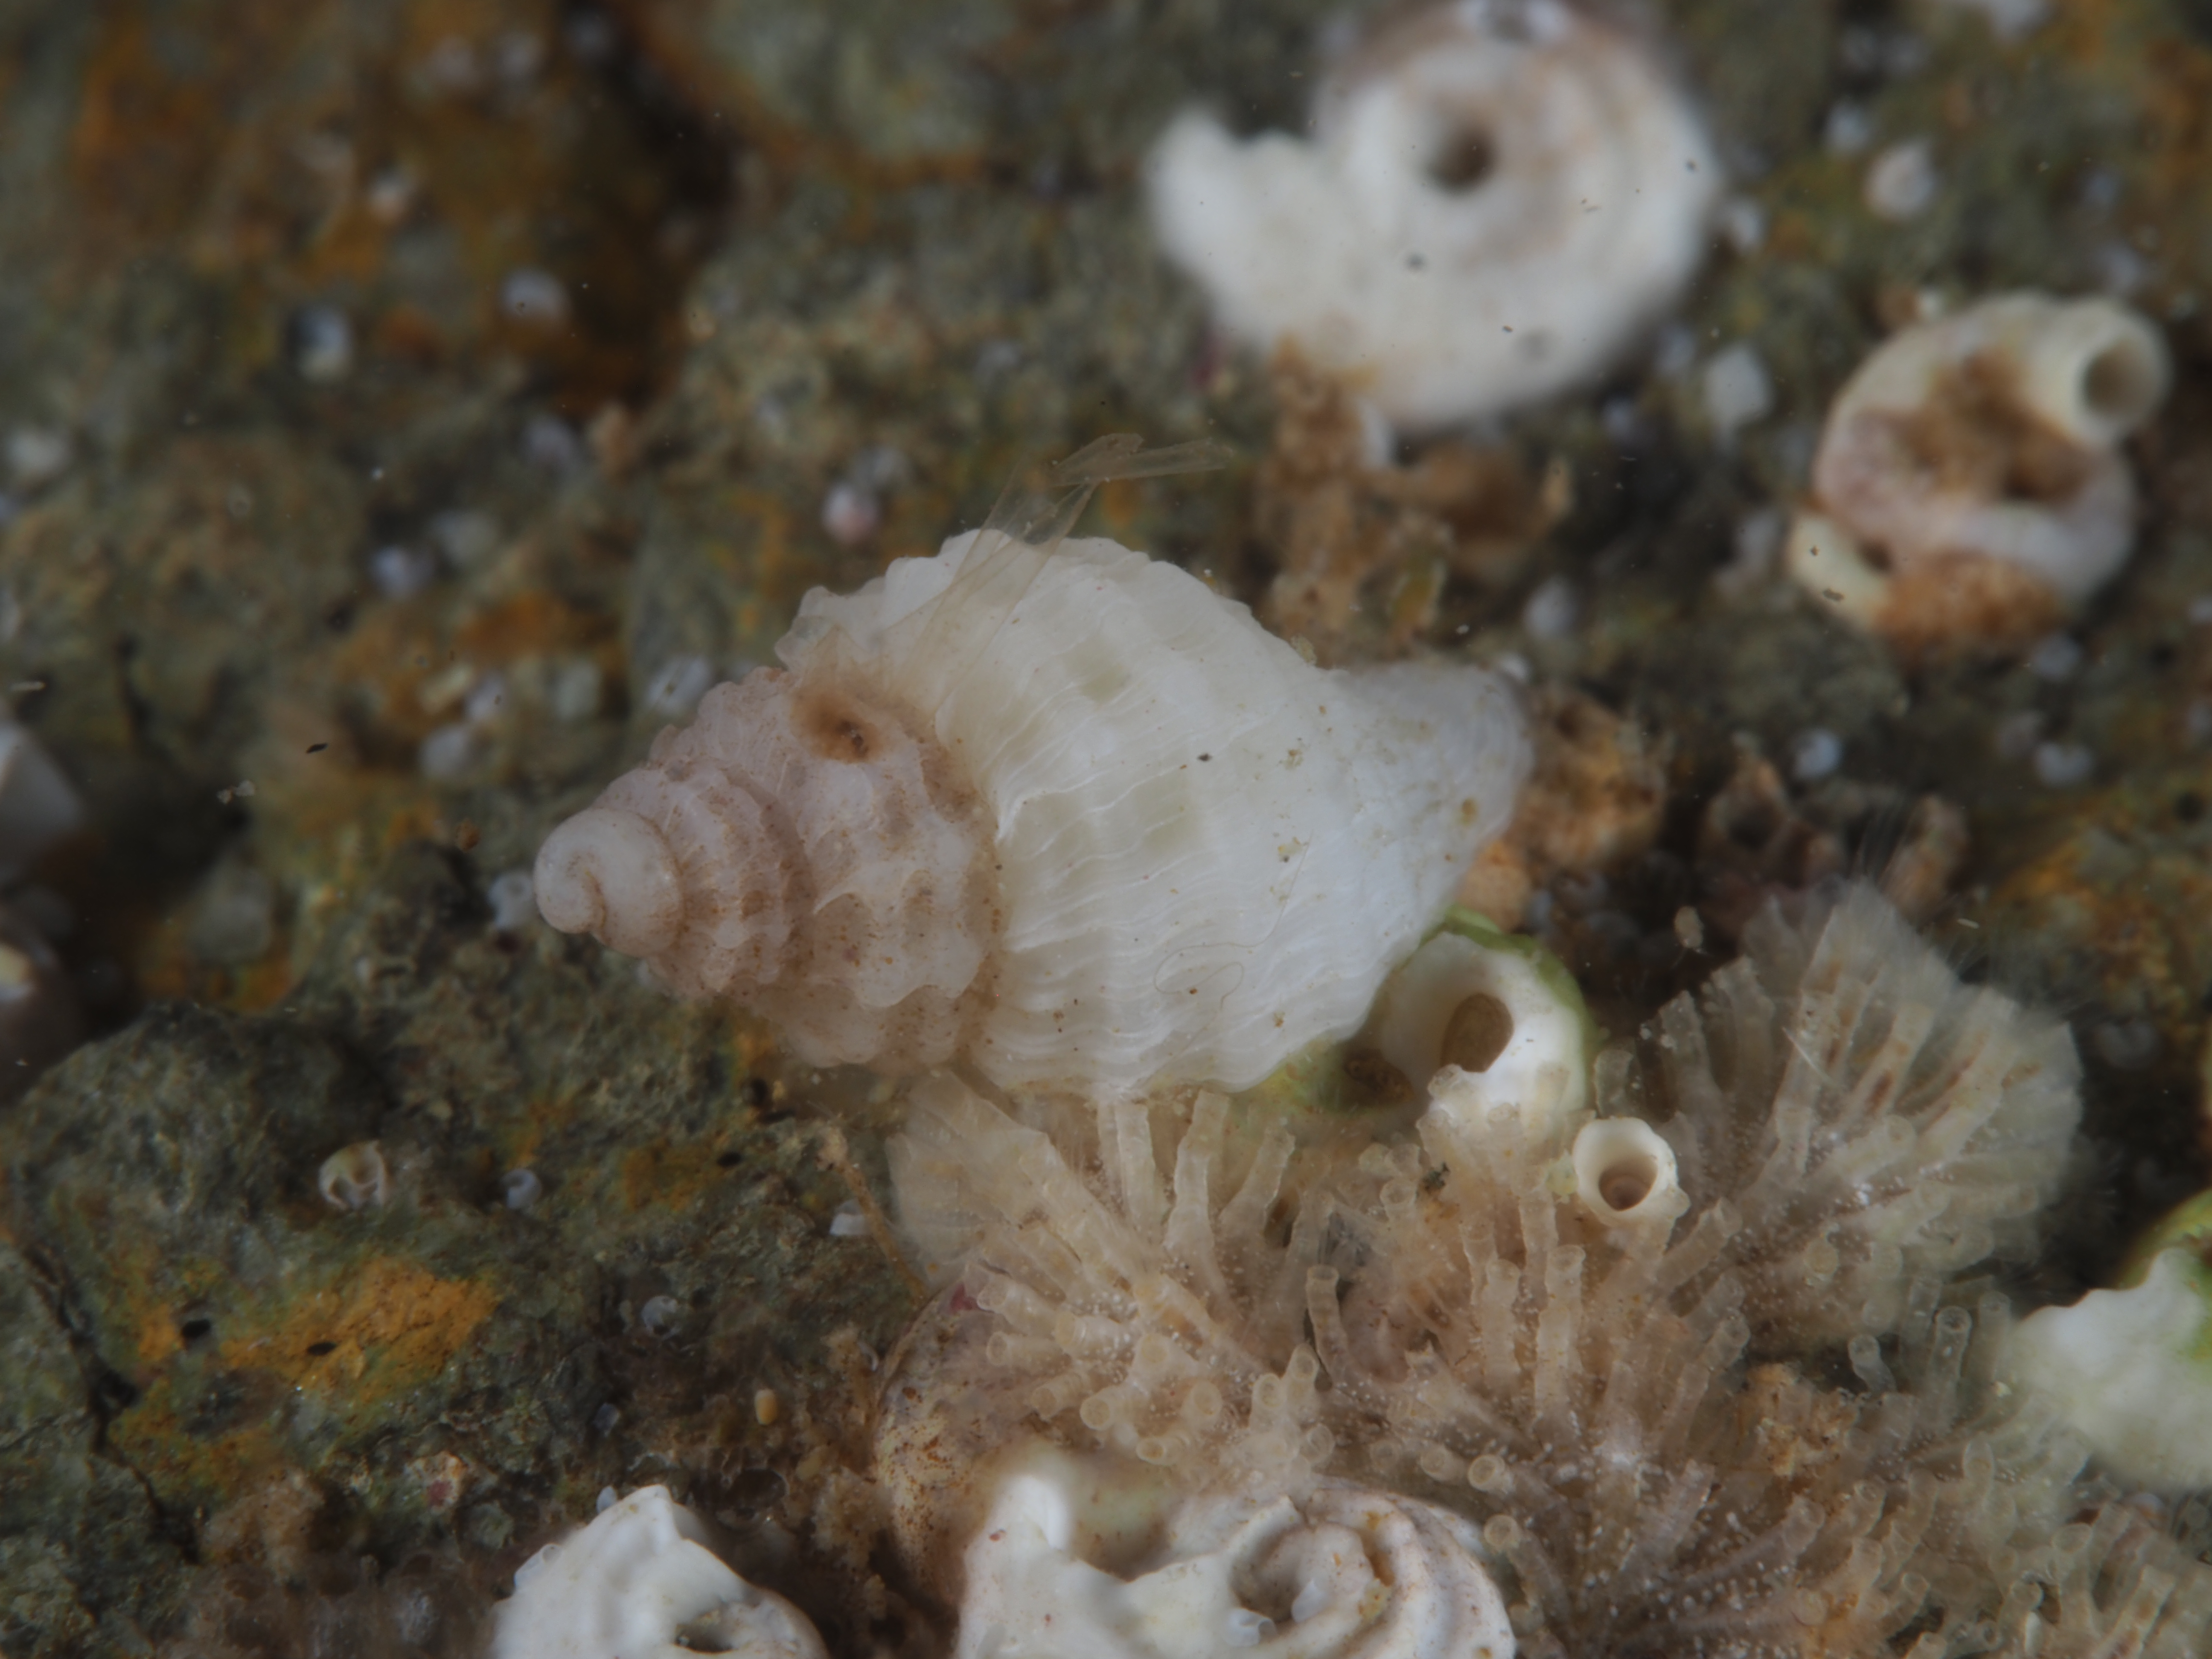
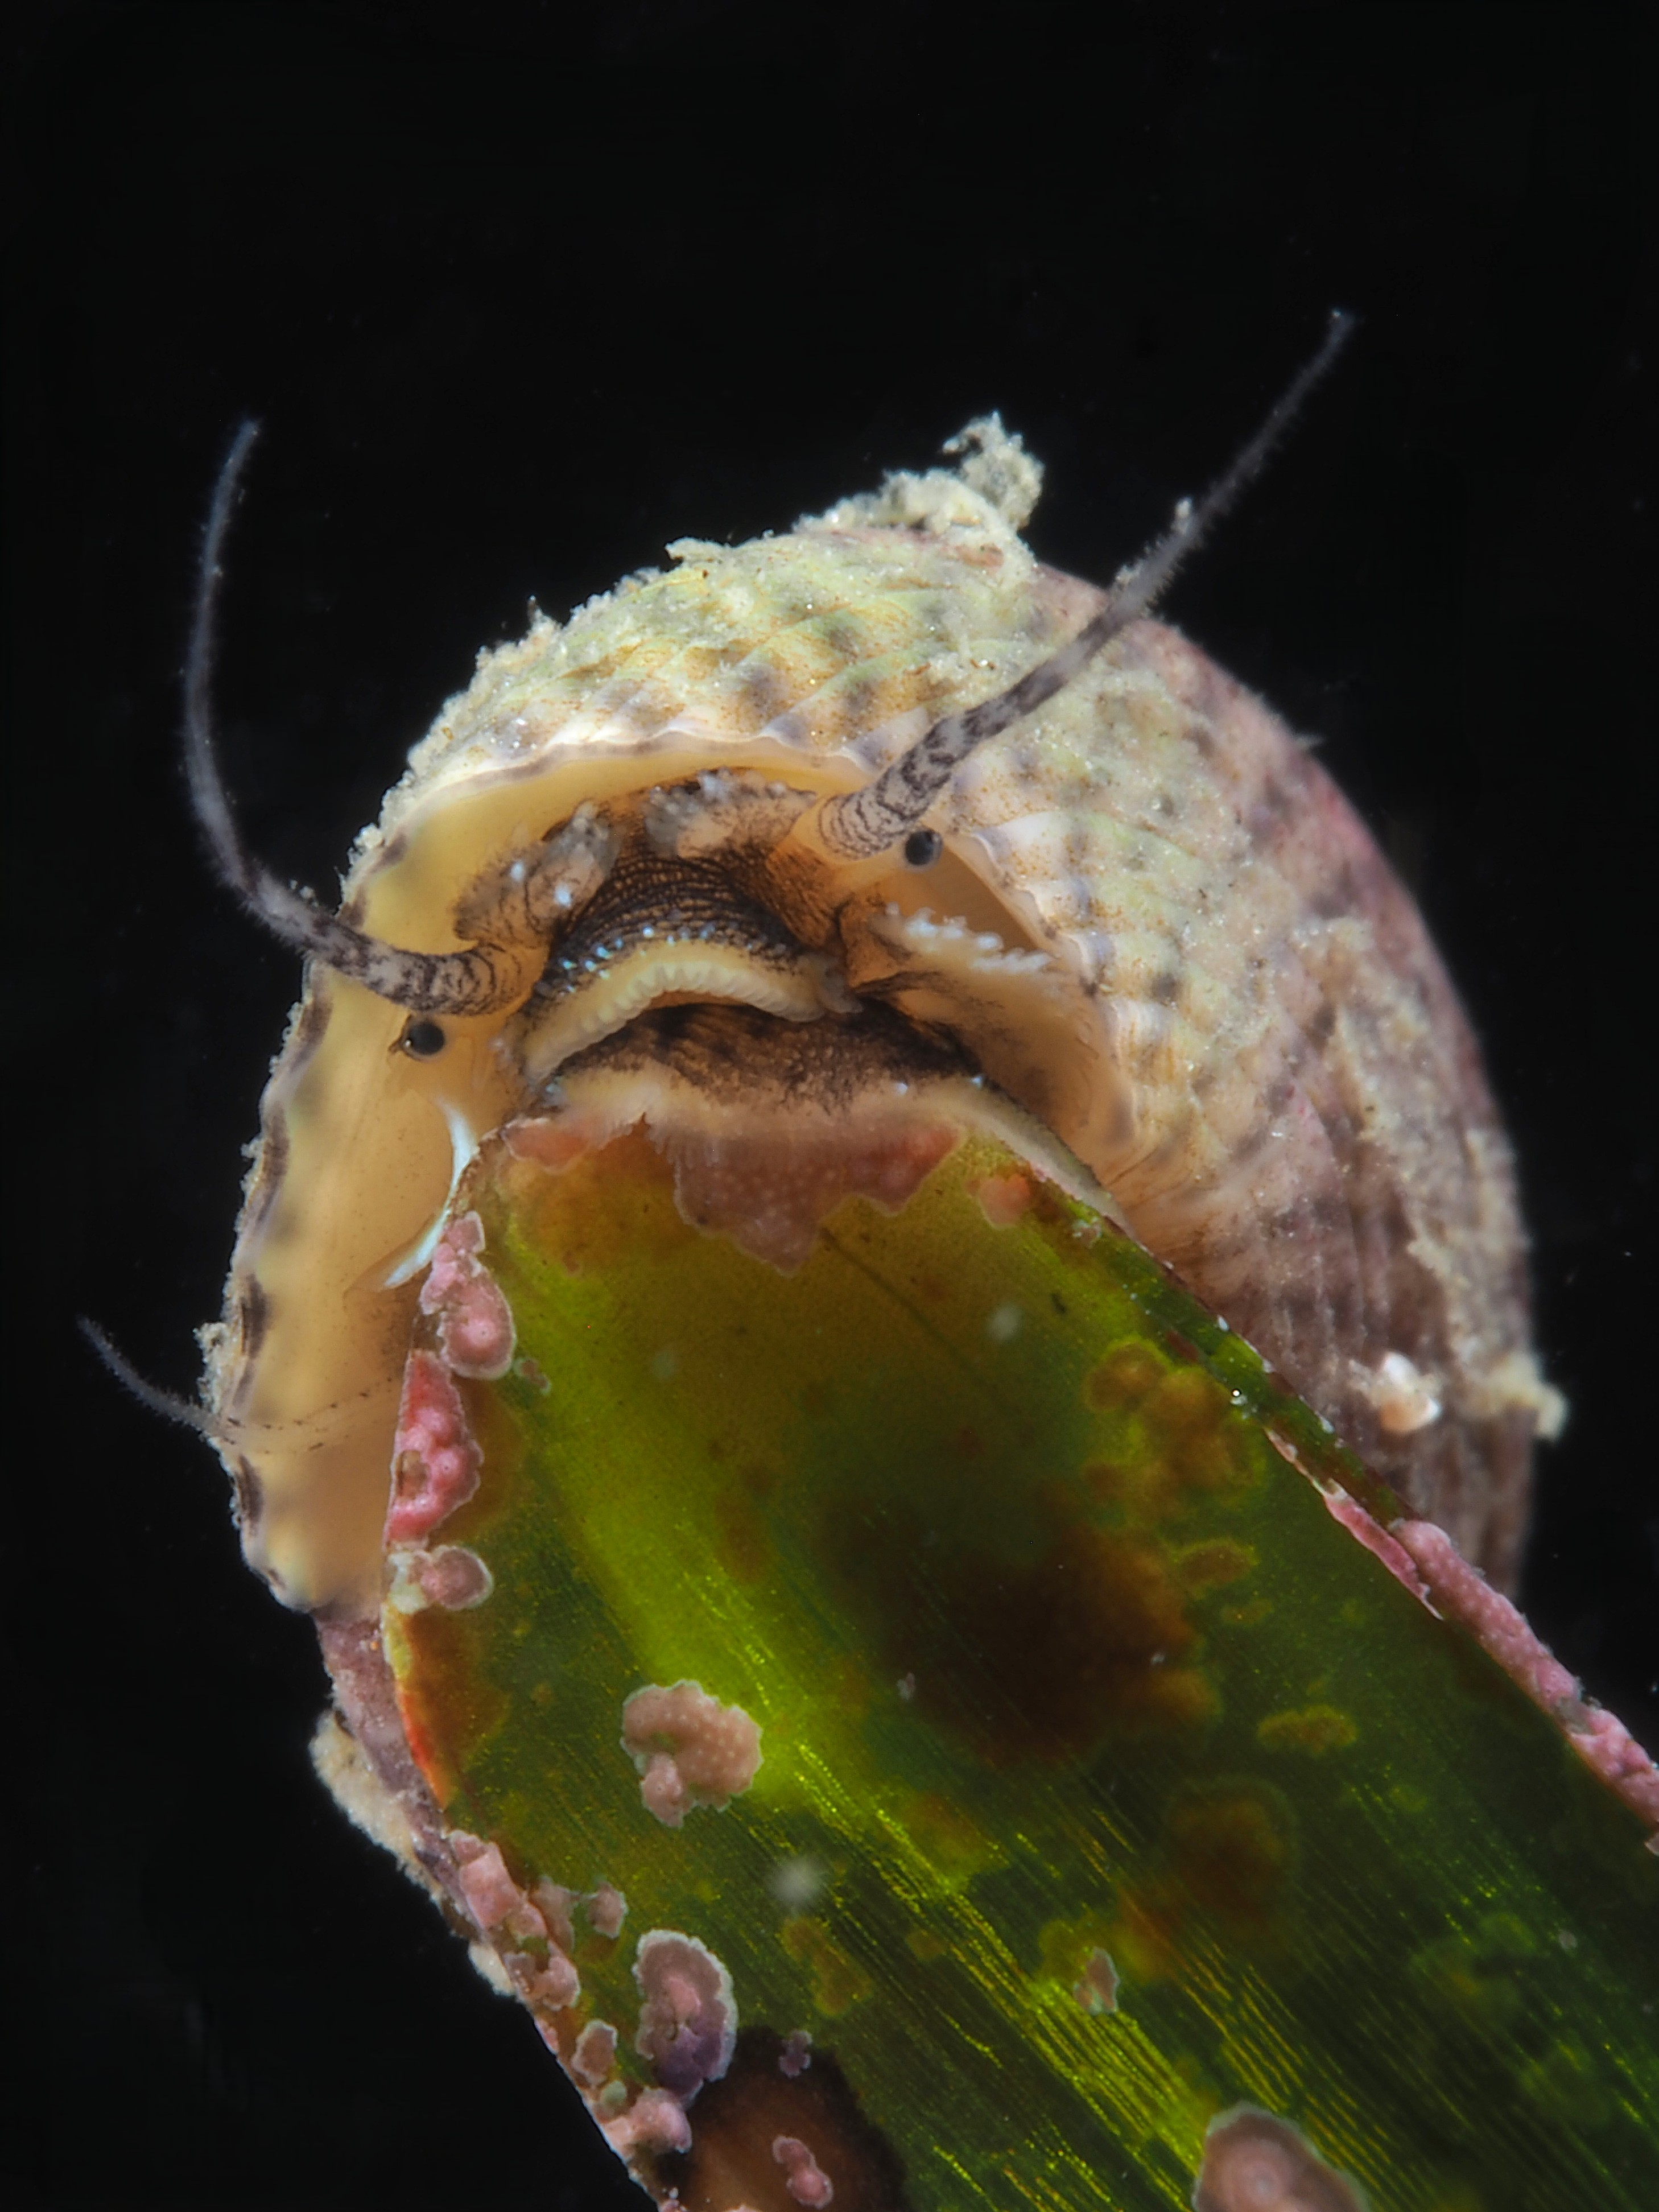
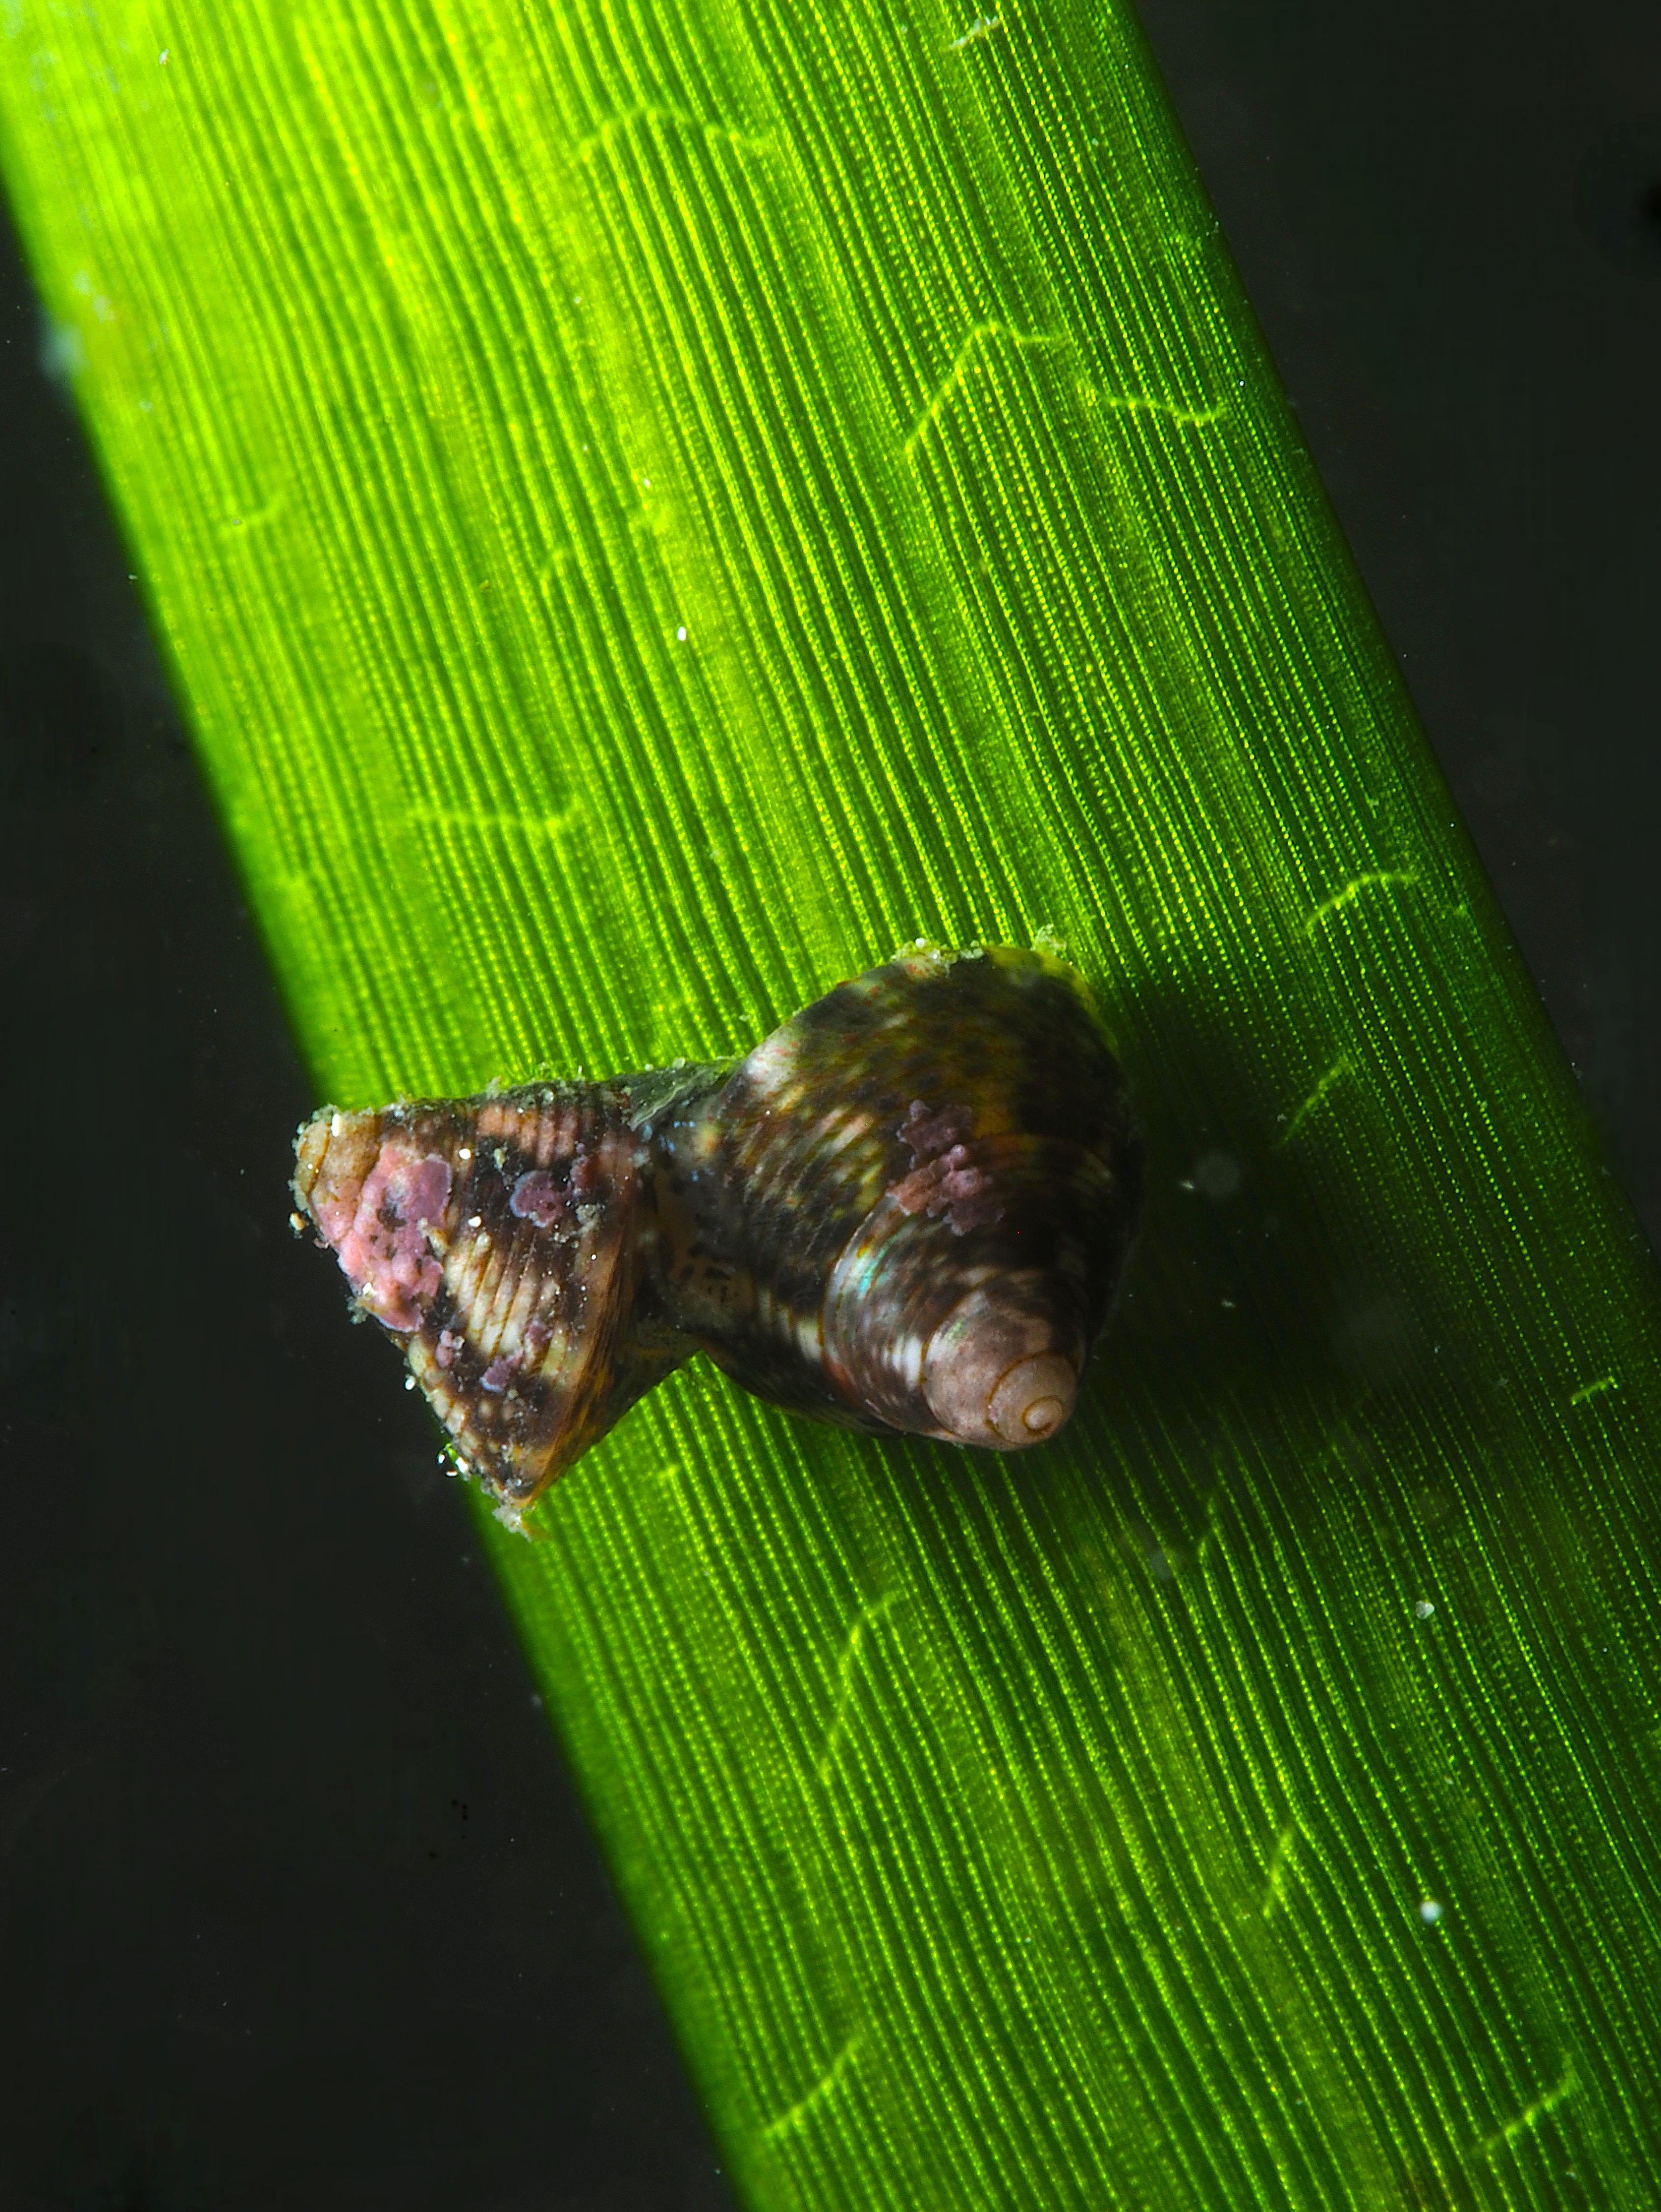
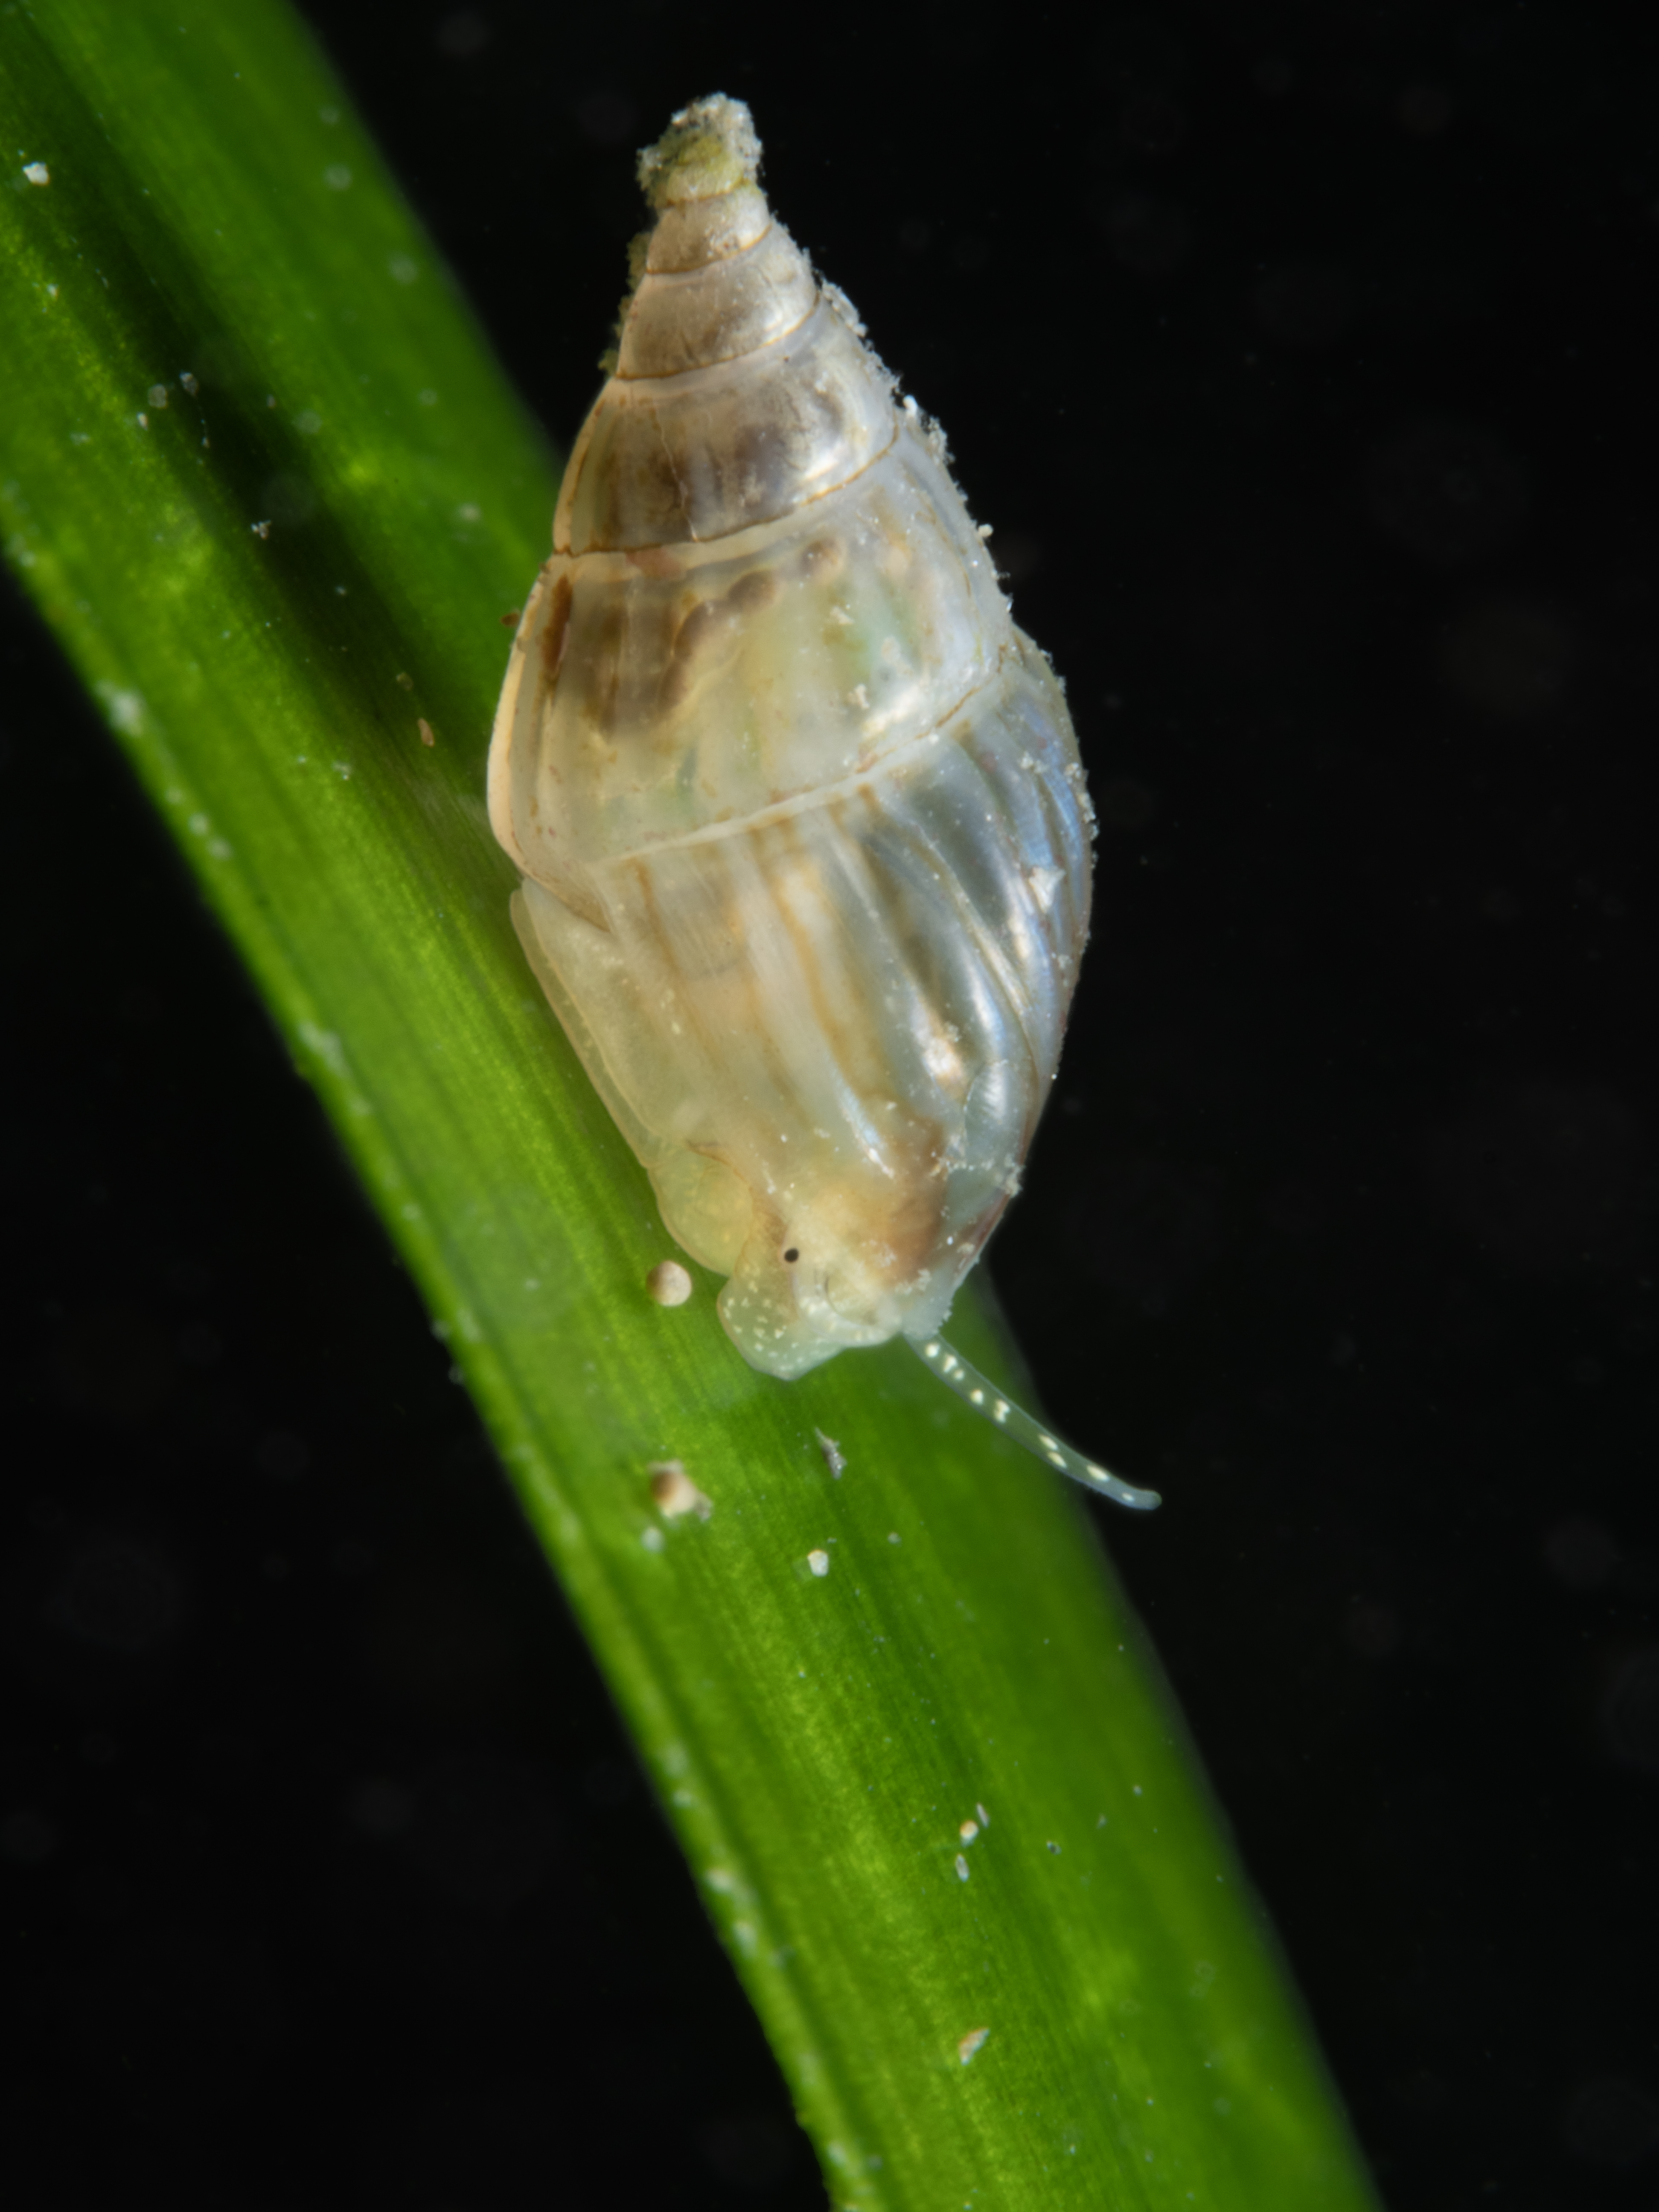
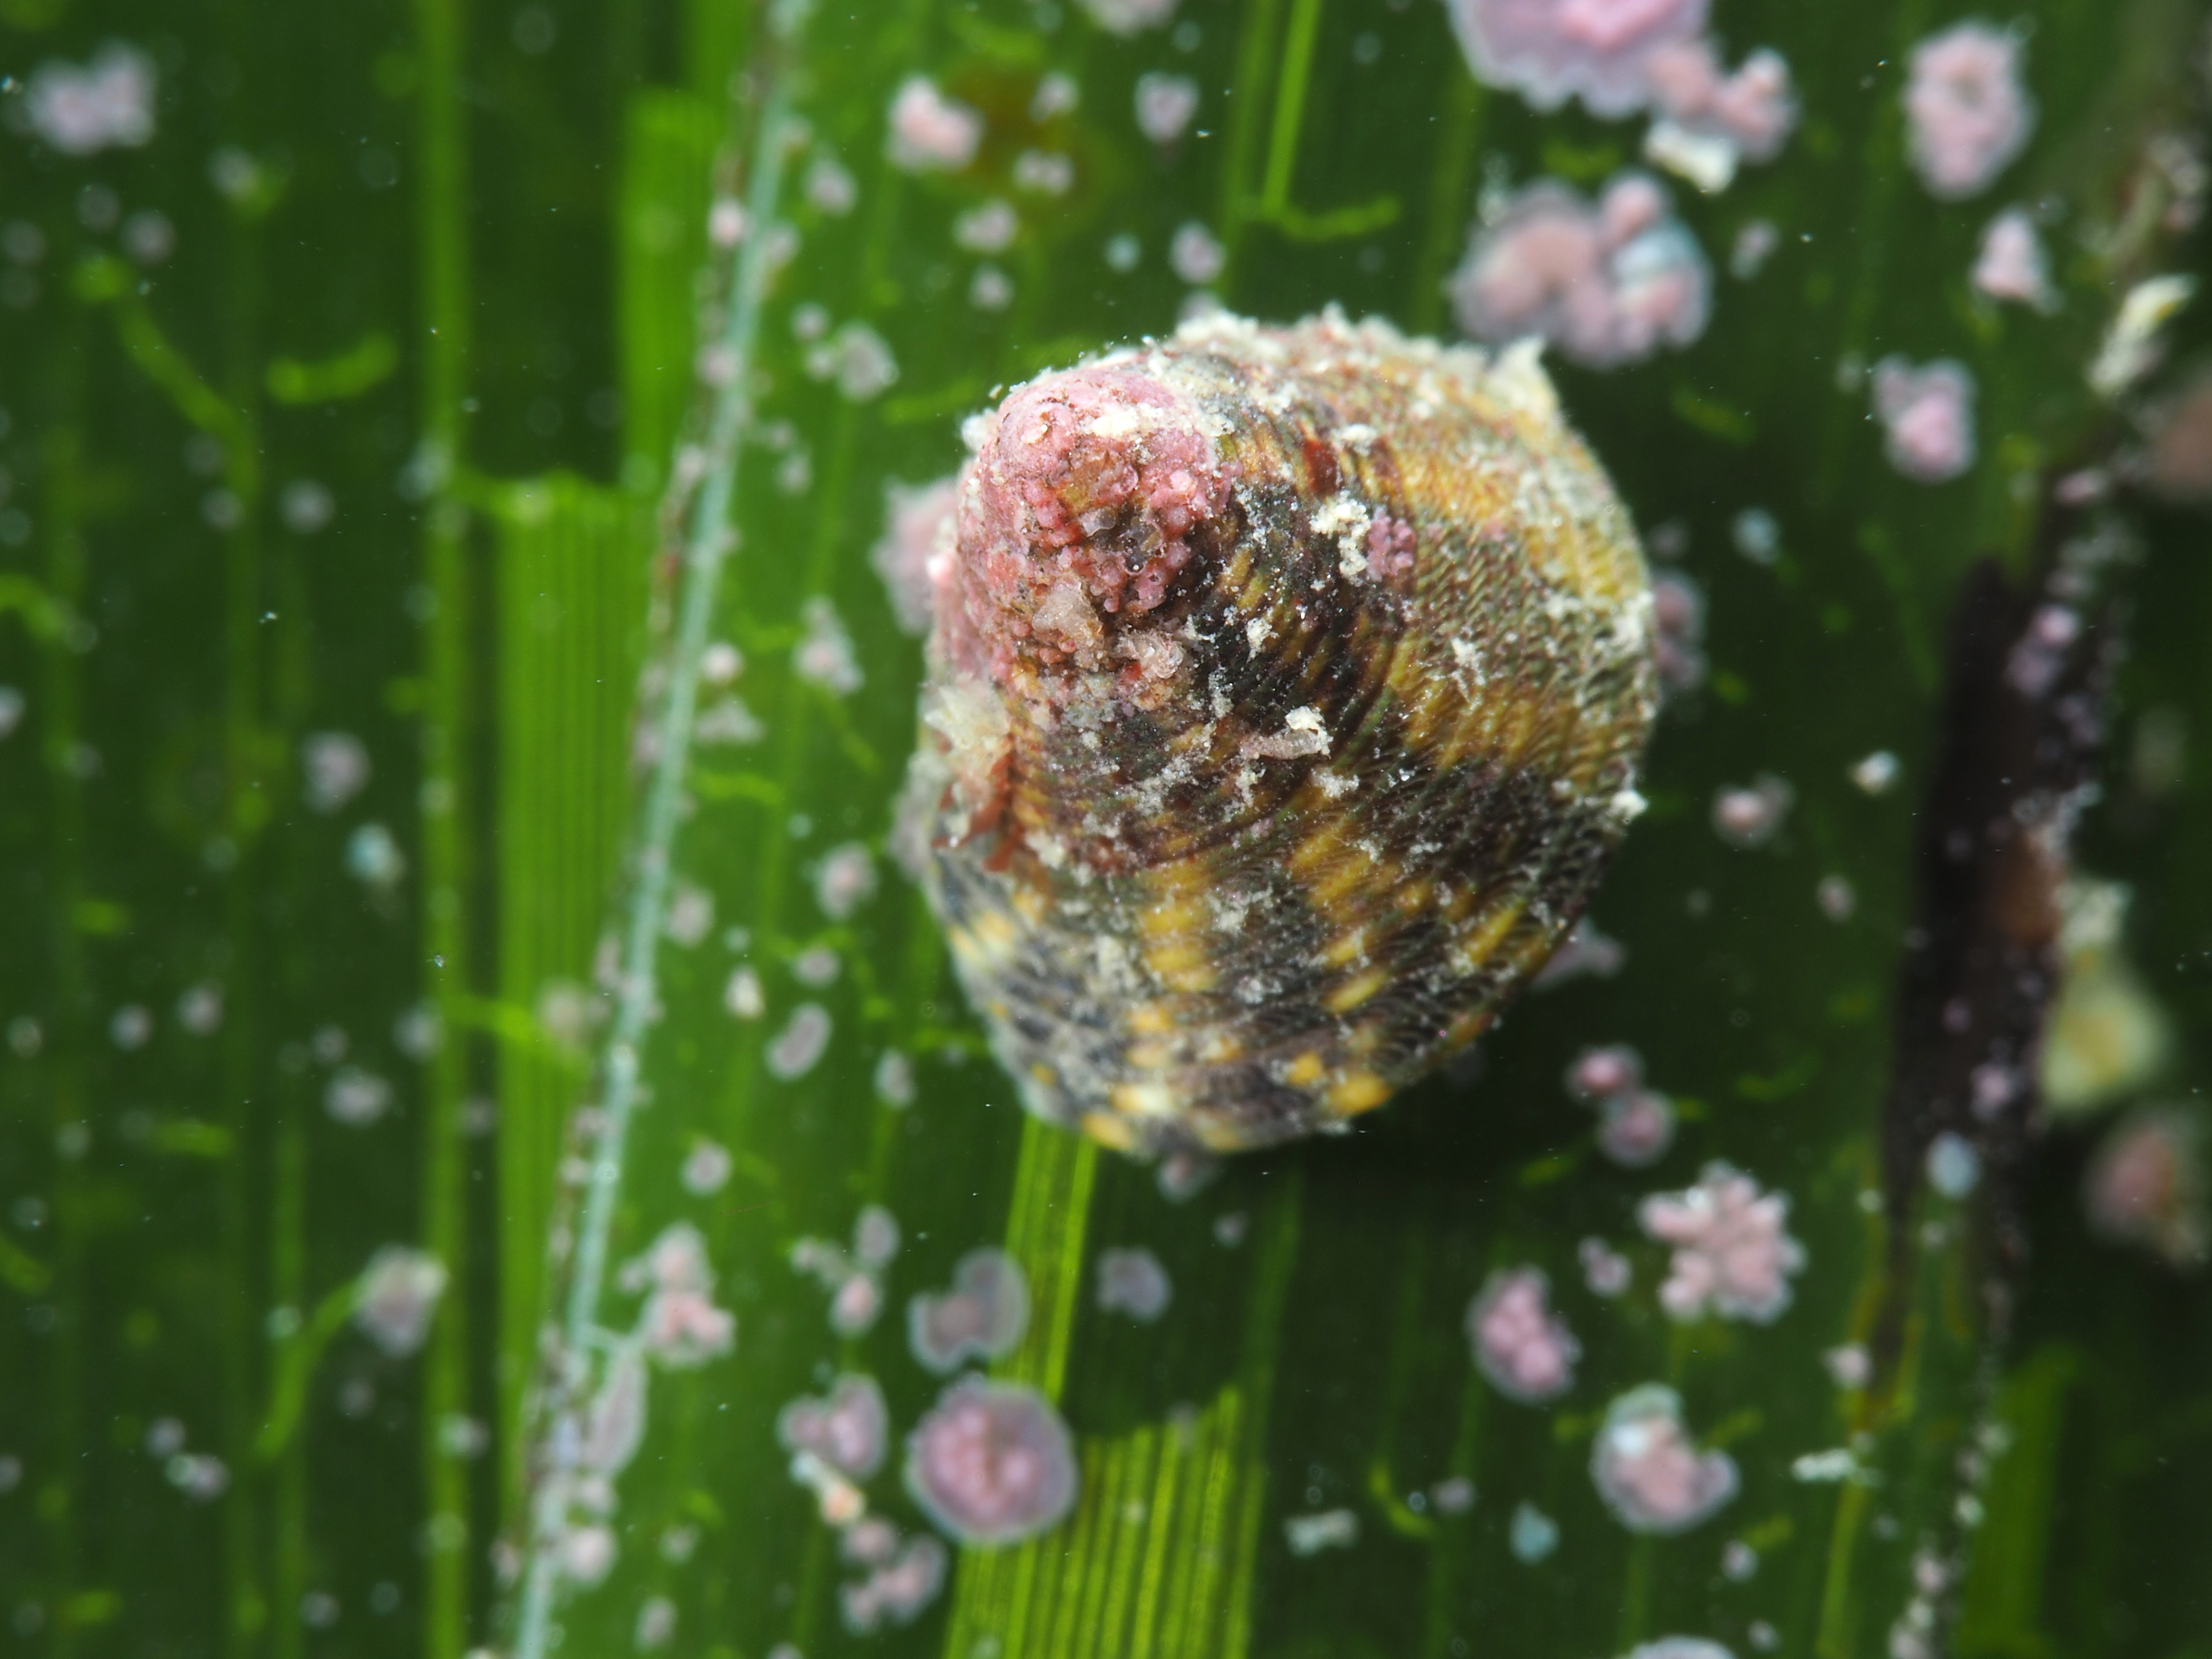
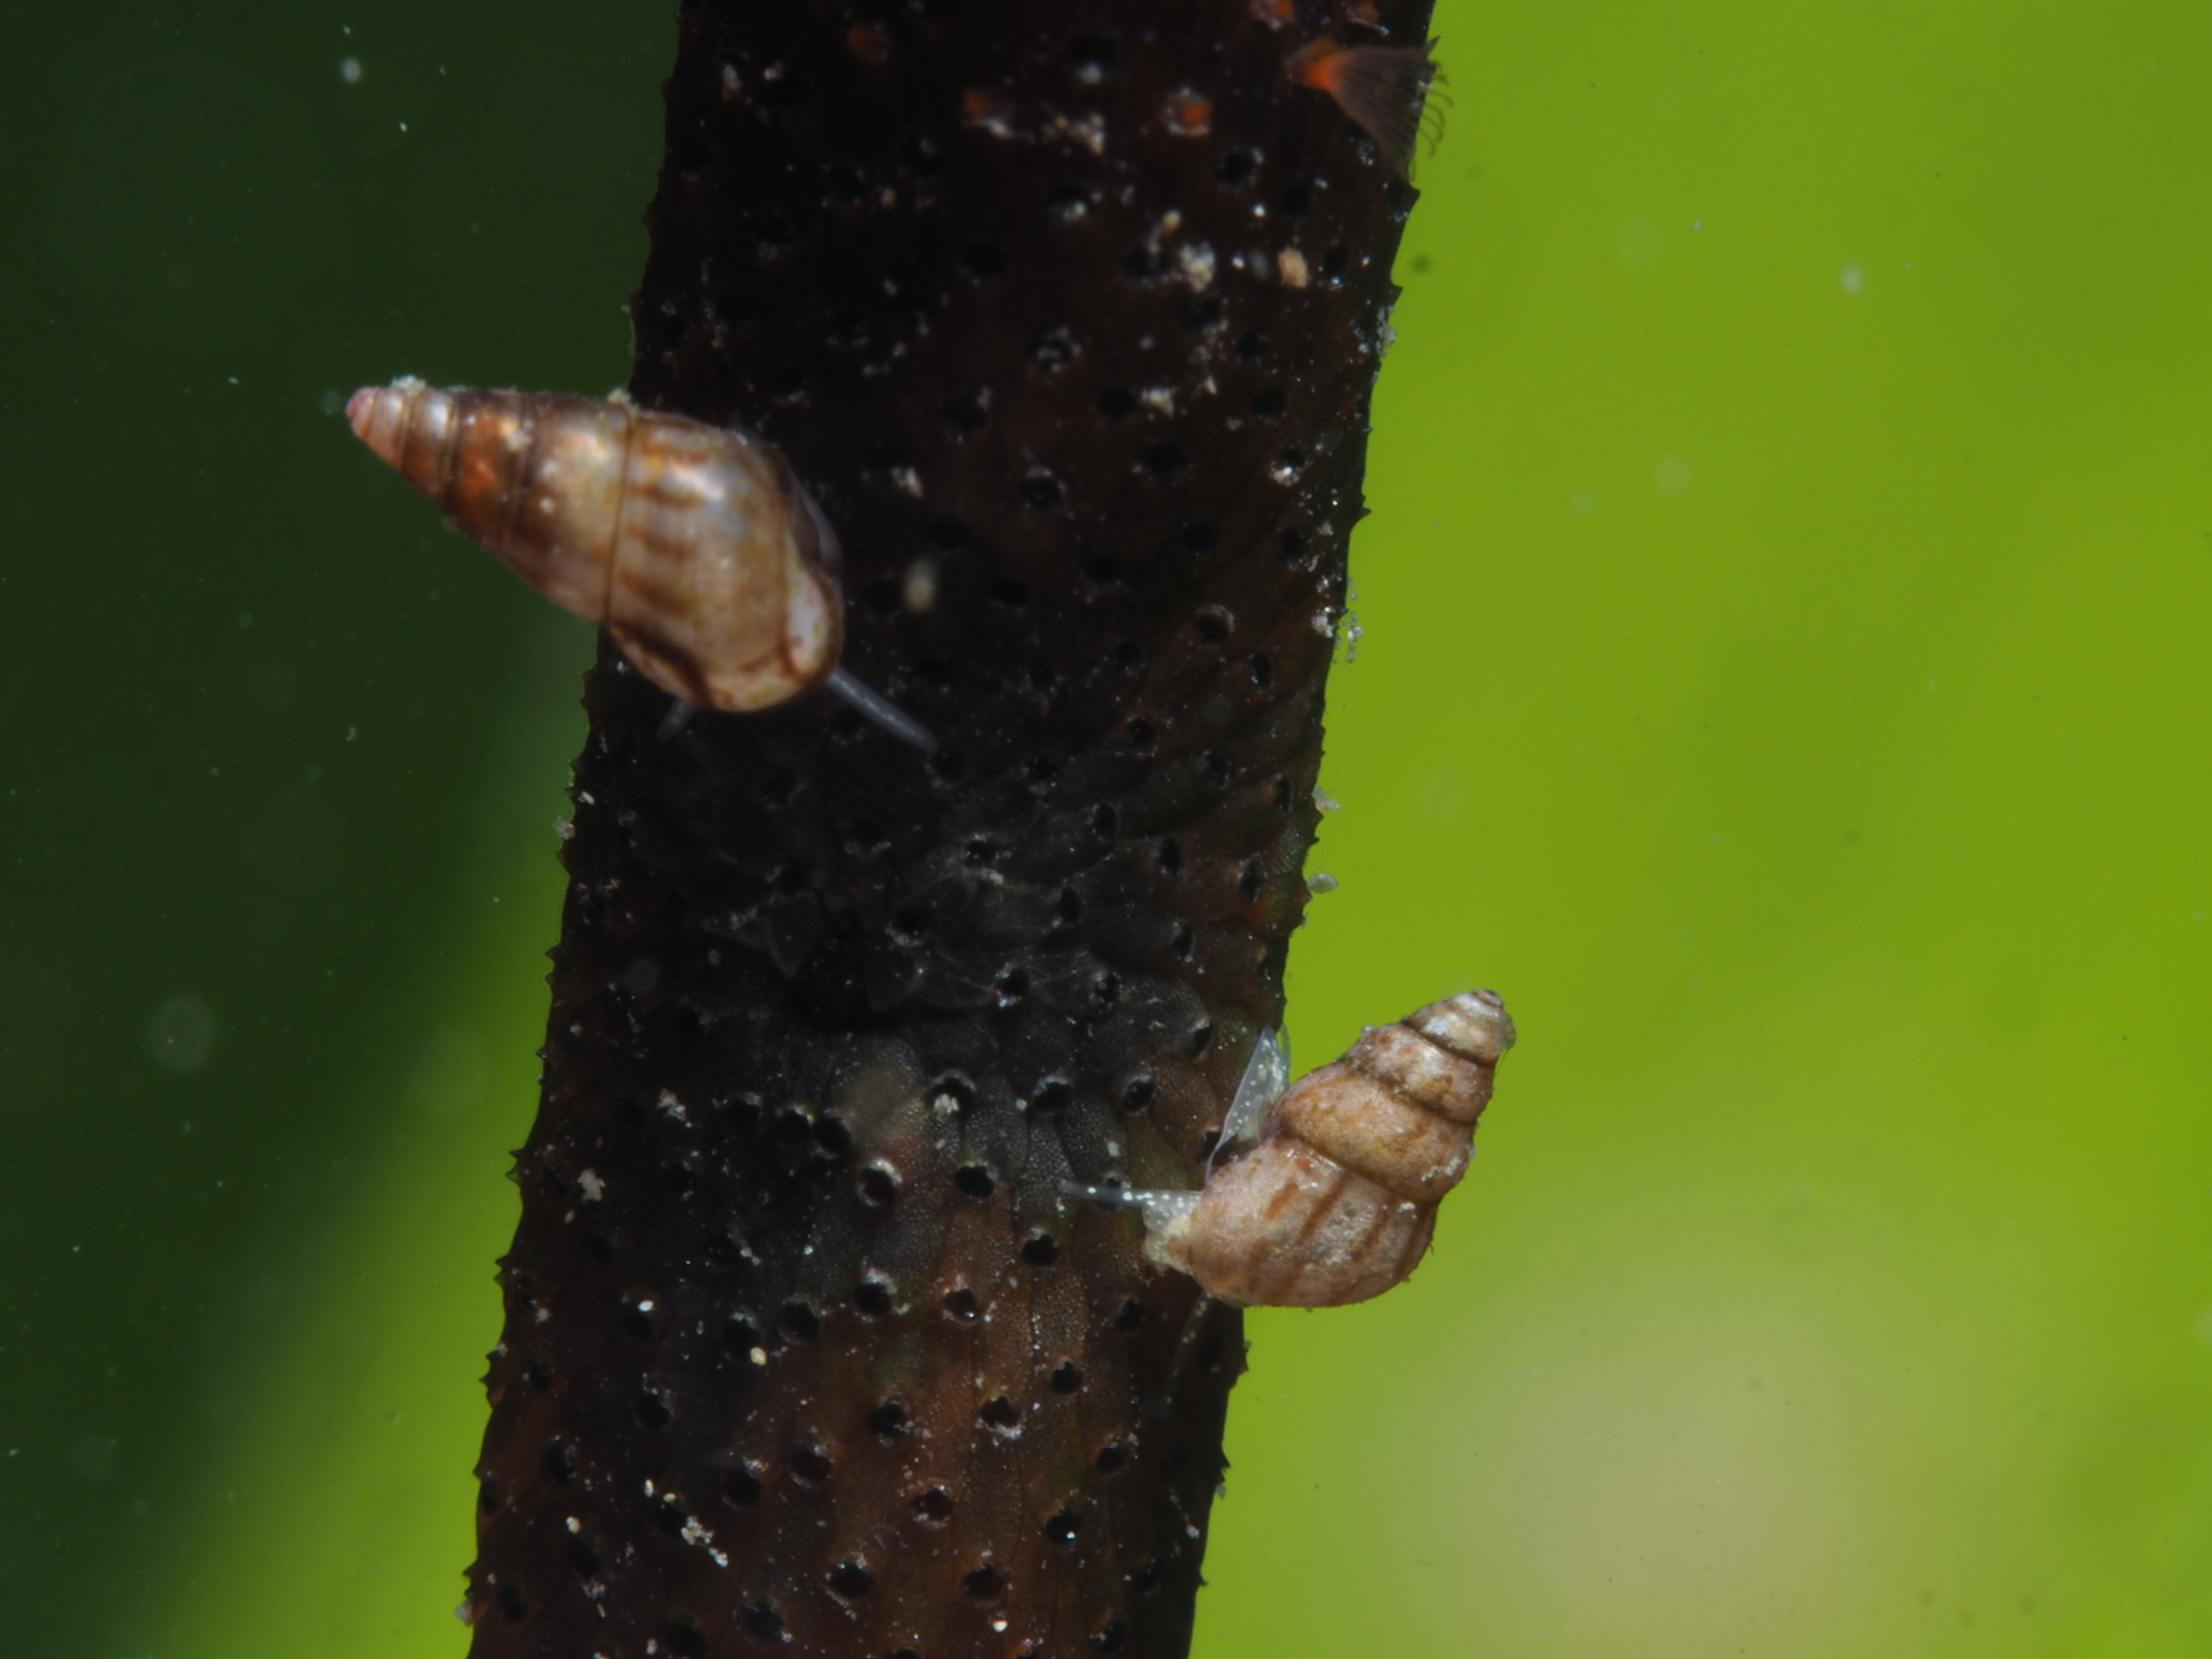
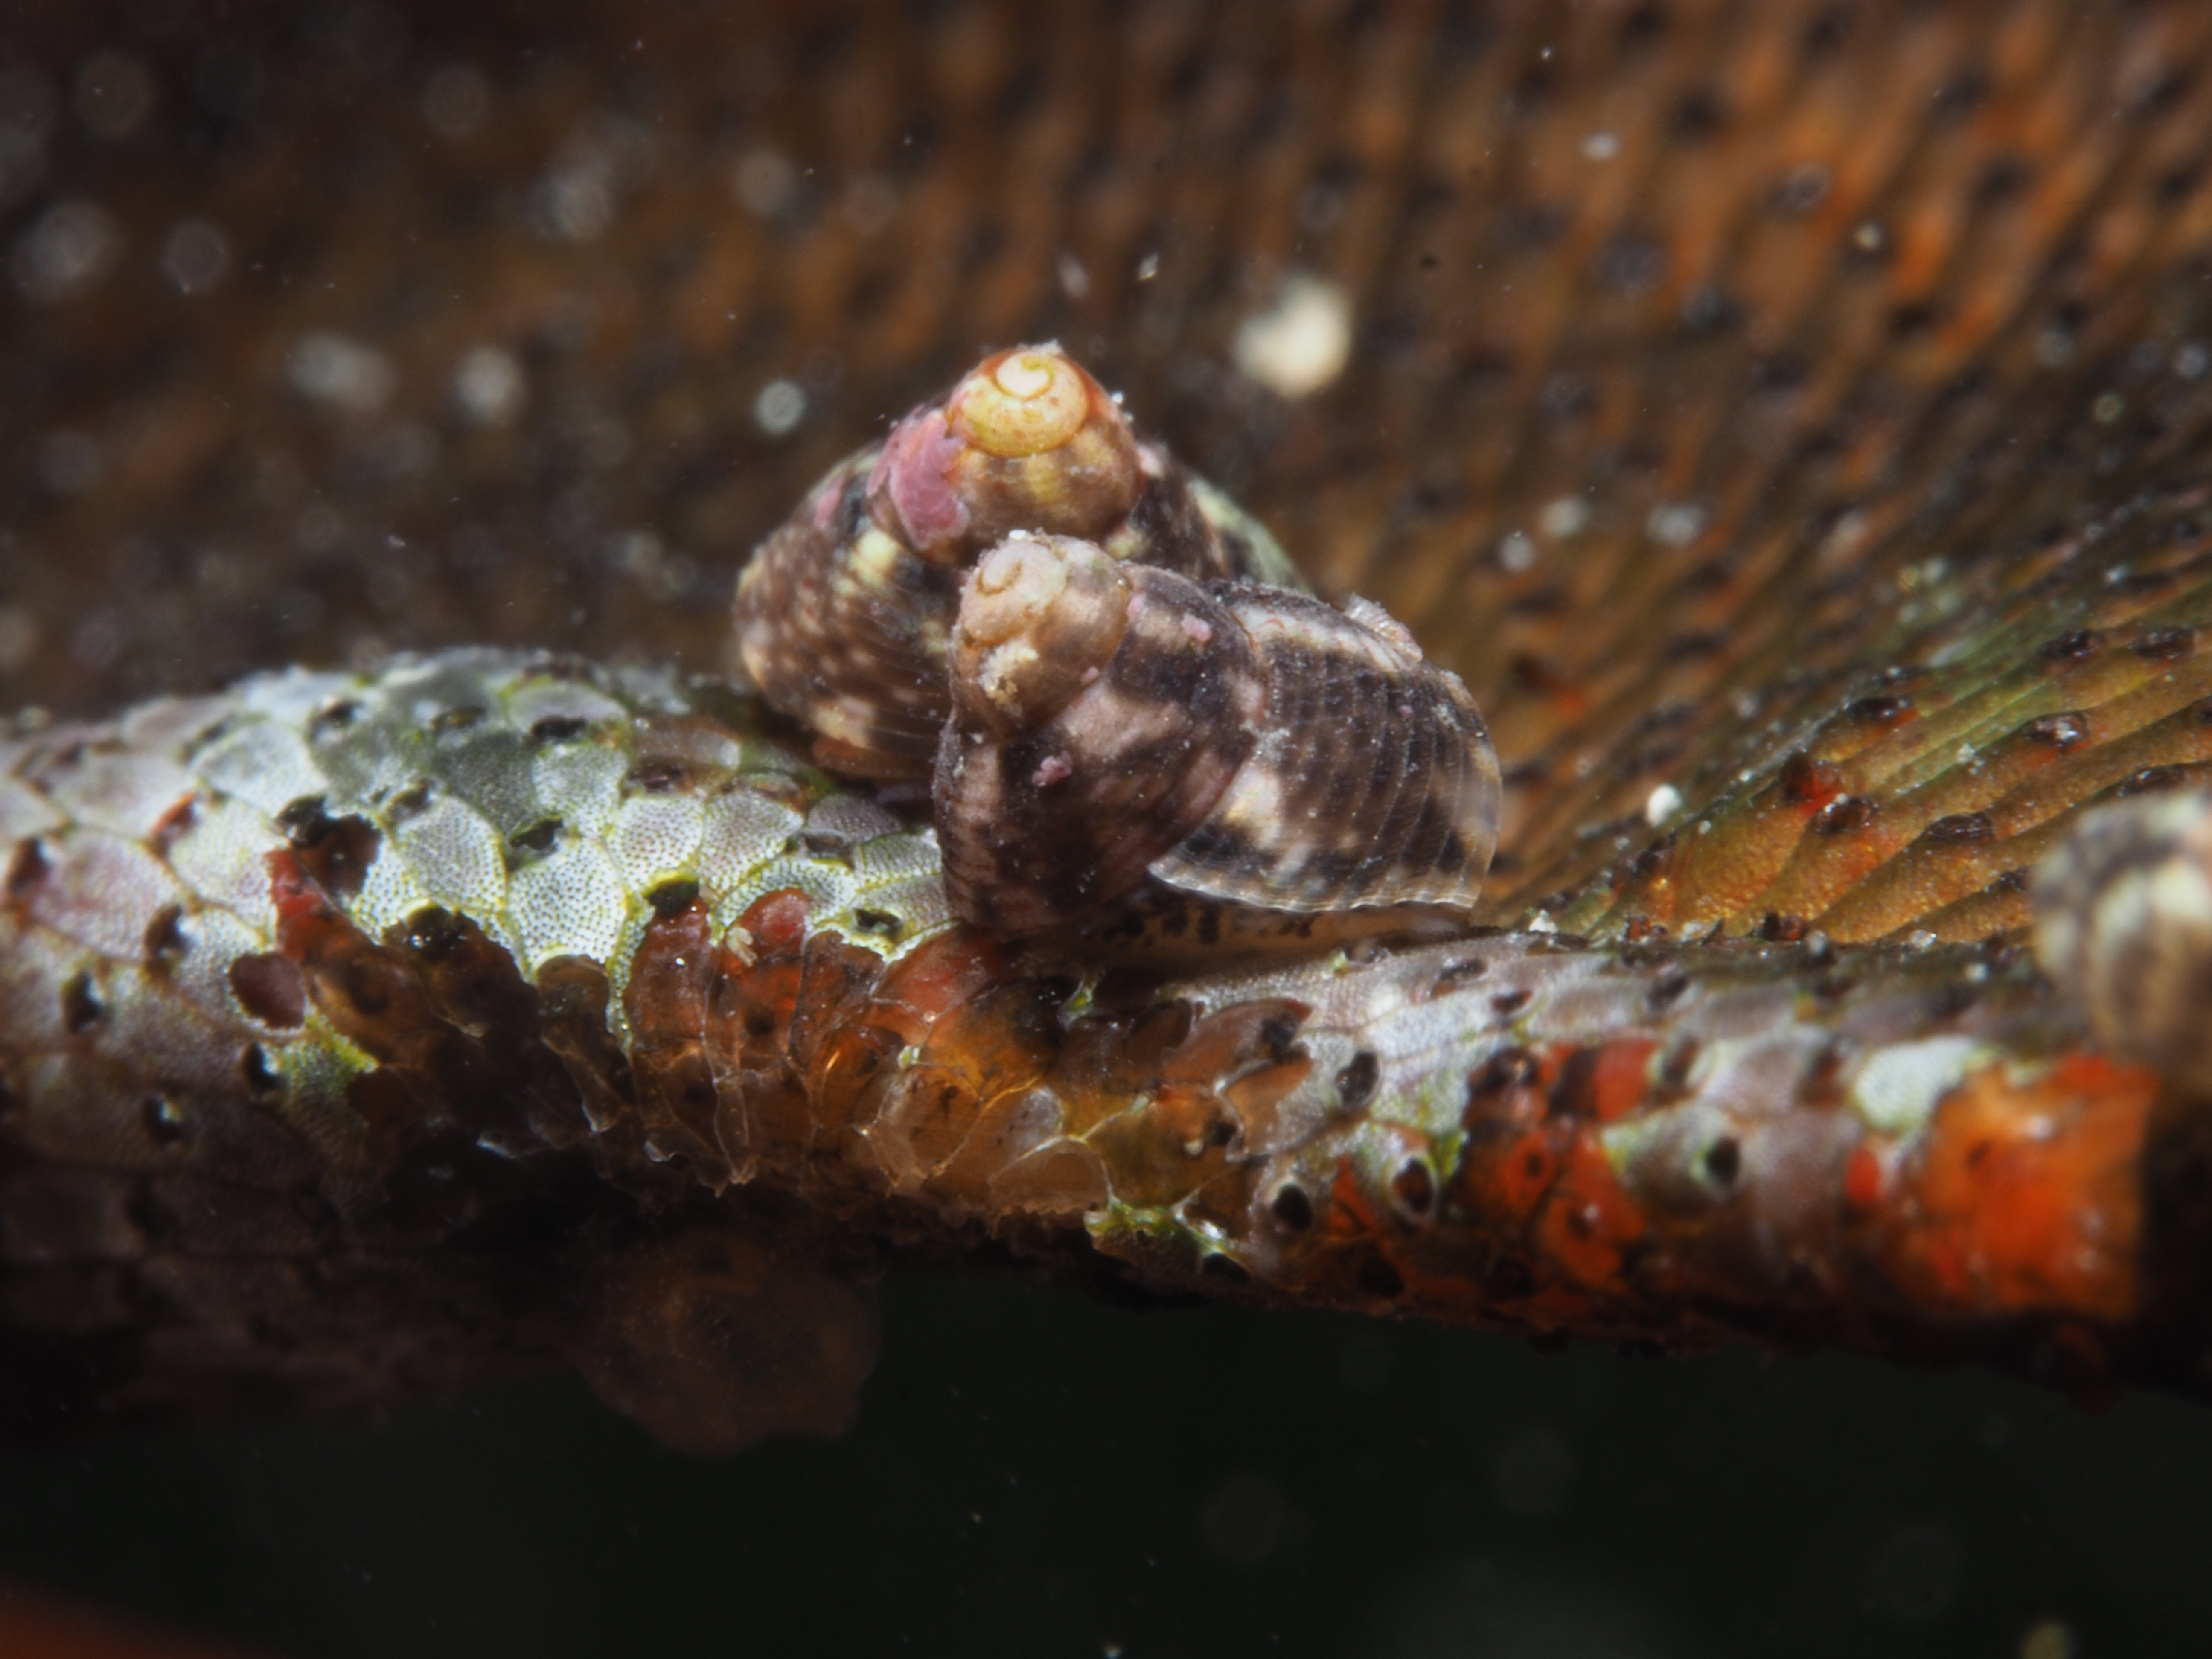
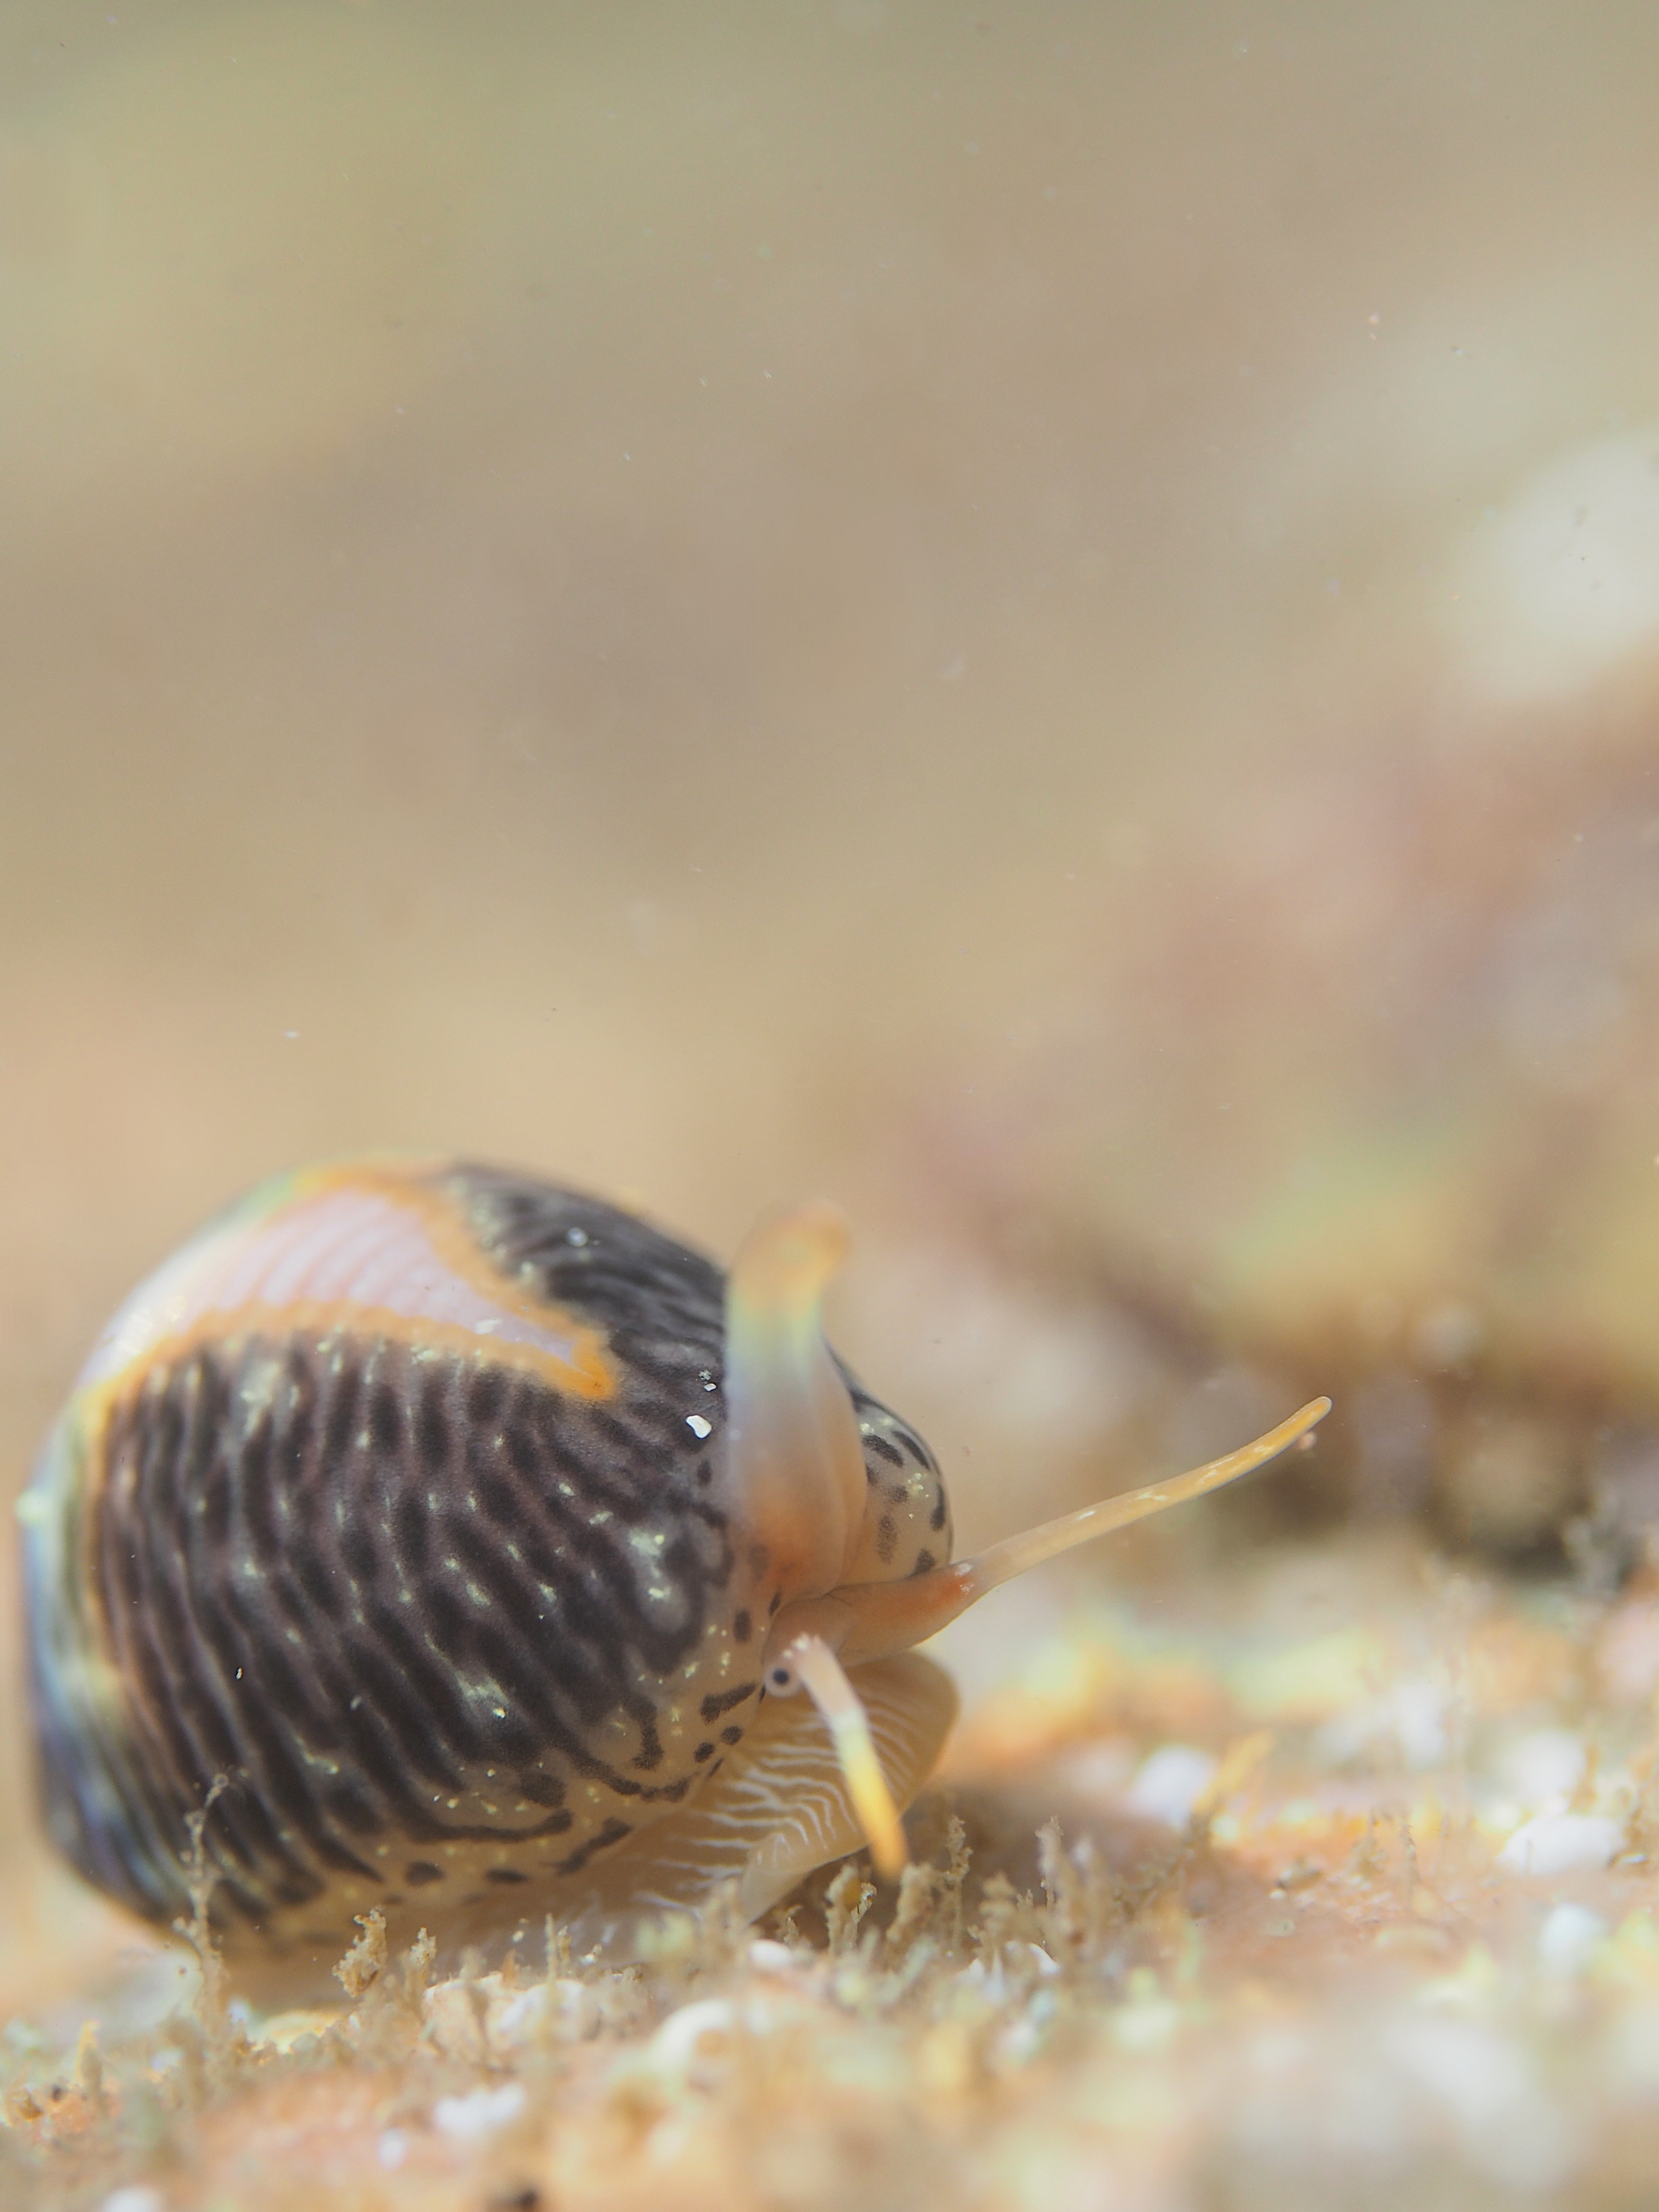
Shelled molluscs are easier to find. Below 1) the ubiquitous Grey Topshell Steromphala cinerarea, 2) the Grooved Topshell Jujubinus striatus and 3) the tiny Rissoa membranacea (faecal pellets on show, even within the shell). The latter two species are strongly associated with seagrass.
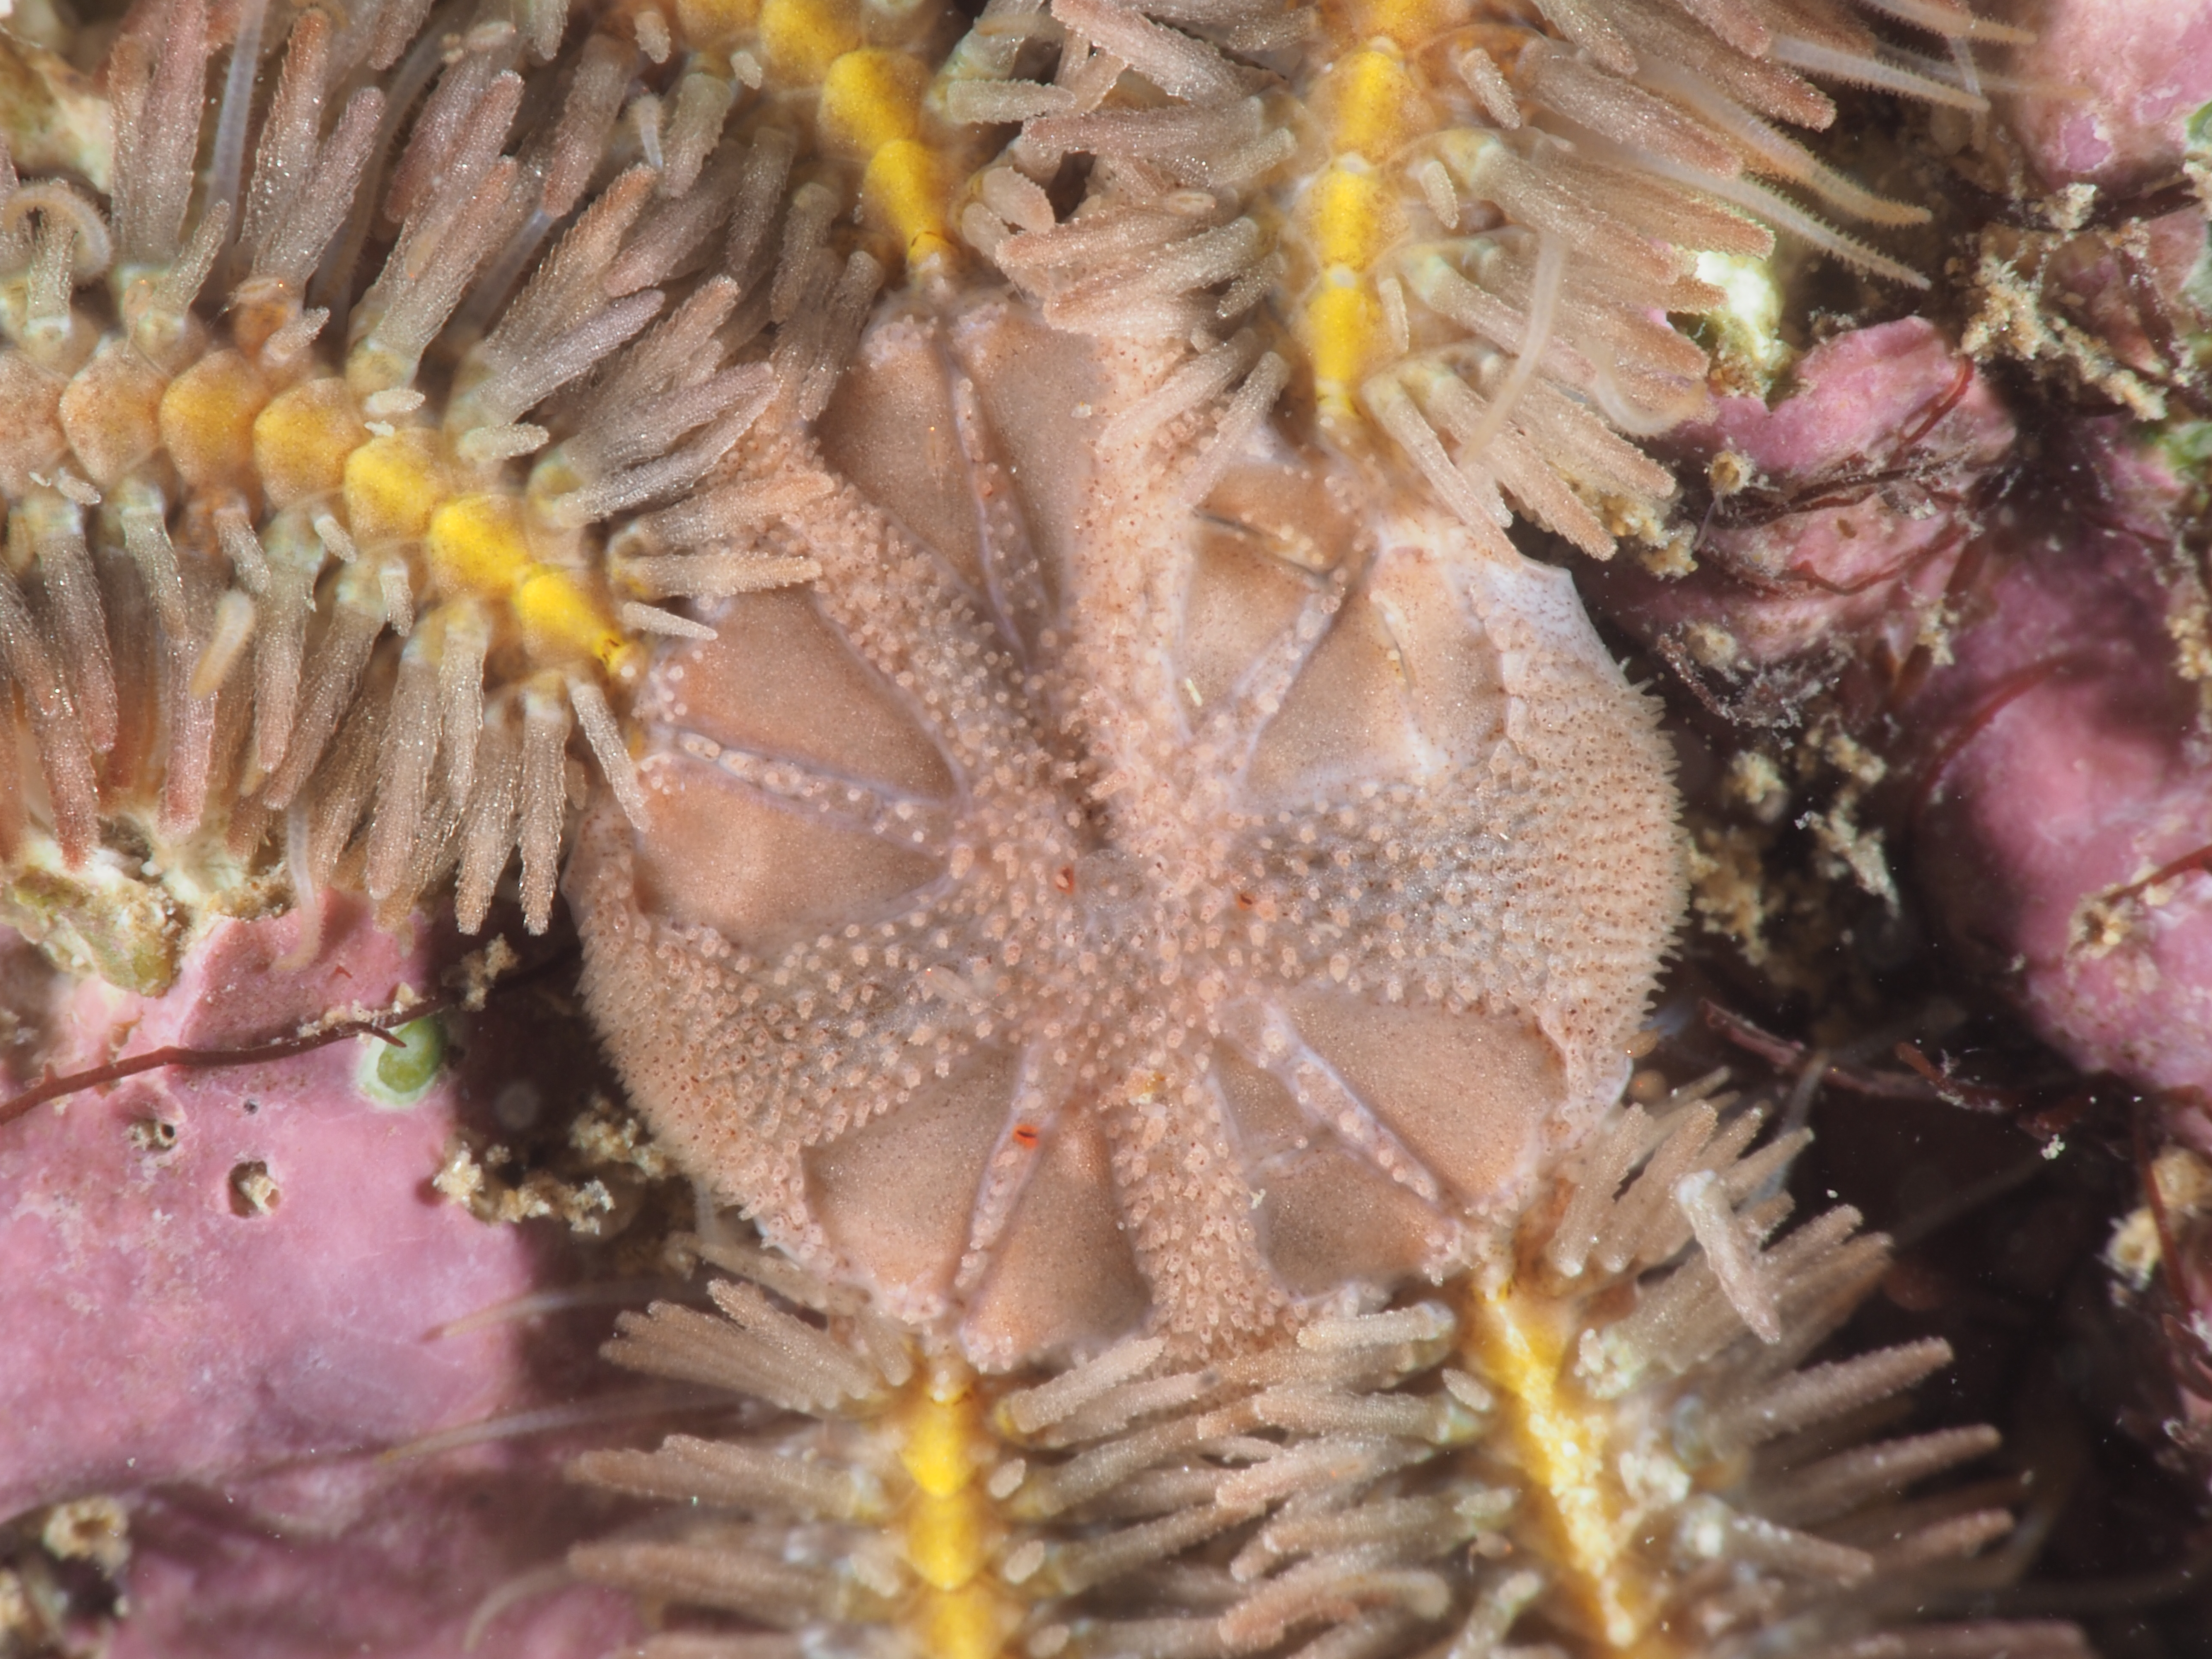
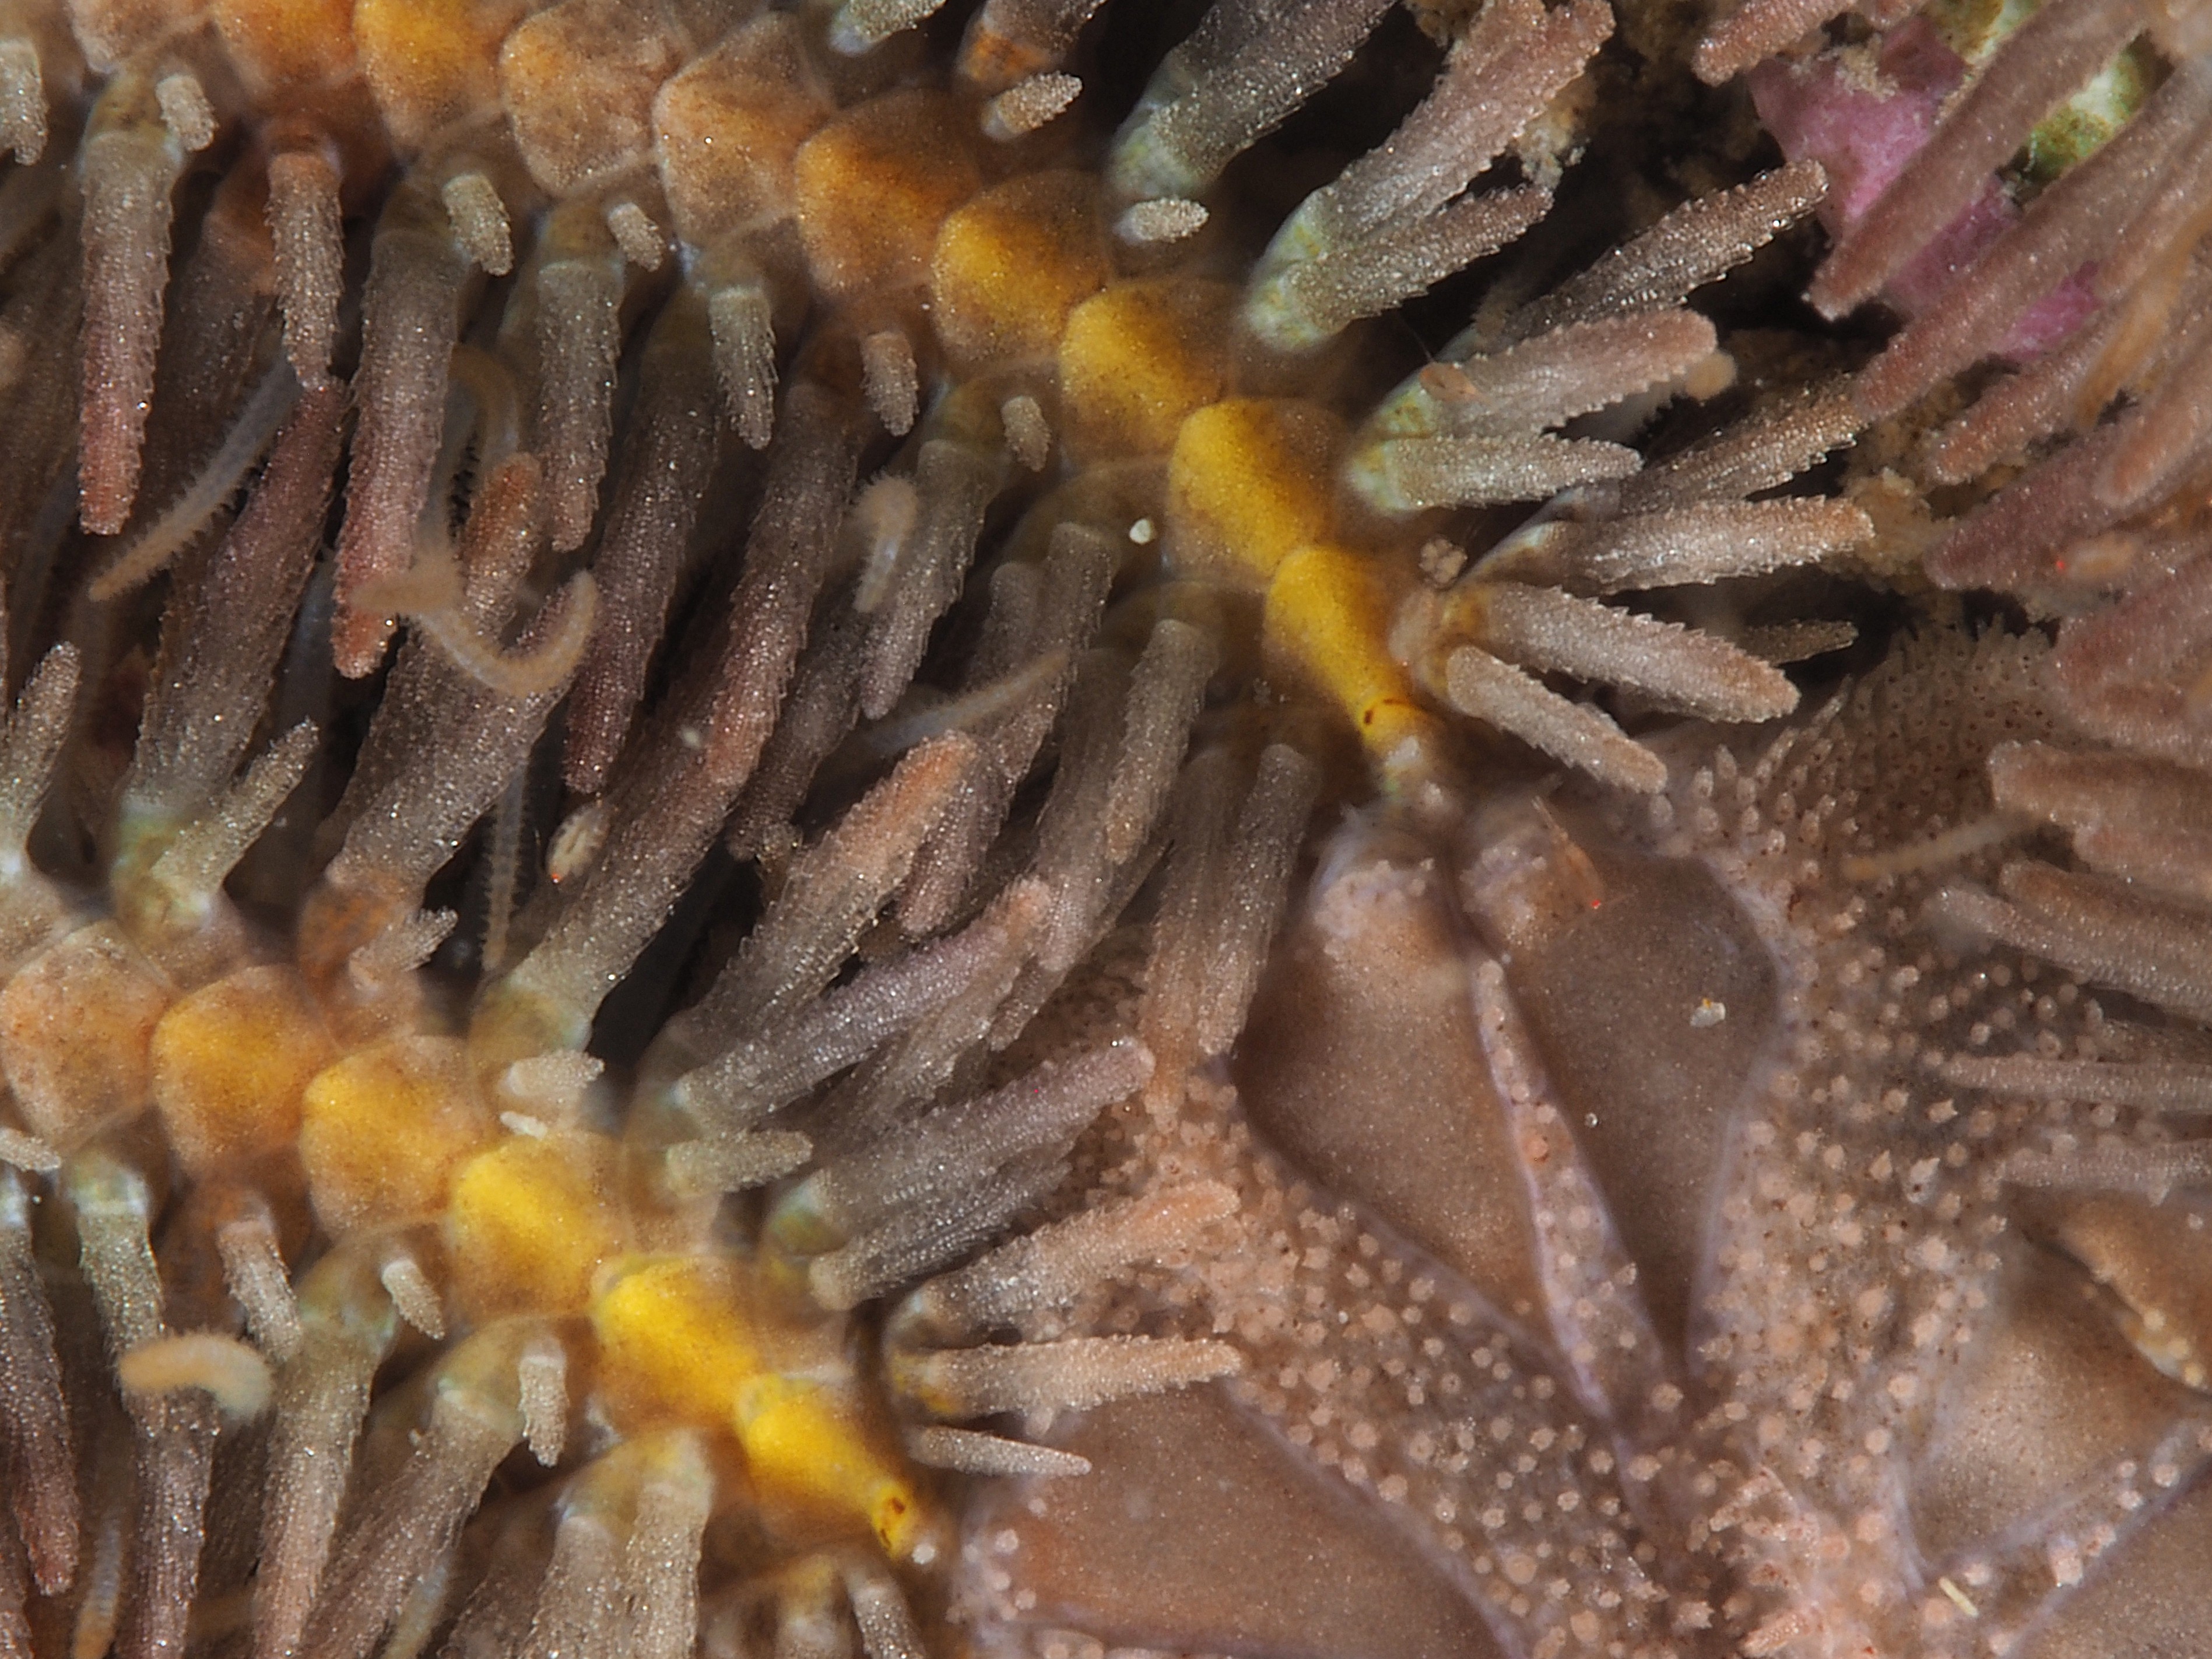
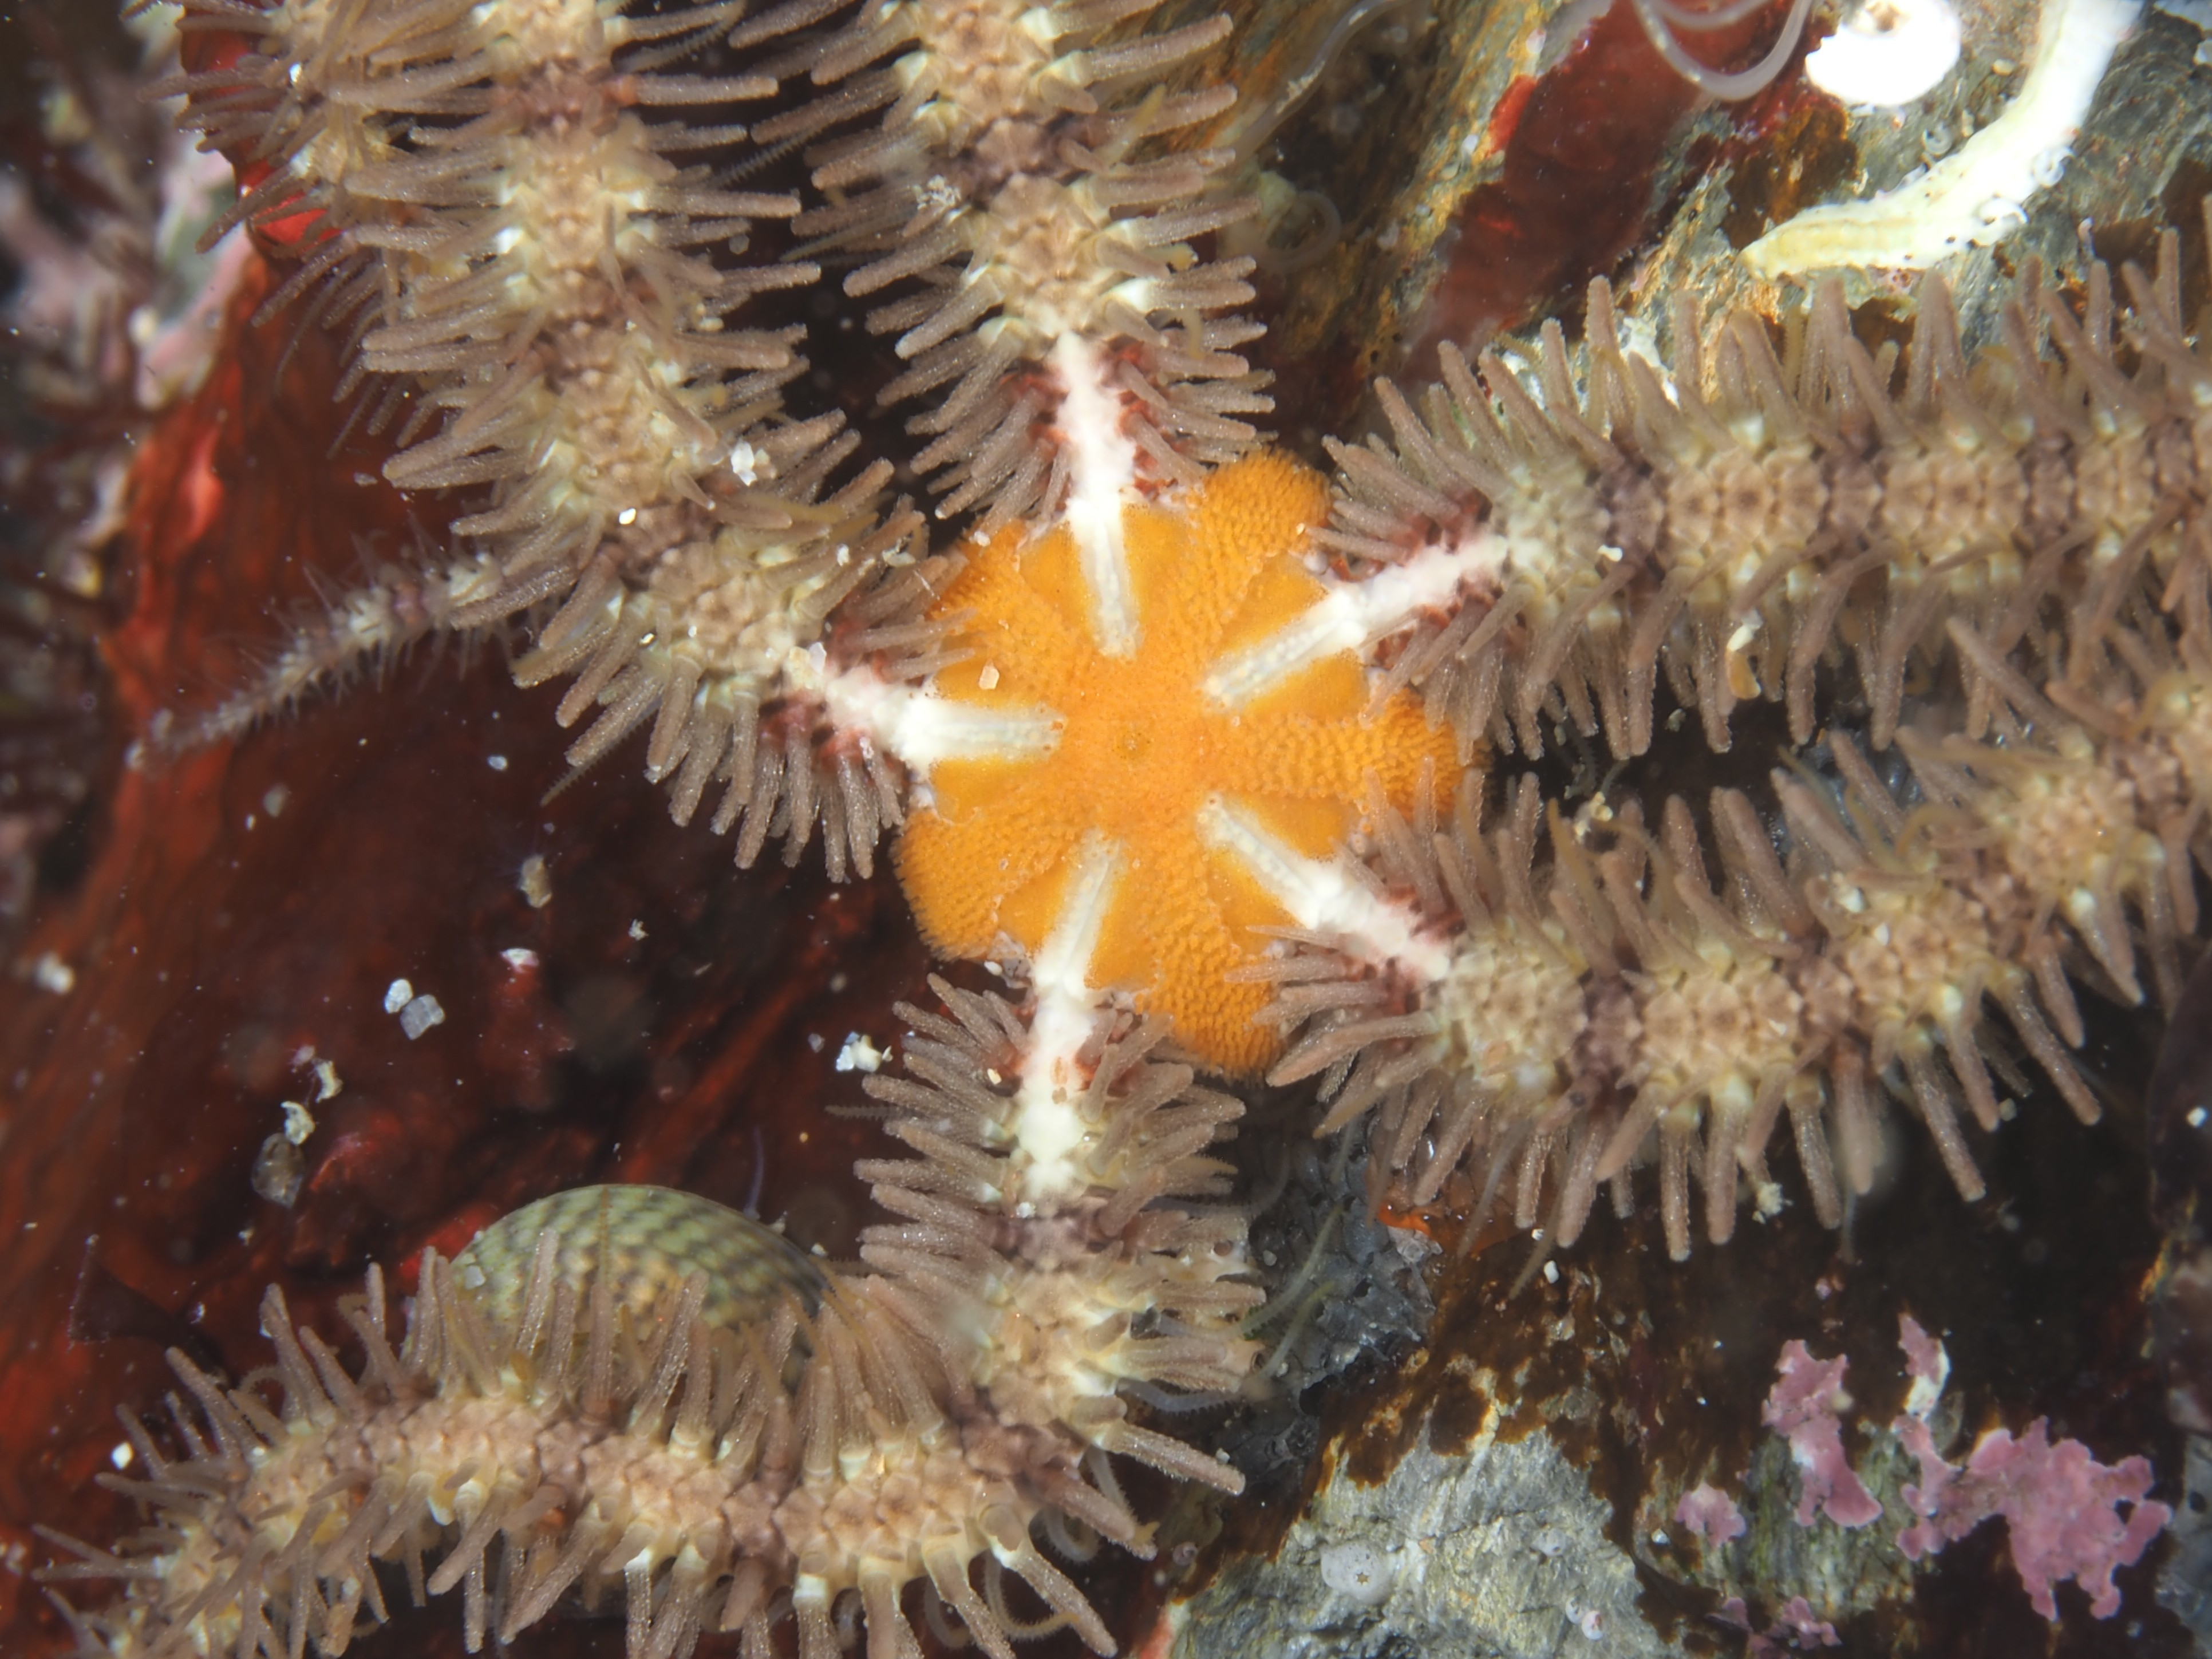
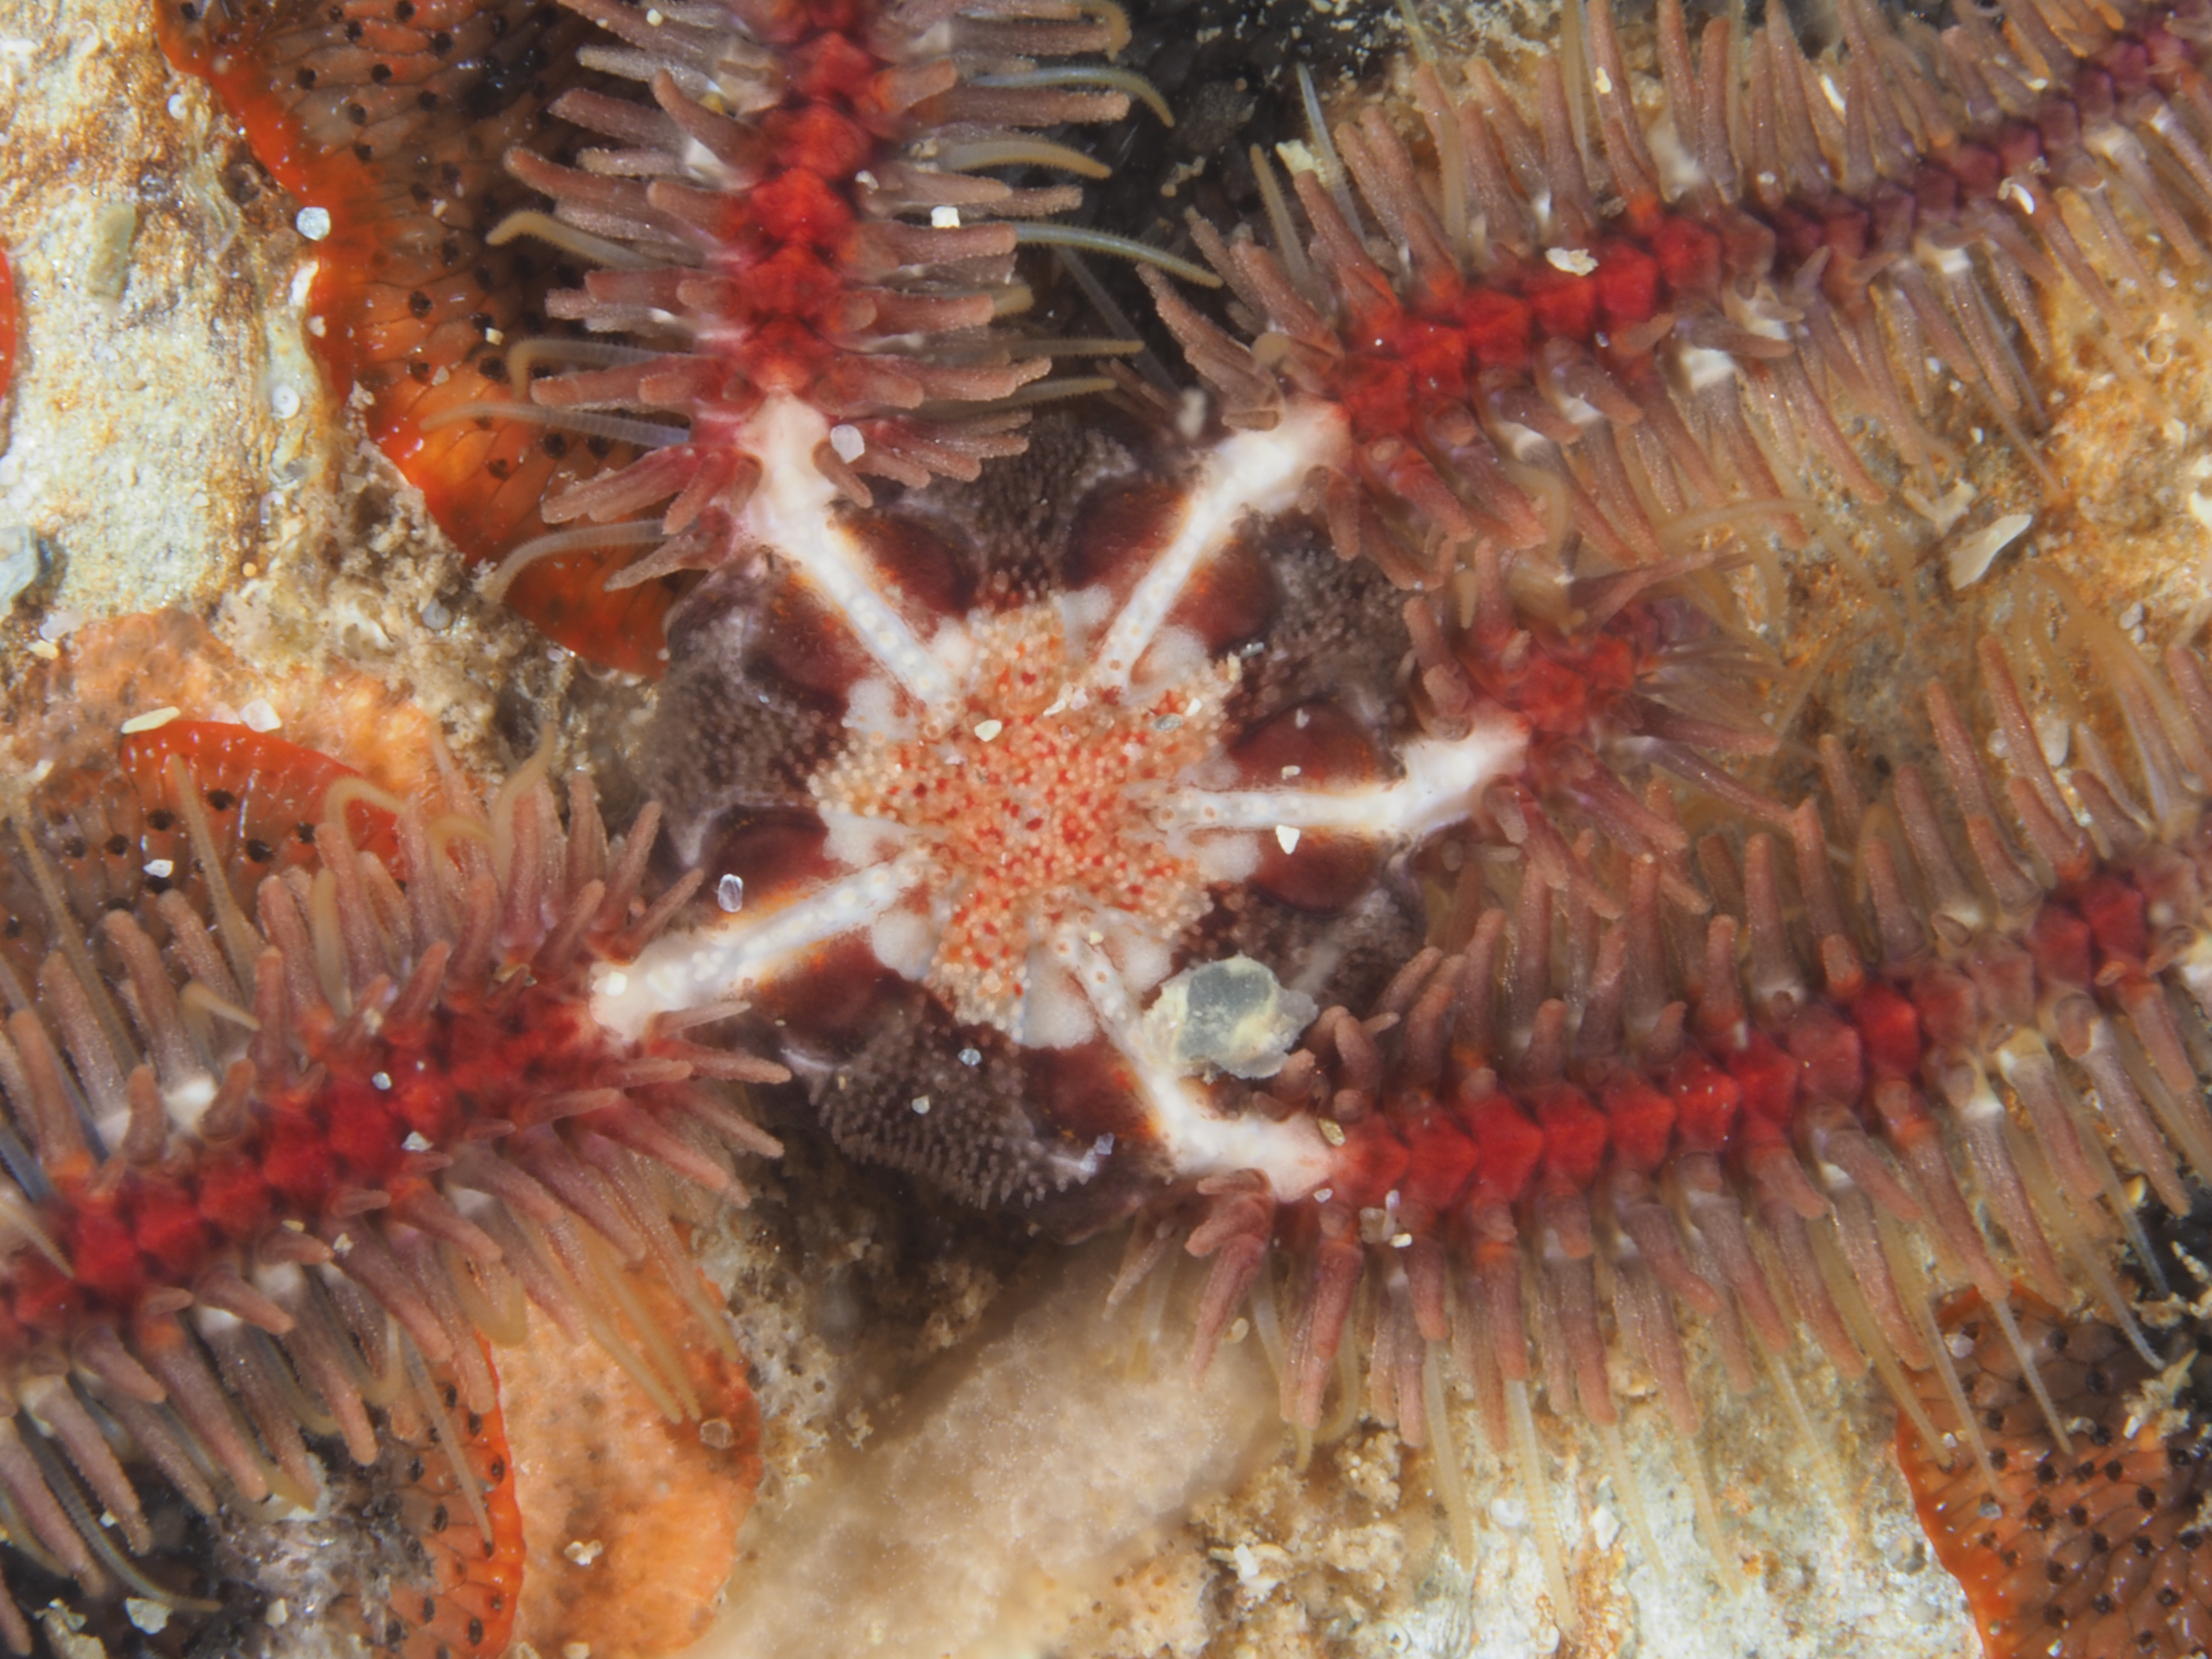
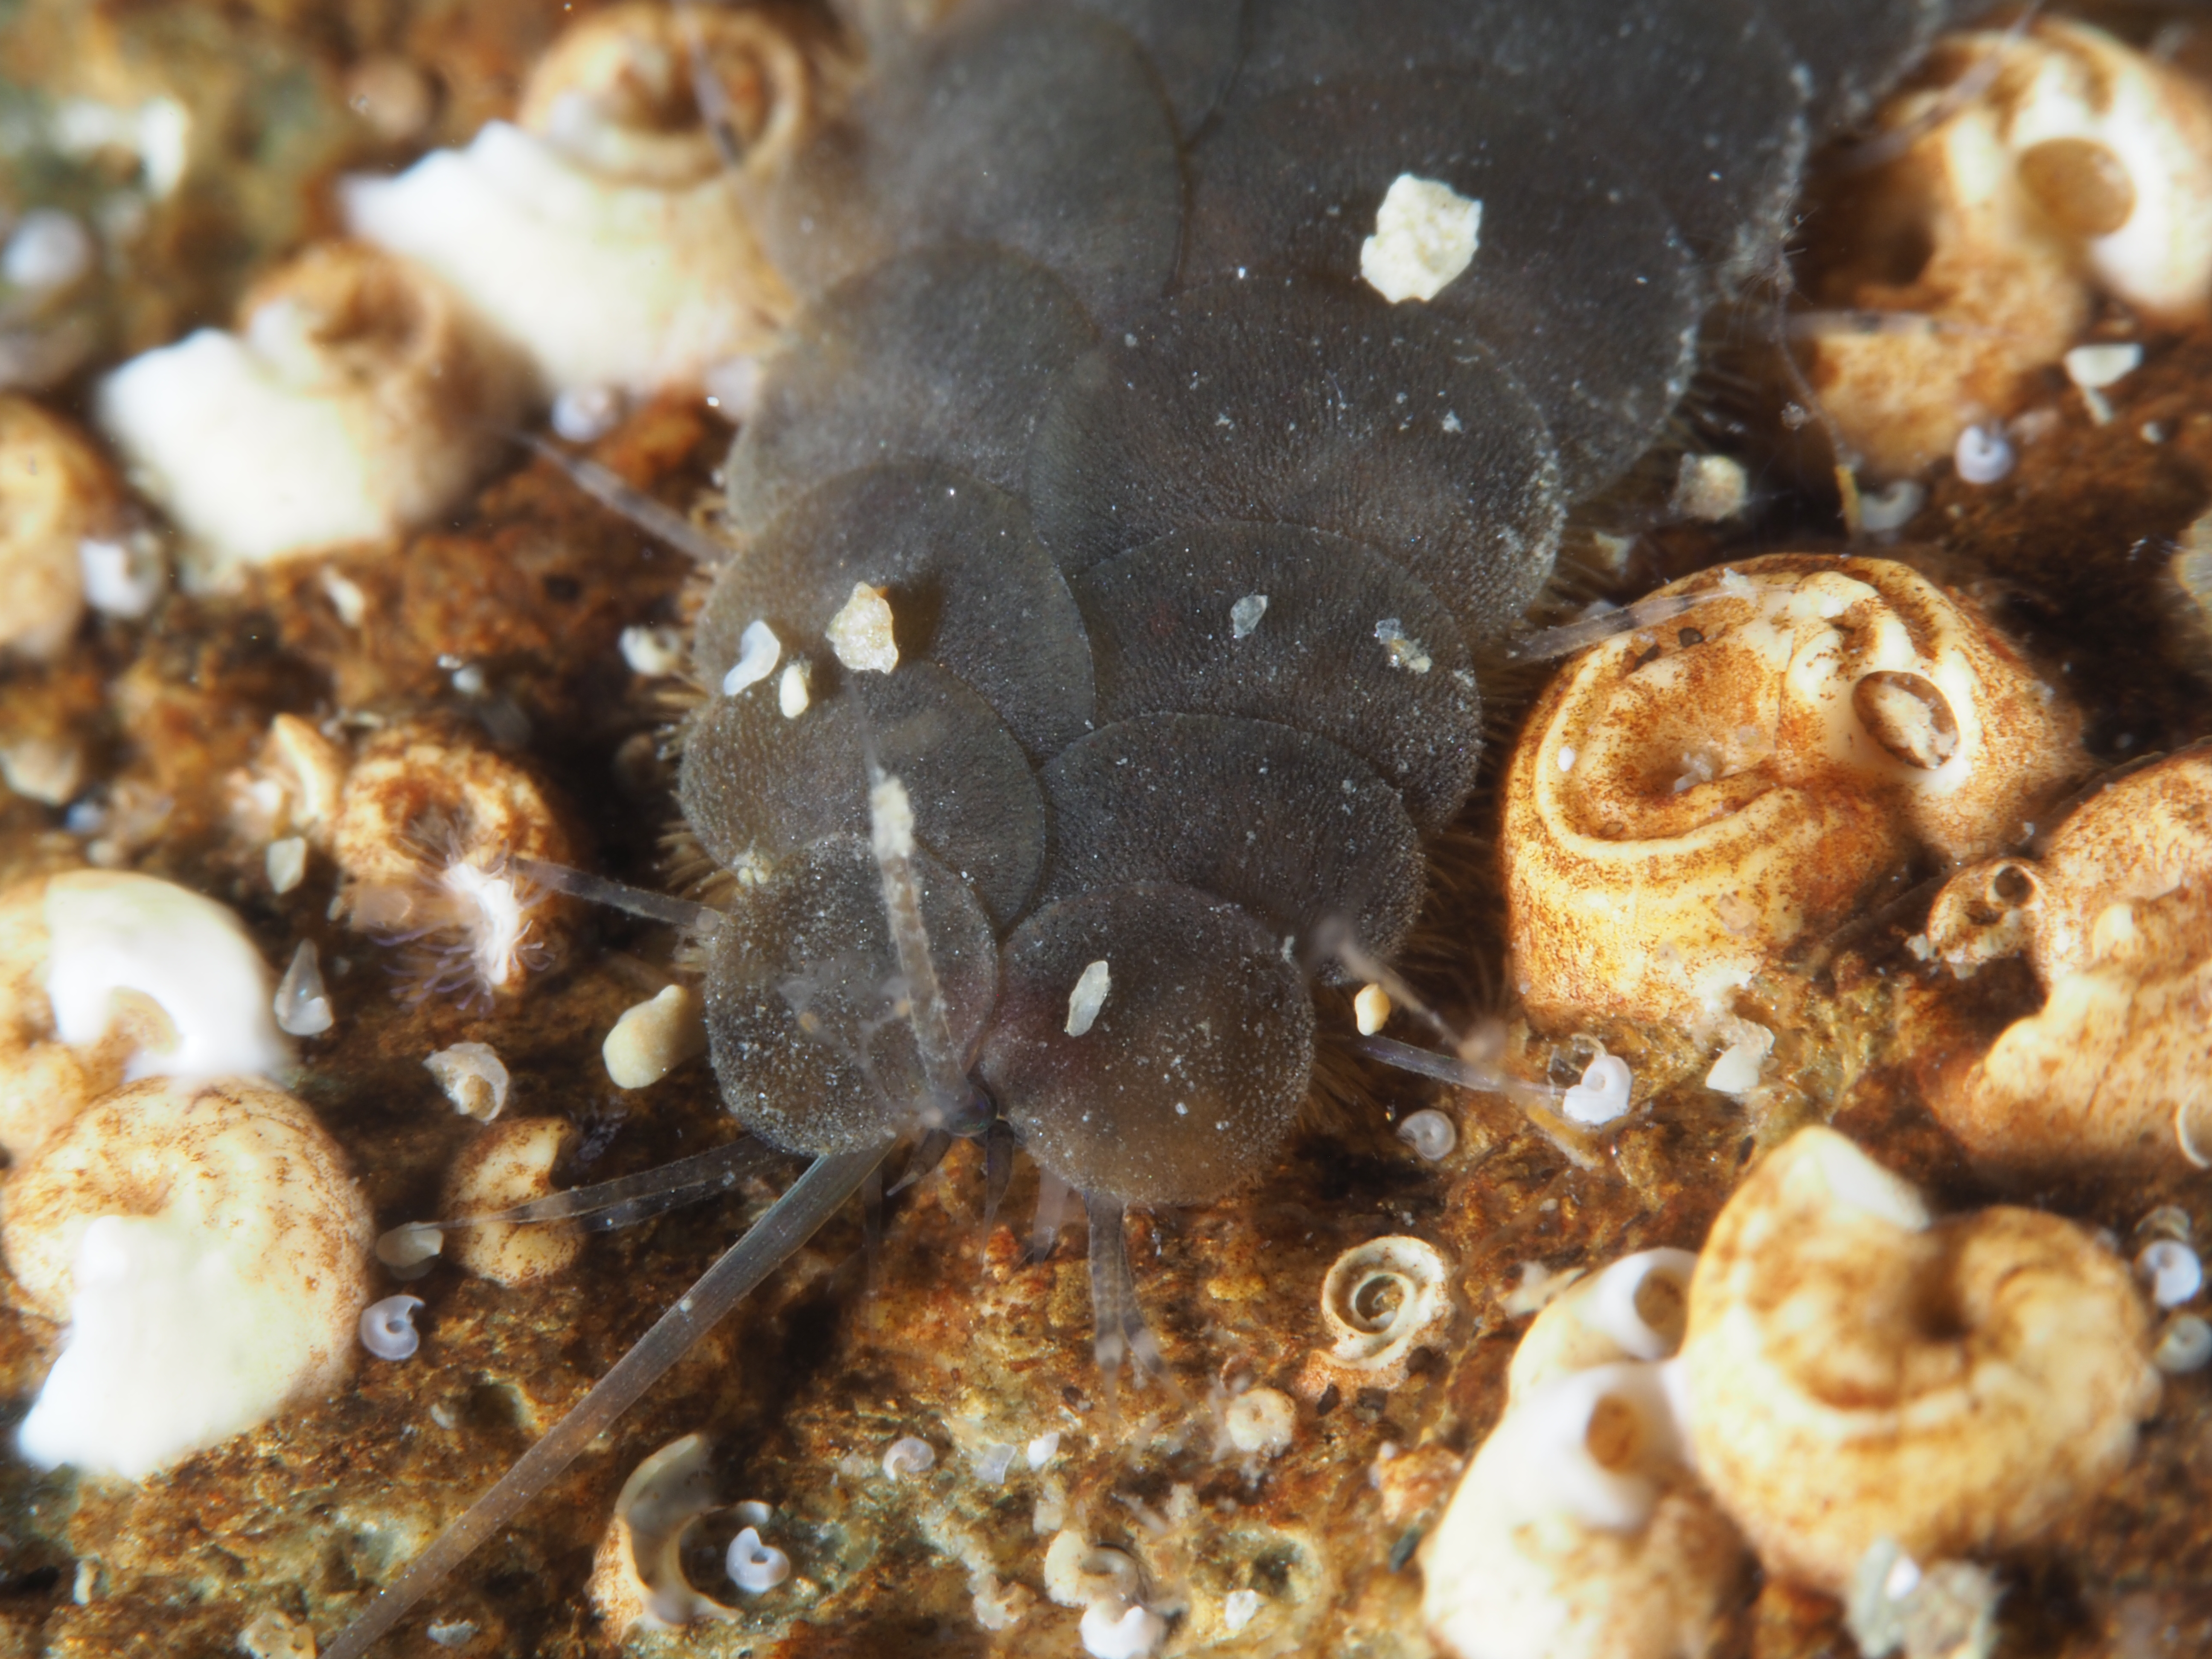
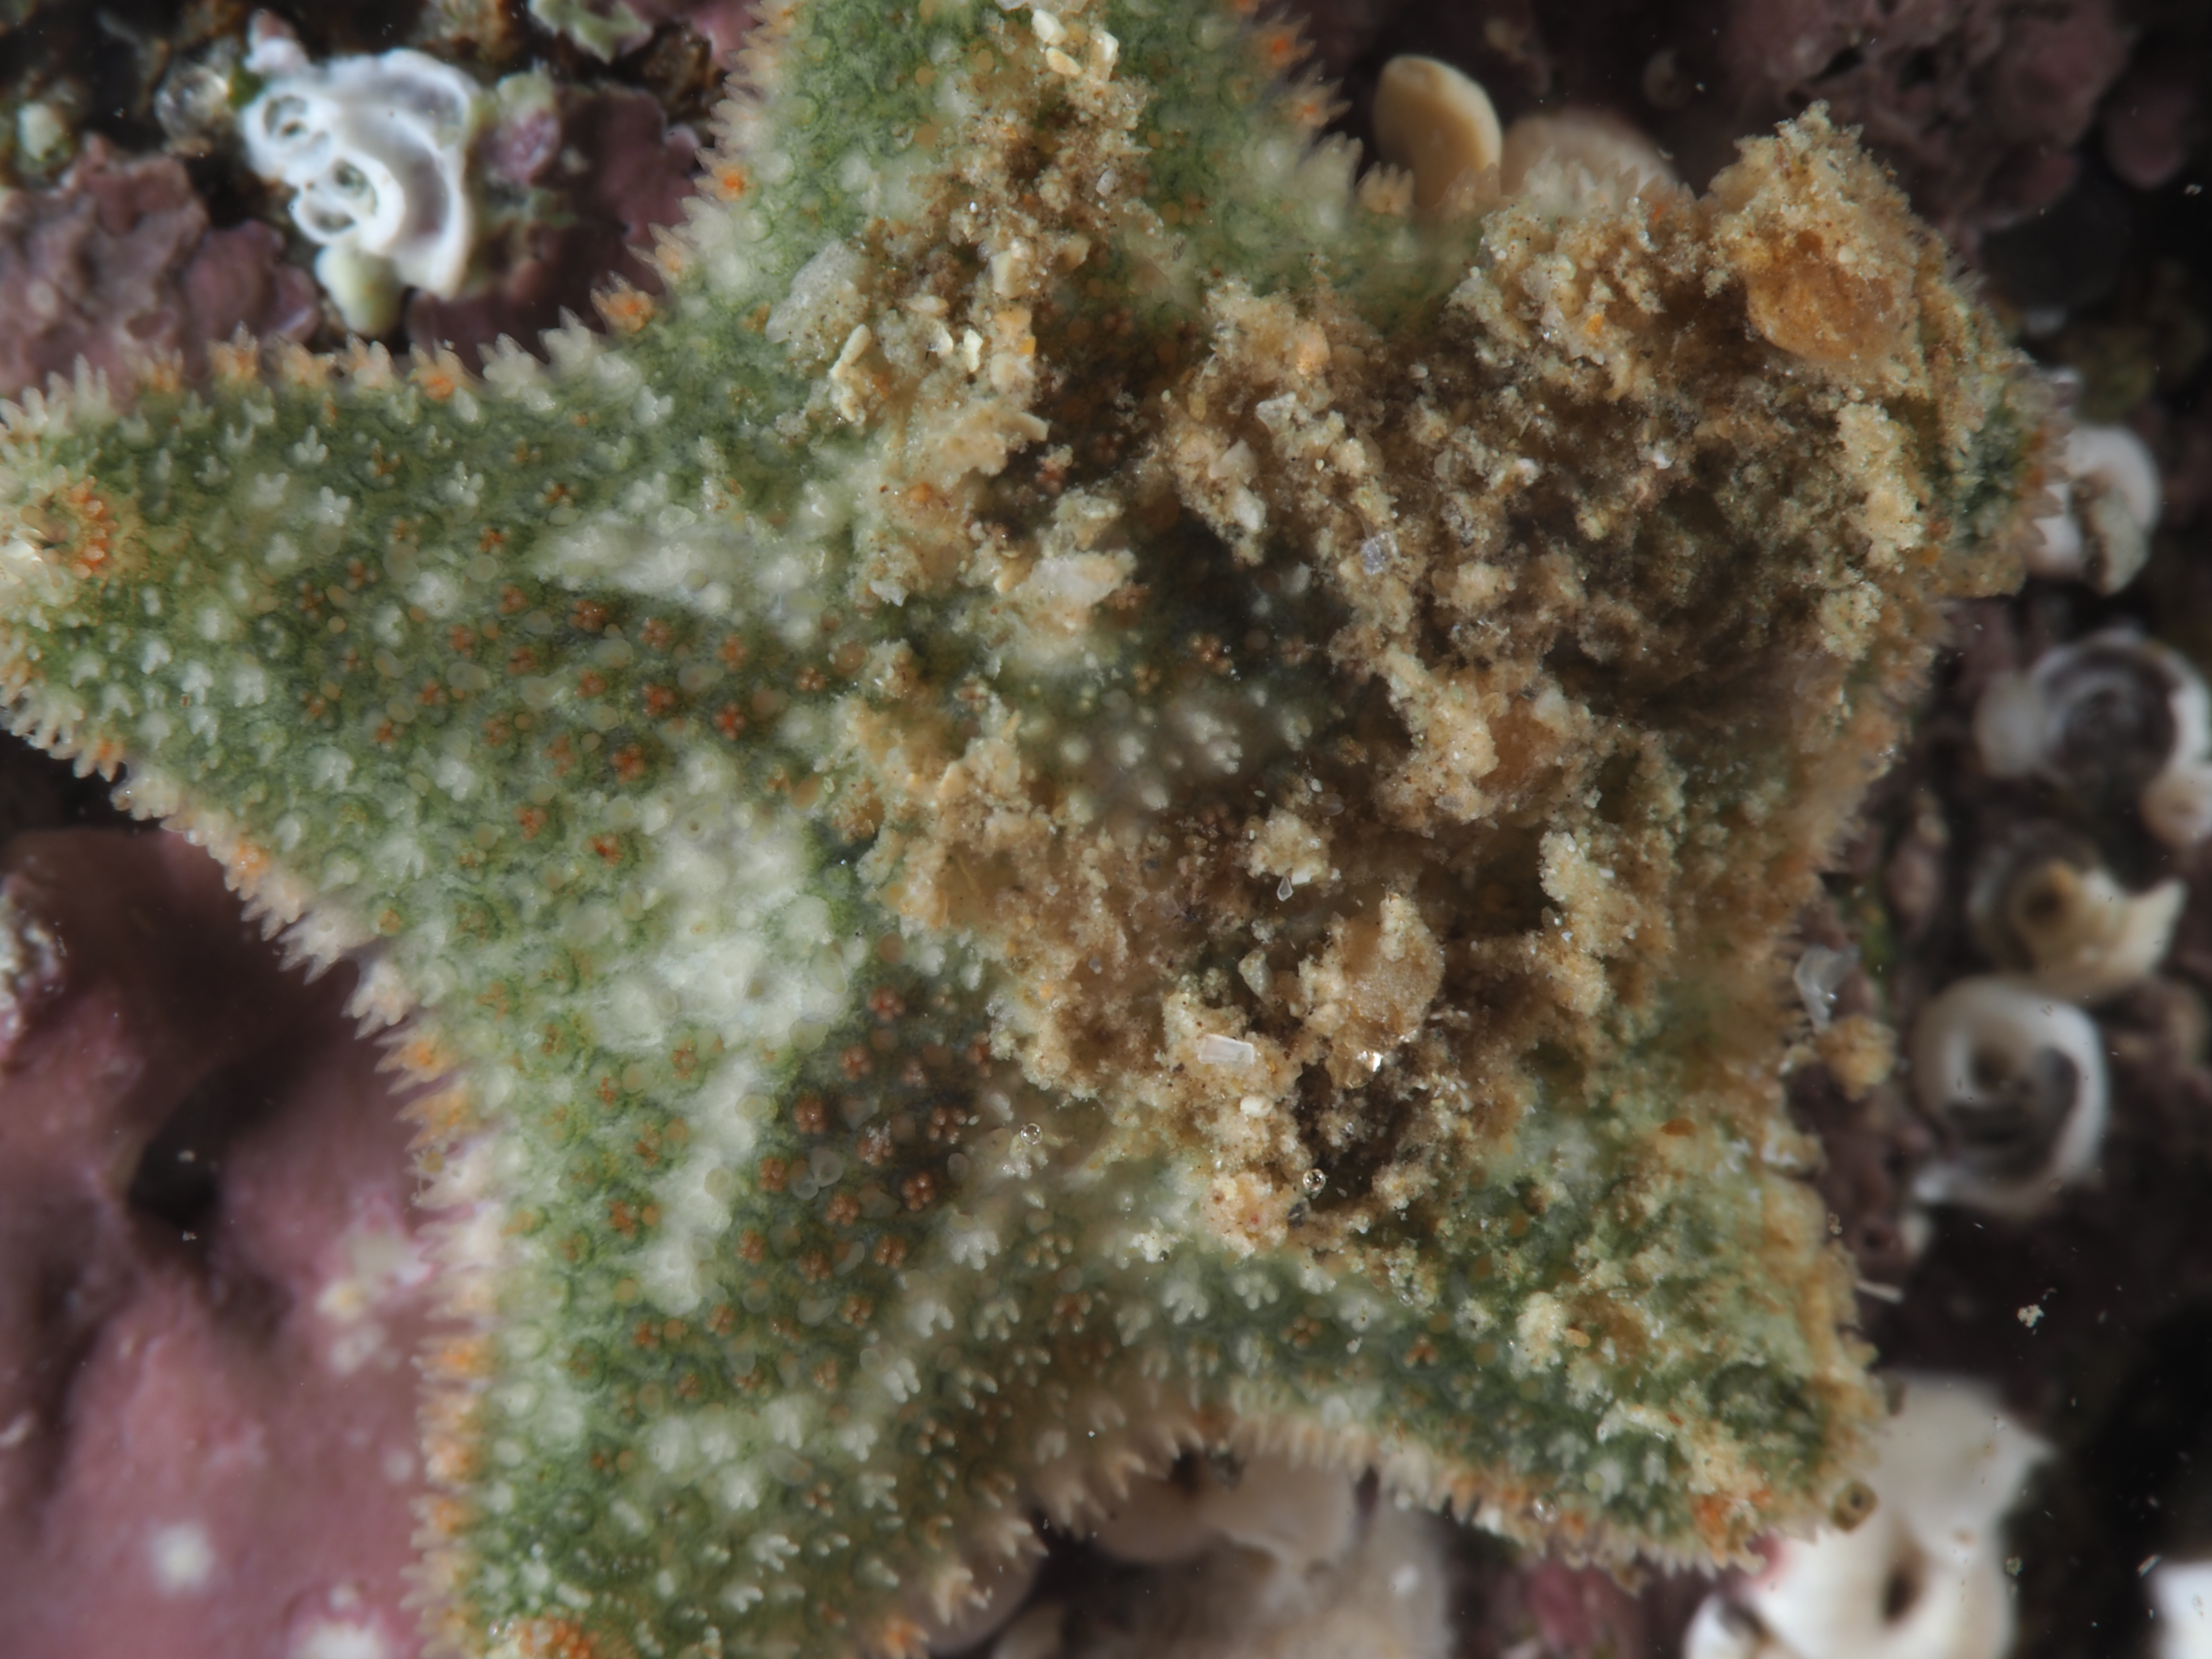
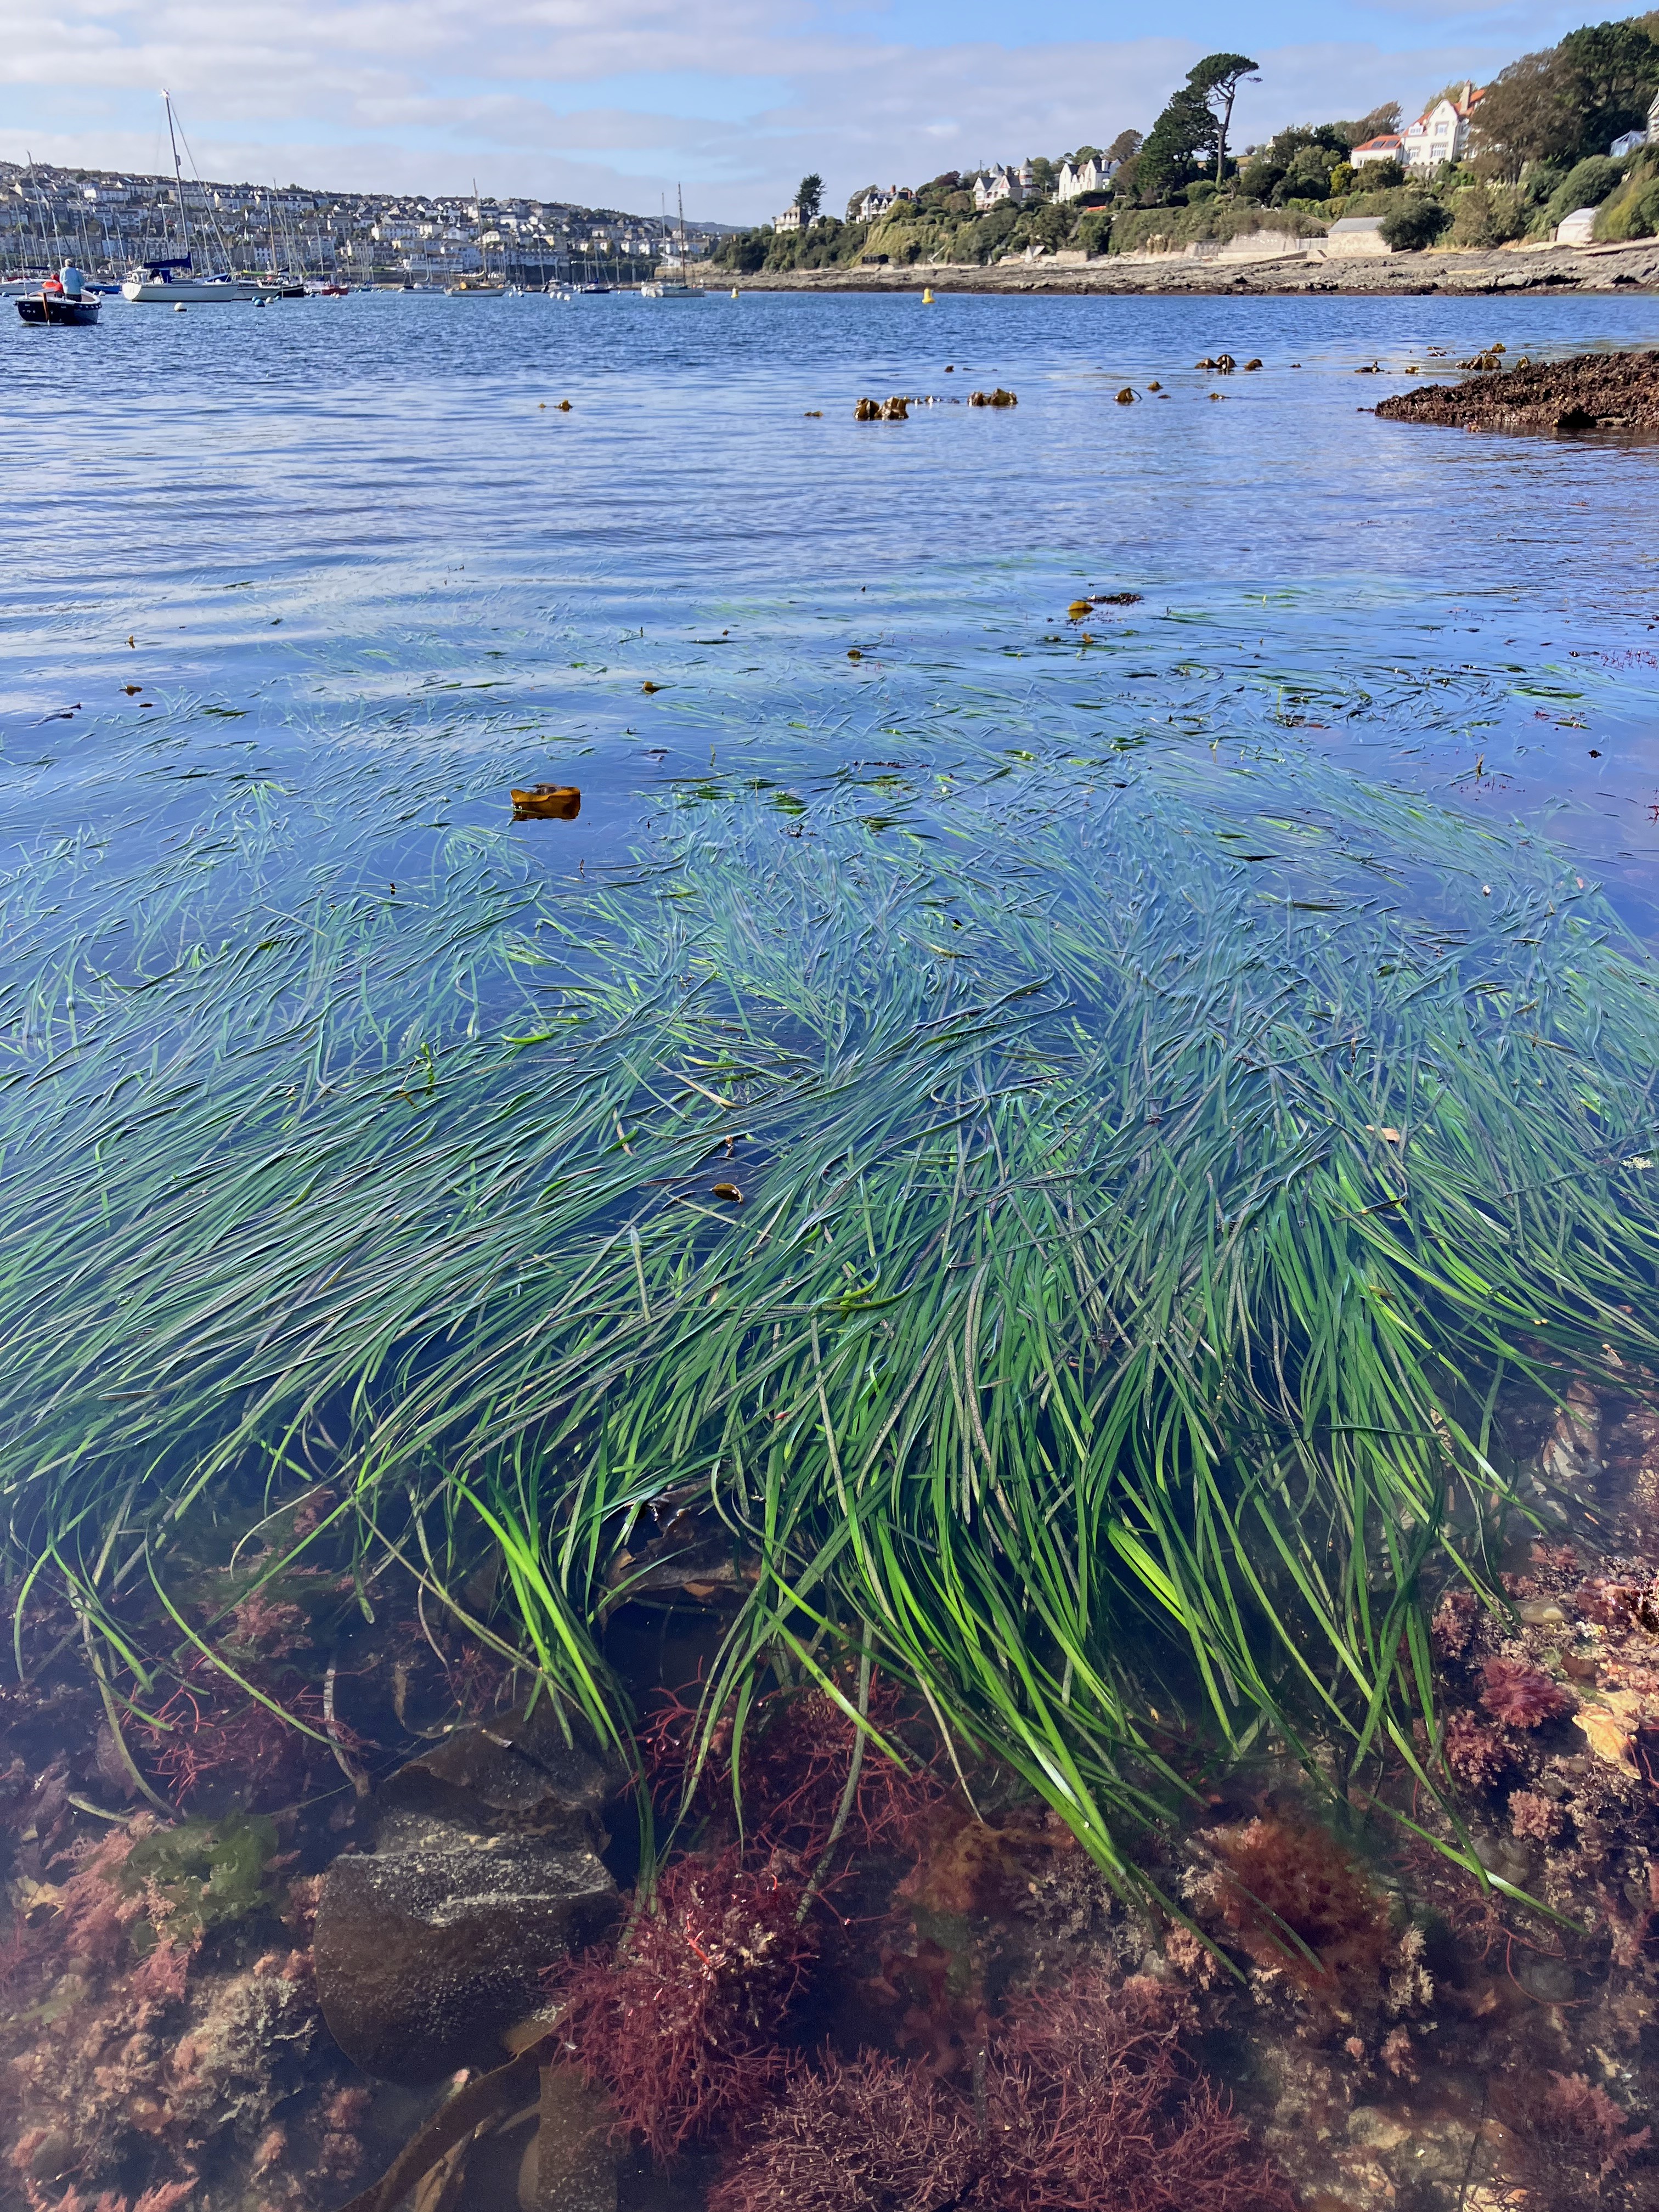
Some assorted macro photos below and at the end a view at a very low tide of the Flushing seagrass site this October.
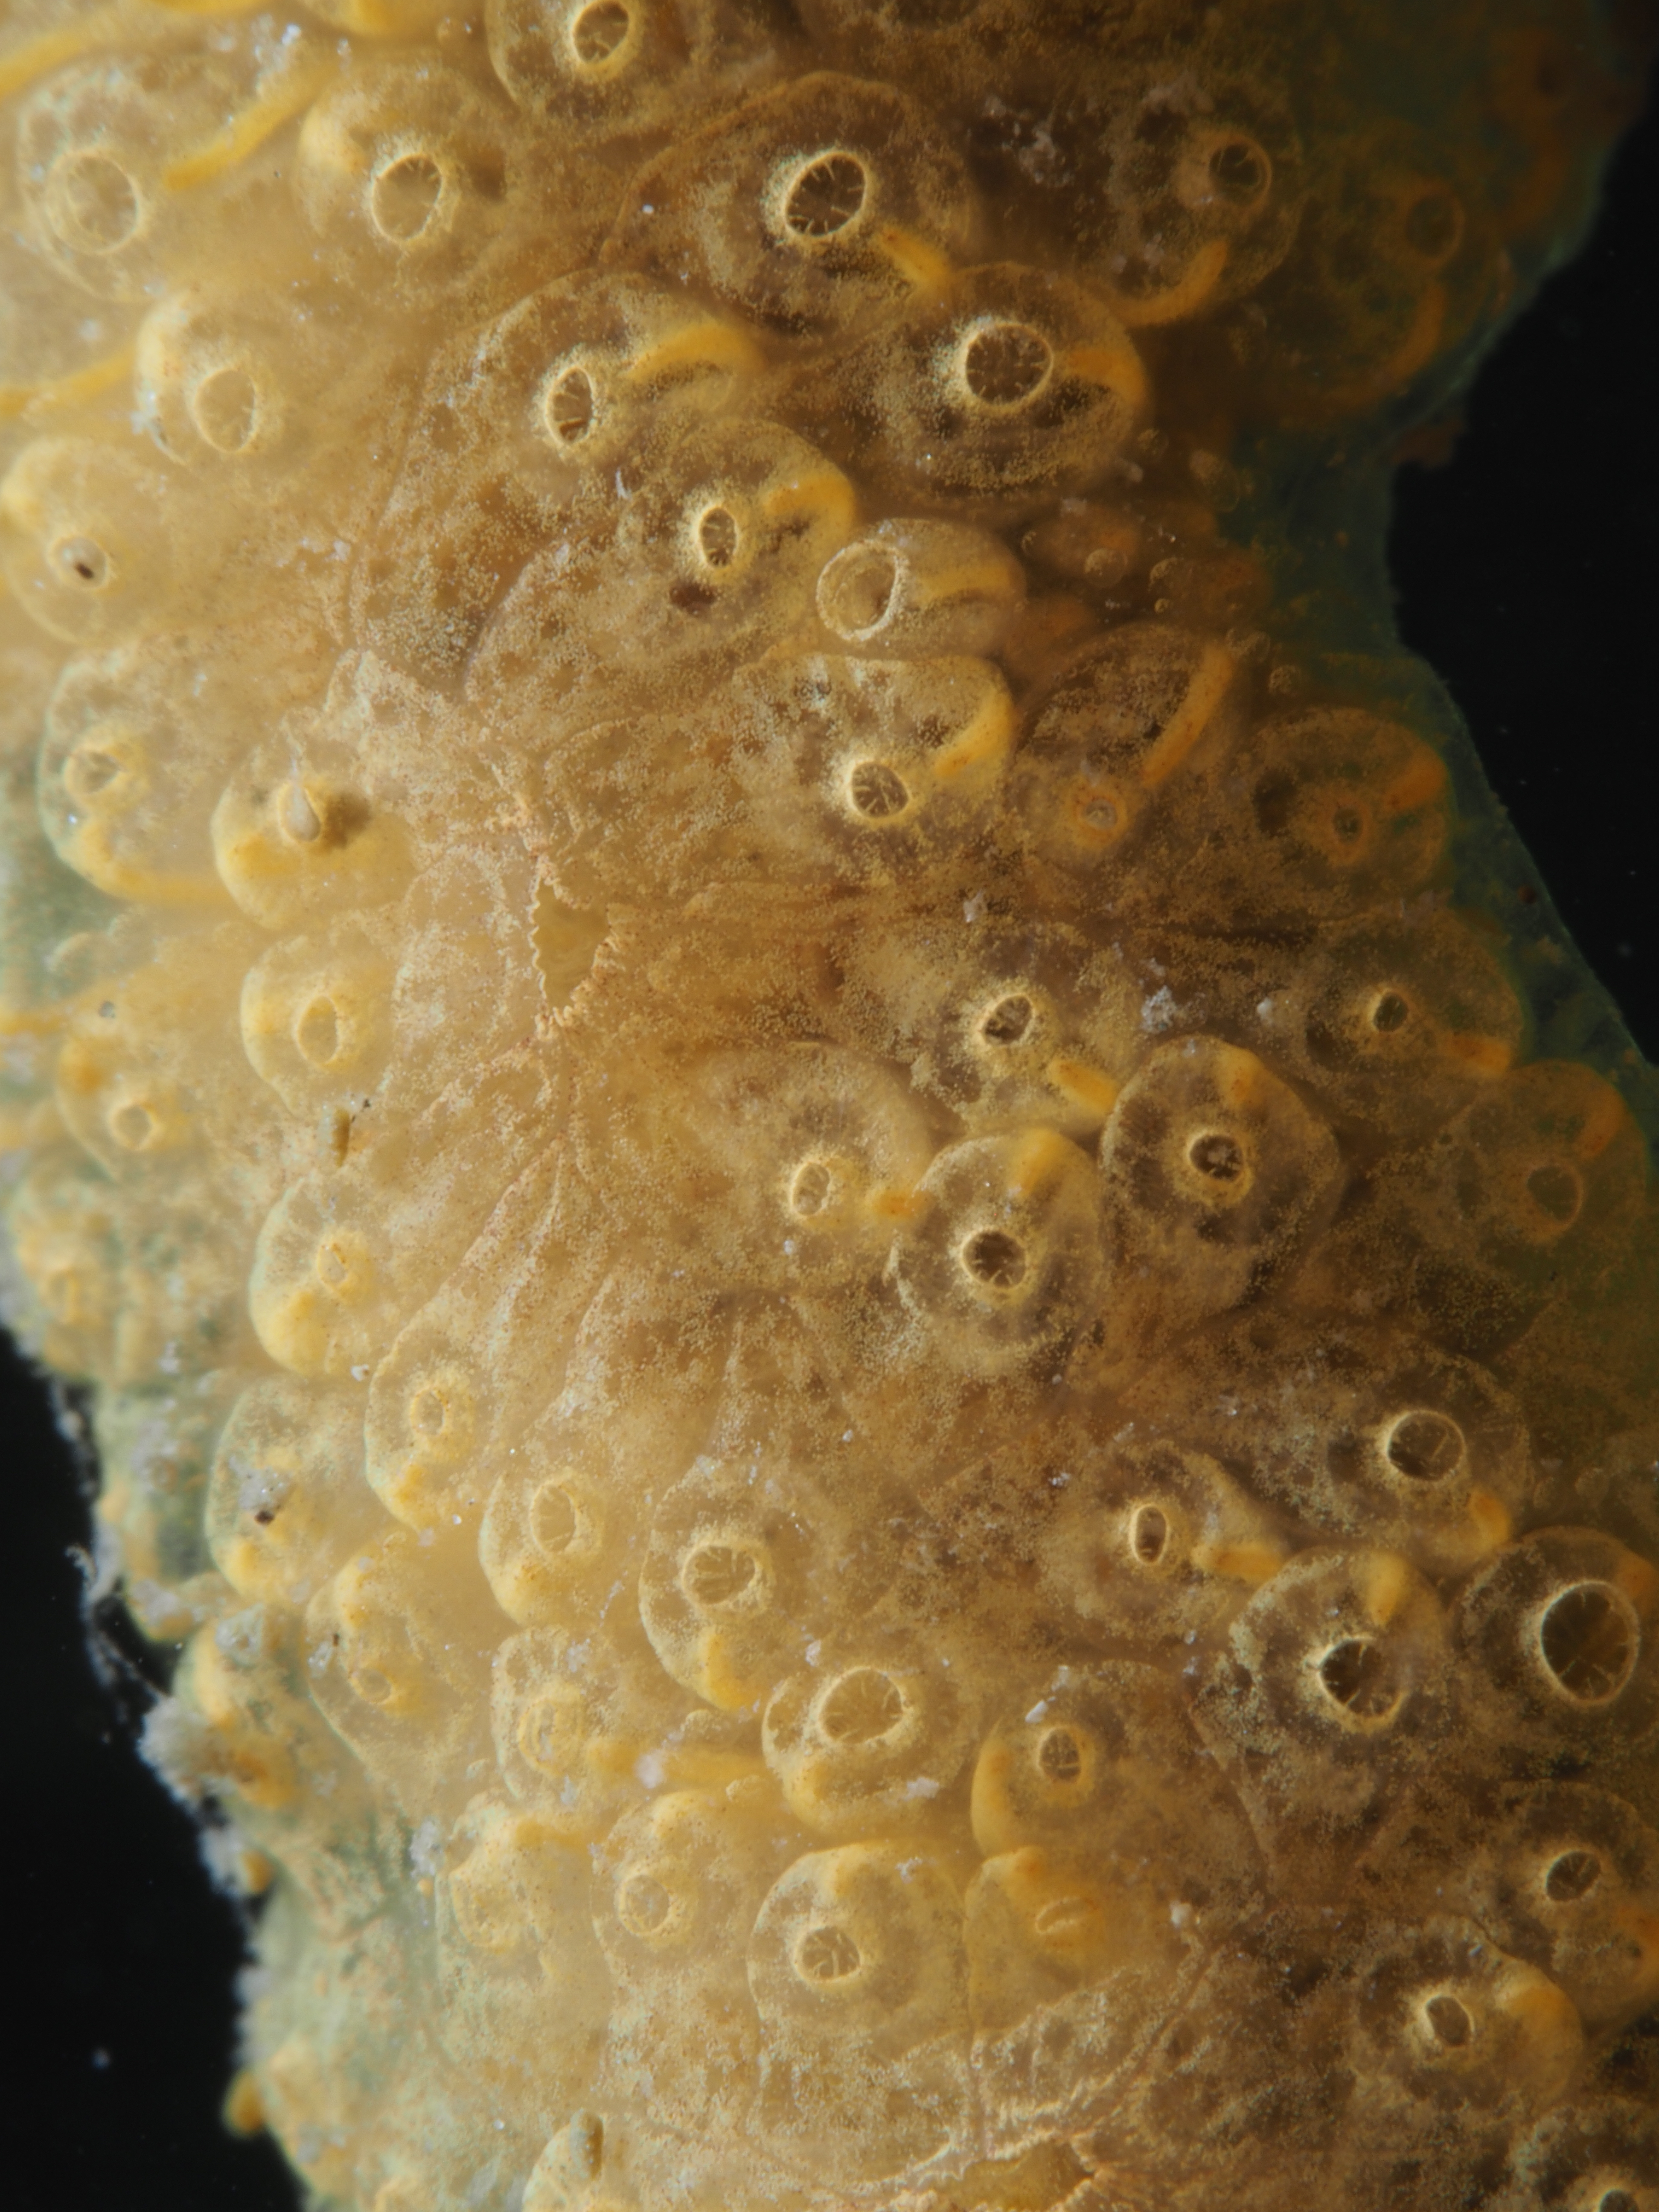
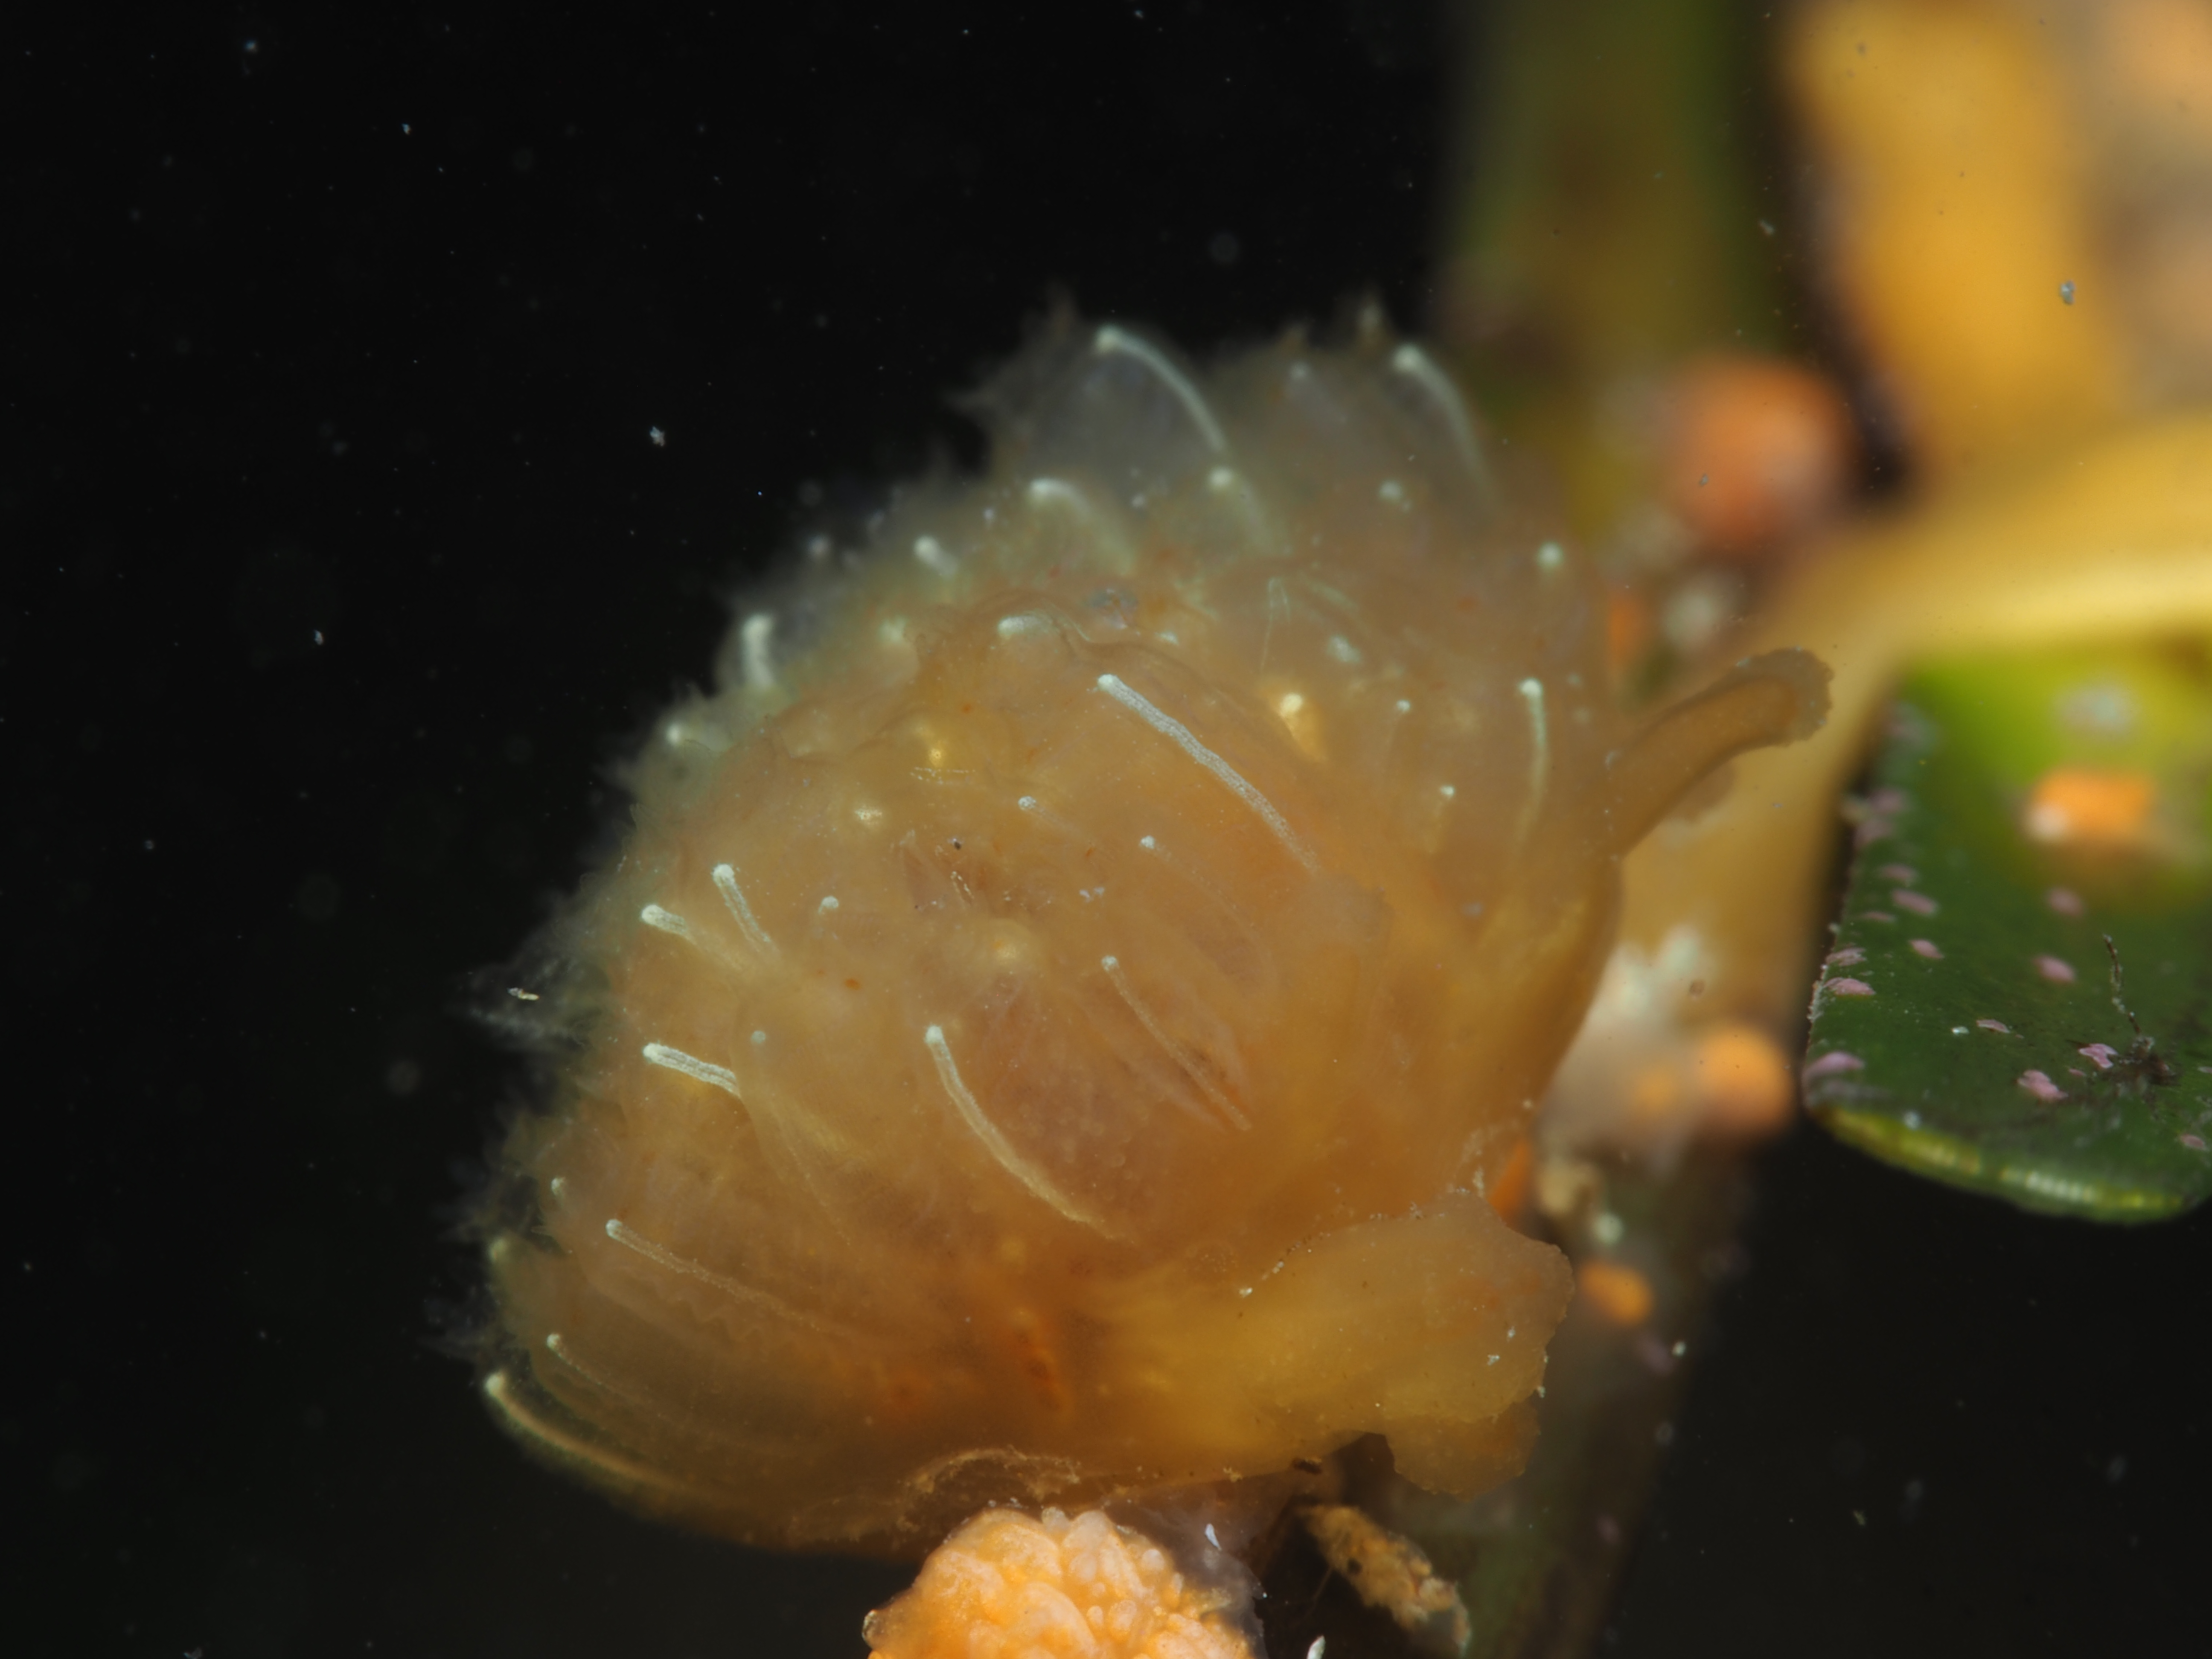


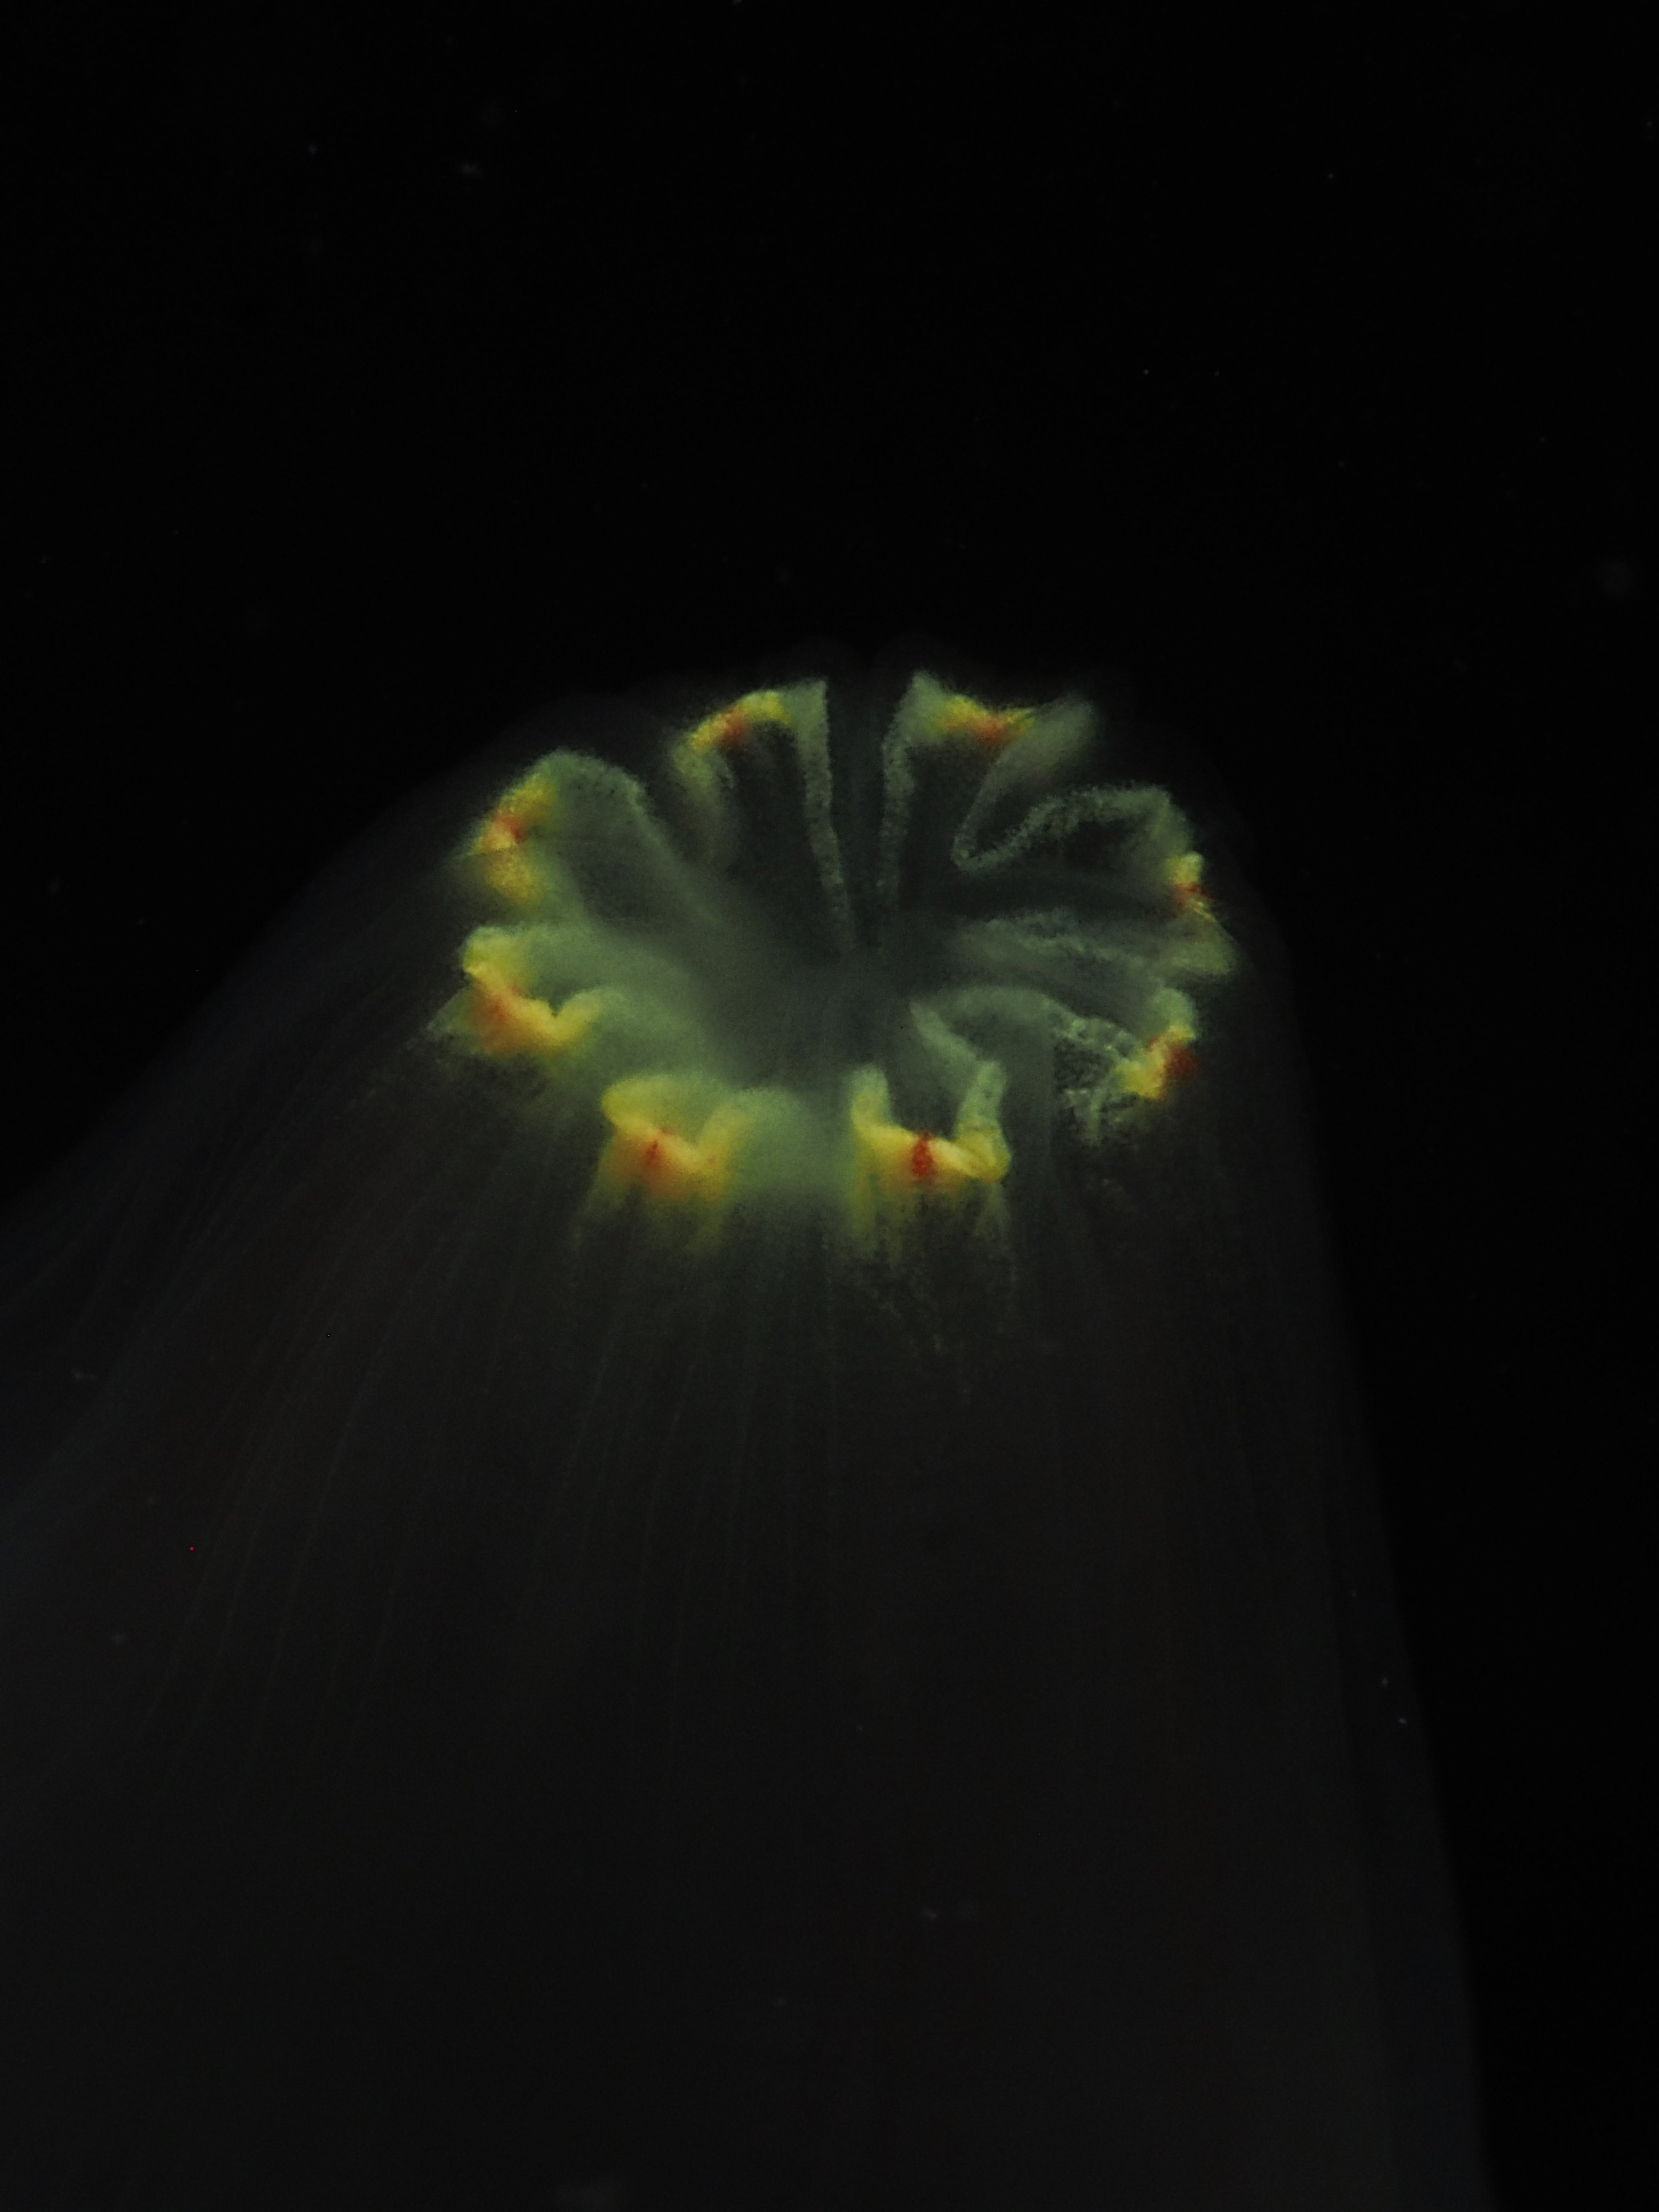
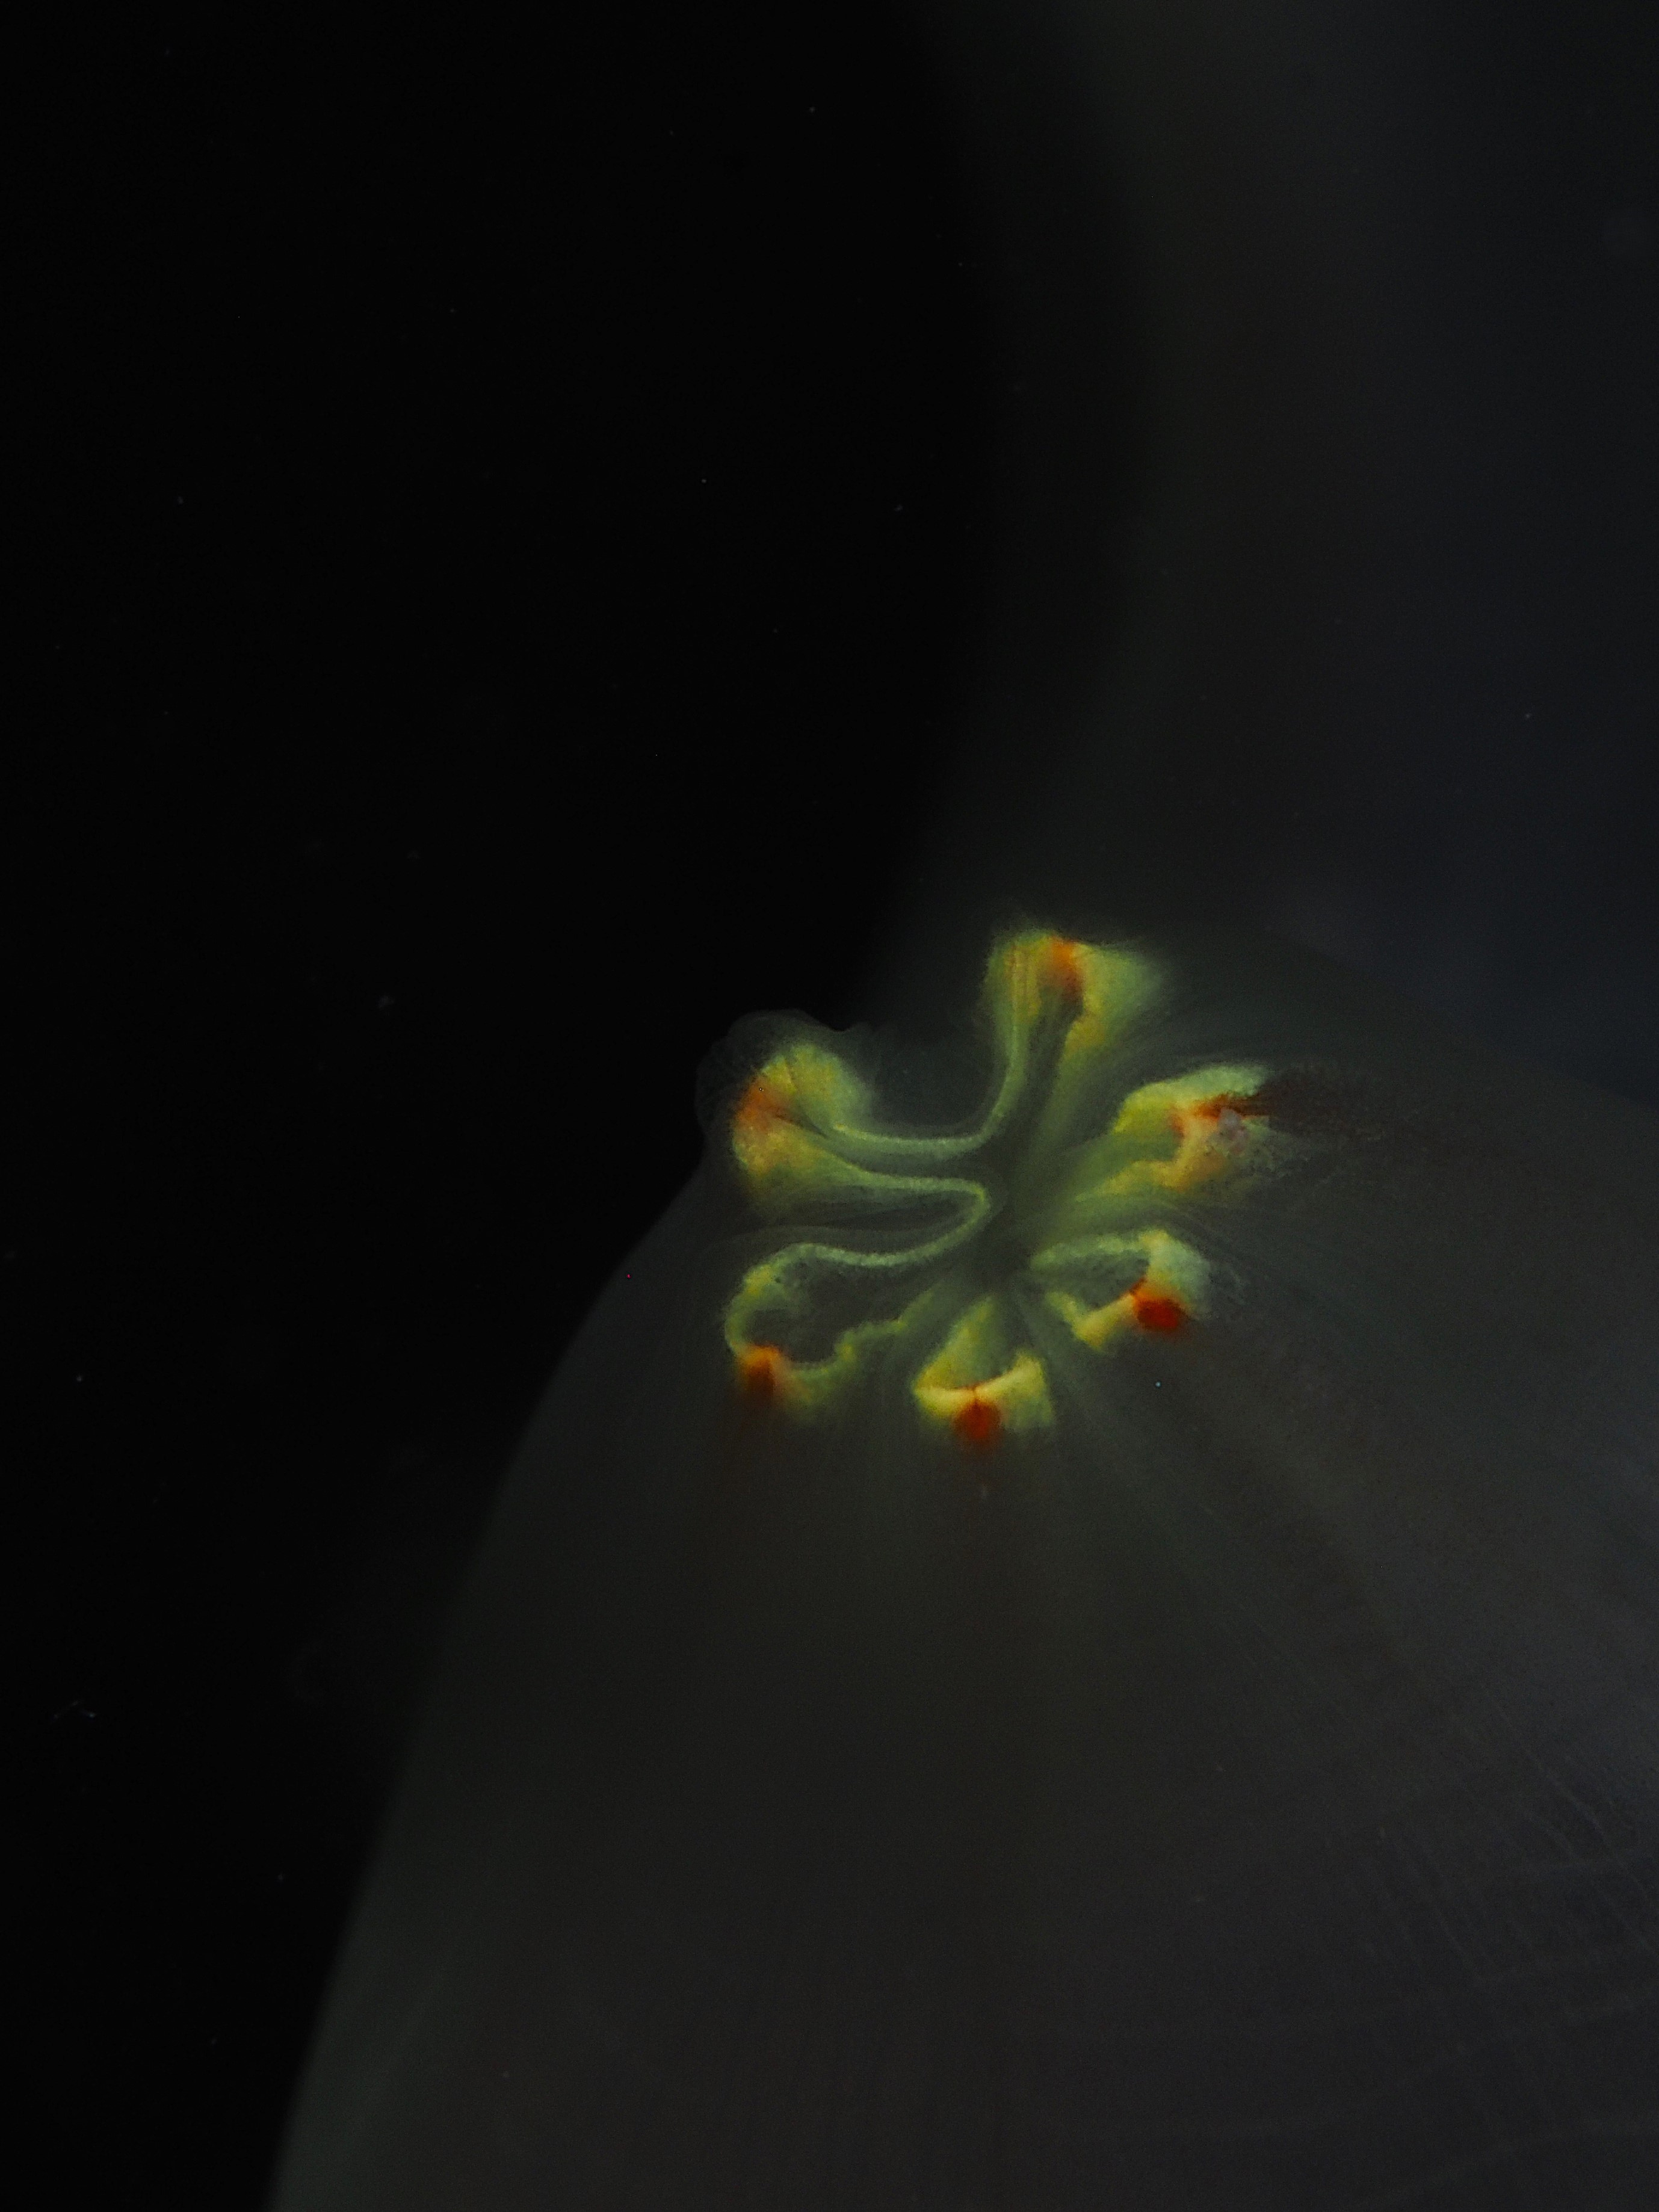
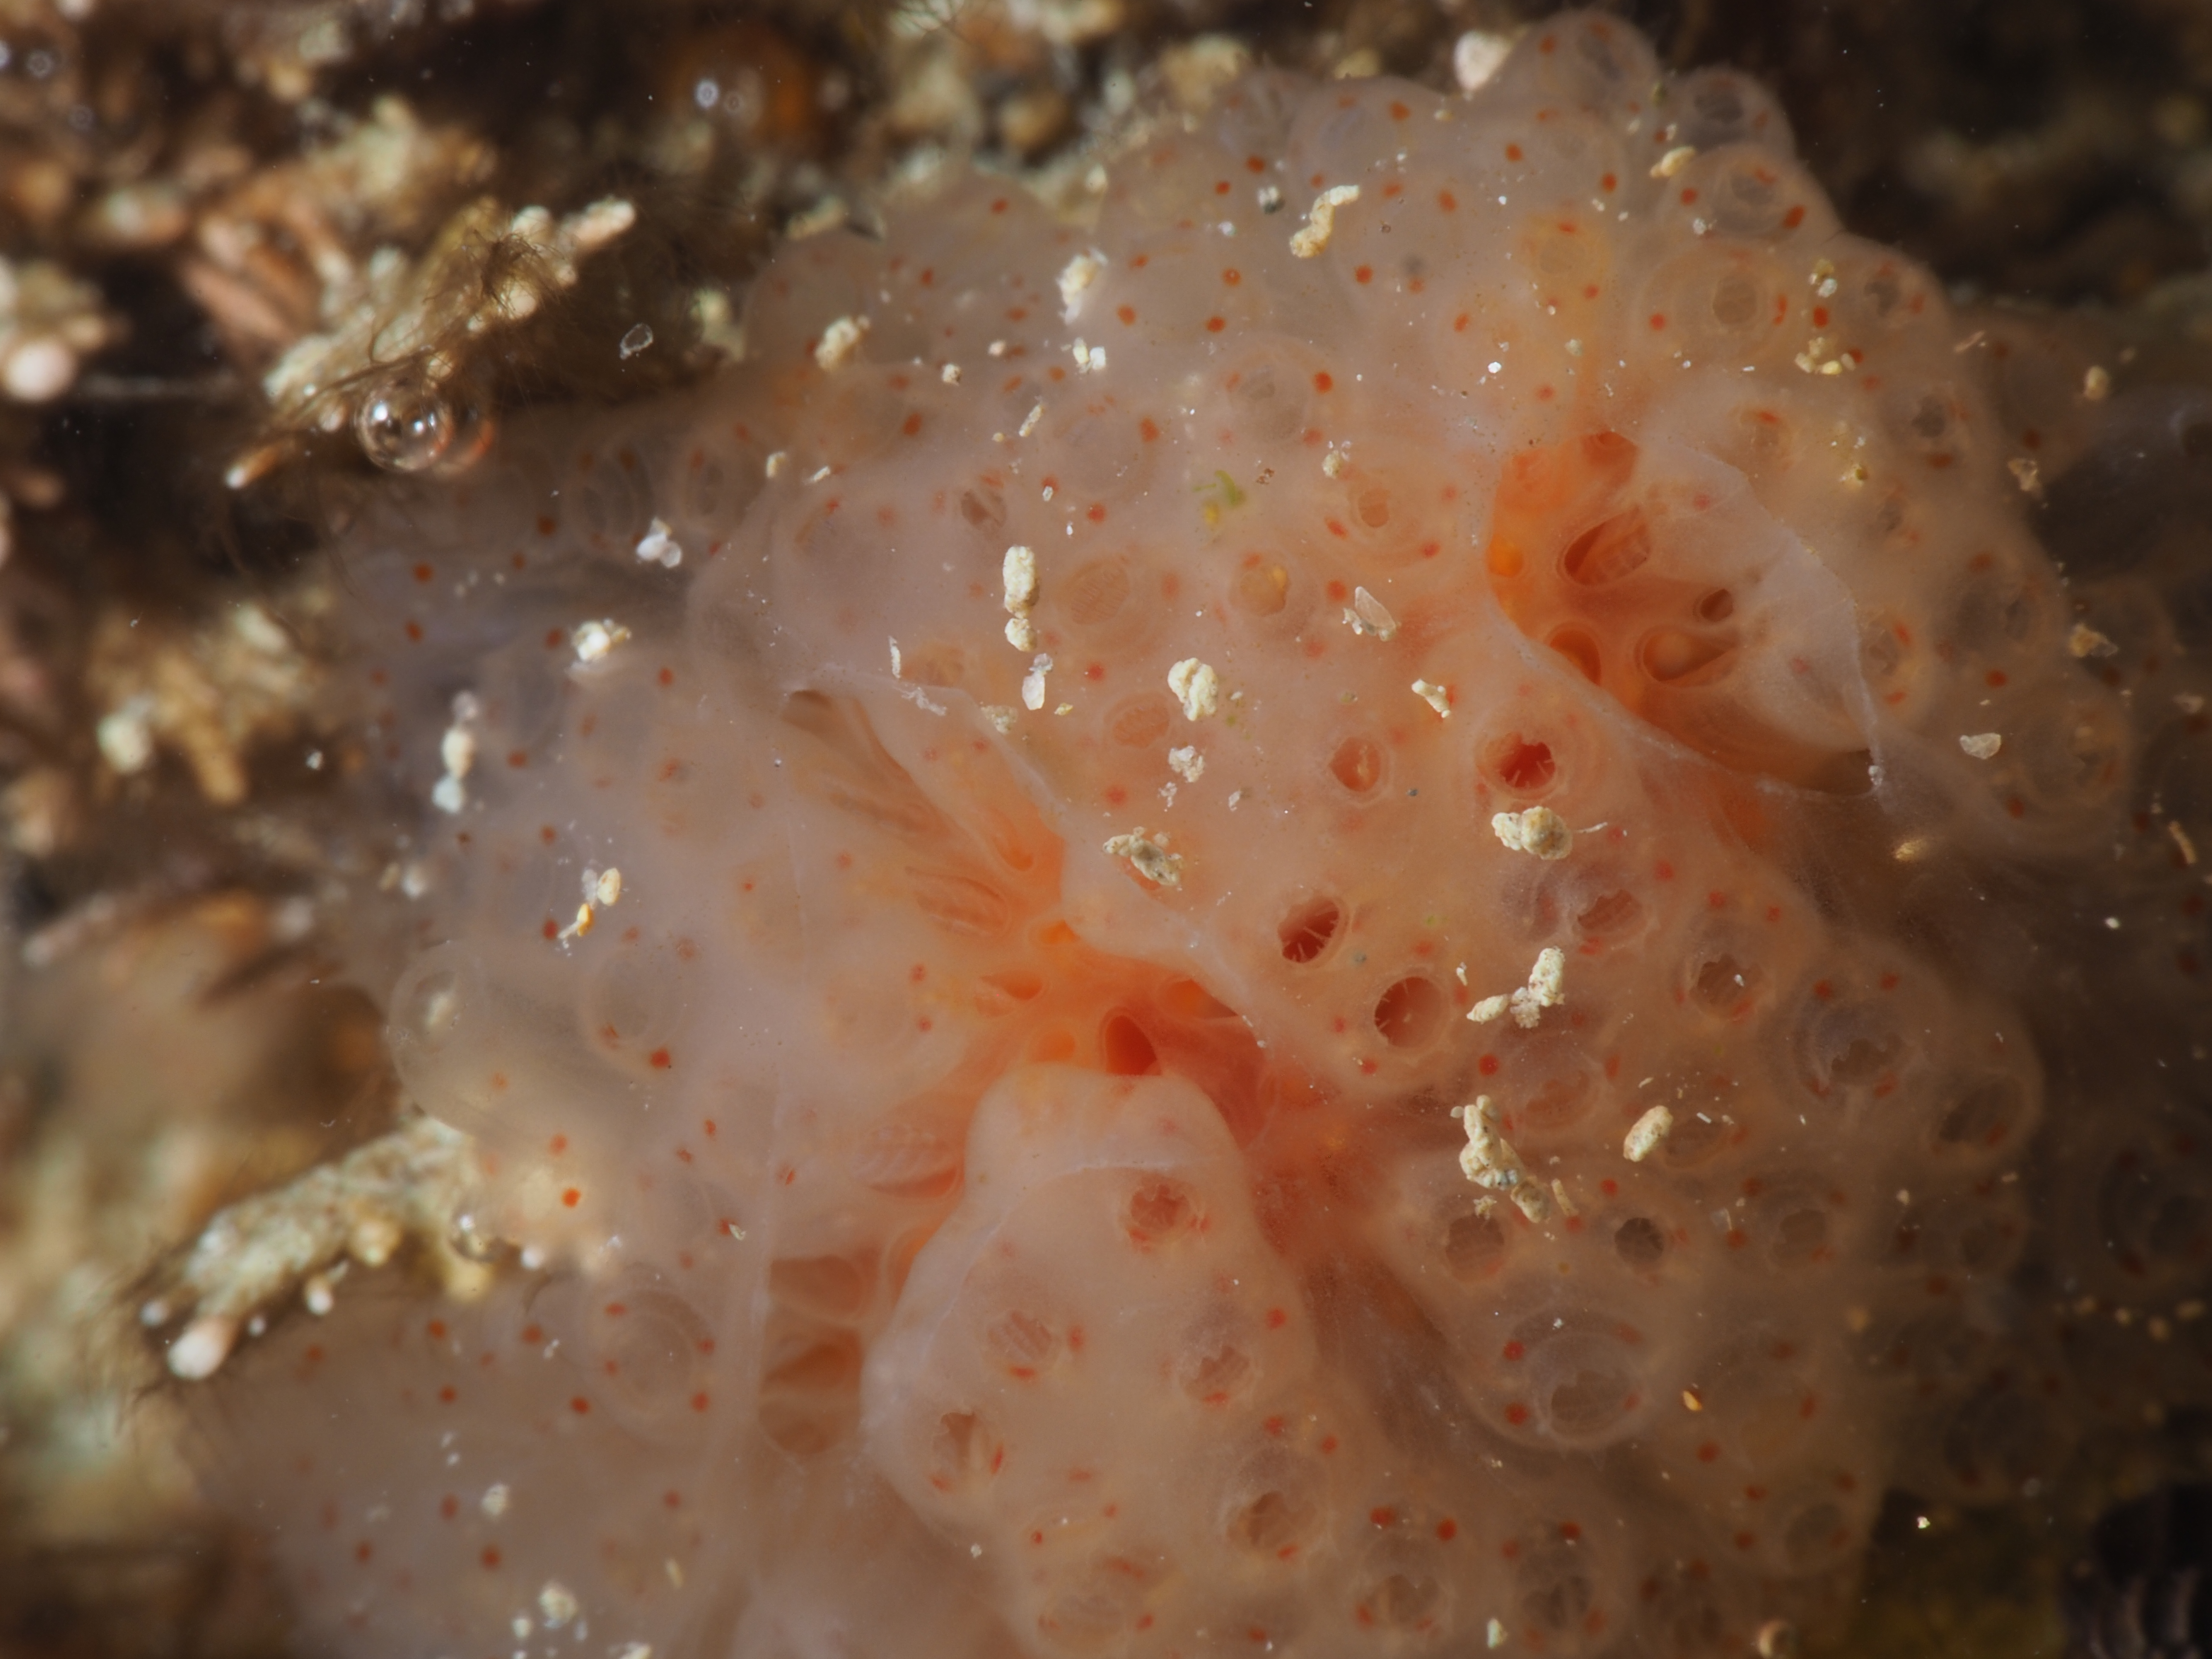
The inhalant (left pic, 8 lobes) and exhalant (right pic, 6 lobes) siphon of the Sea Vase seasquirt (Ciona intestinalis). The pigments are thought to function as photoreceptors. This is a common species, especially in habitats disturbed by humans, and not too pretty (the latin name means ‘pillar of intestines’…) but if you zoom in everything reveals beautiful features! Quite moody shots, to which I have gravitated this year. I like the black backgrounds, which is achieved by letting very little light into the camera, with the strobes only lighting up the subject in the foreground – unable to illuminate anything in the open water (‘negative space’) behind. (A similar effect can be achieved using a ‘snoot’, but I have never managed to get that to work…) I have also tried to get closer and closer up with my macro wetlens, ideally I’d have some sort of microscope underwater! If you are on instagram, check out @an_bollenessor for more pics as ‘posts’ and as ‘stories’.


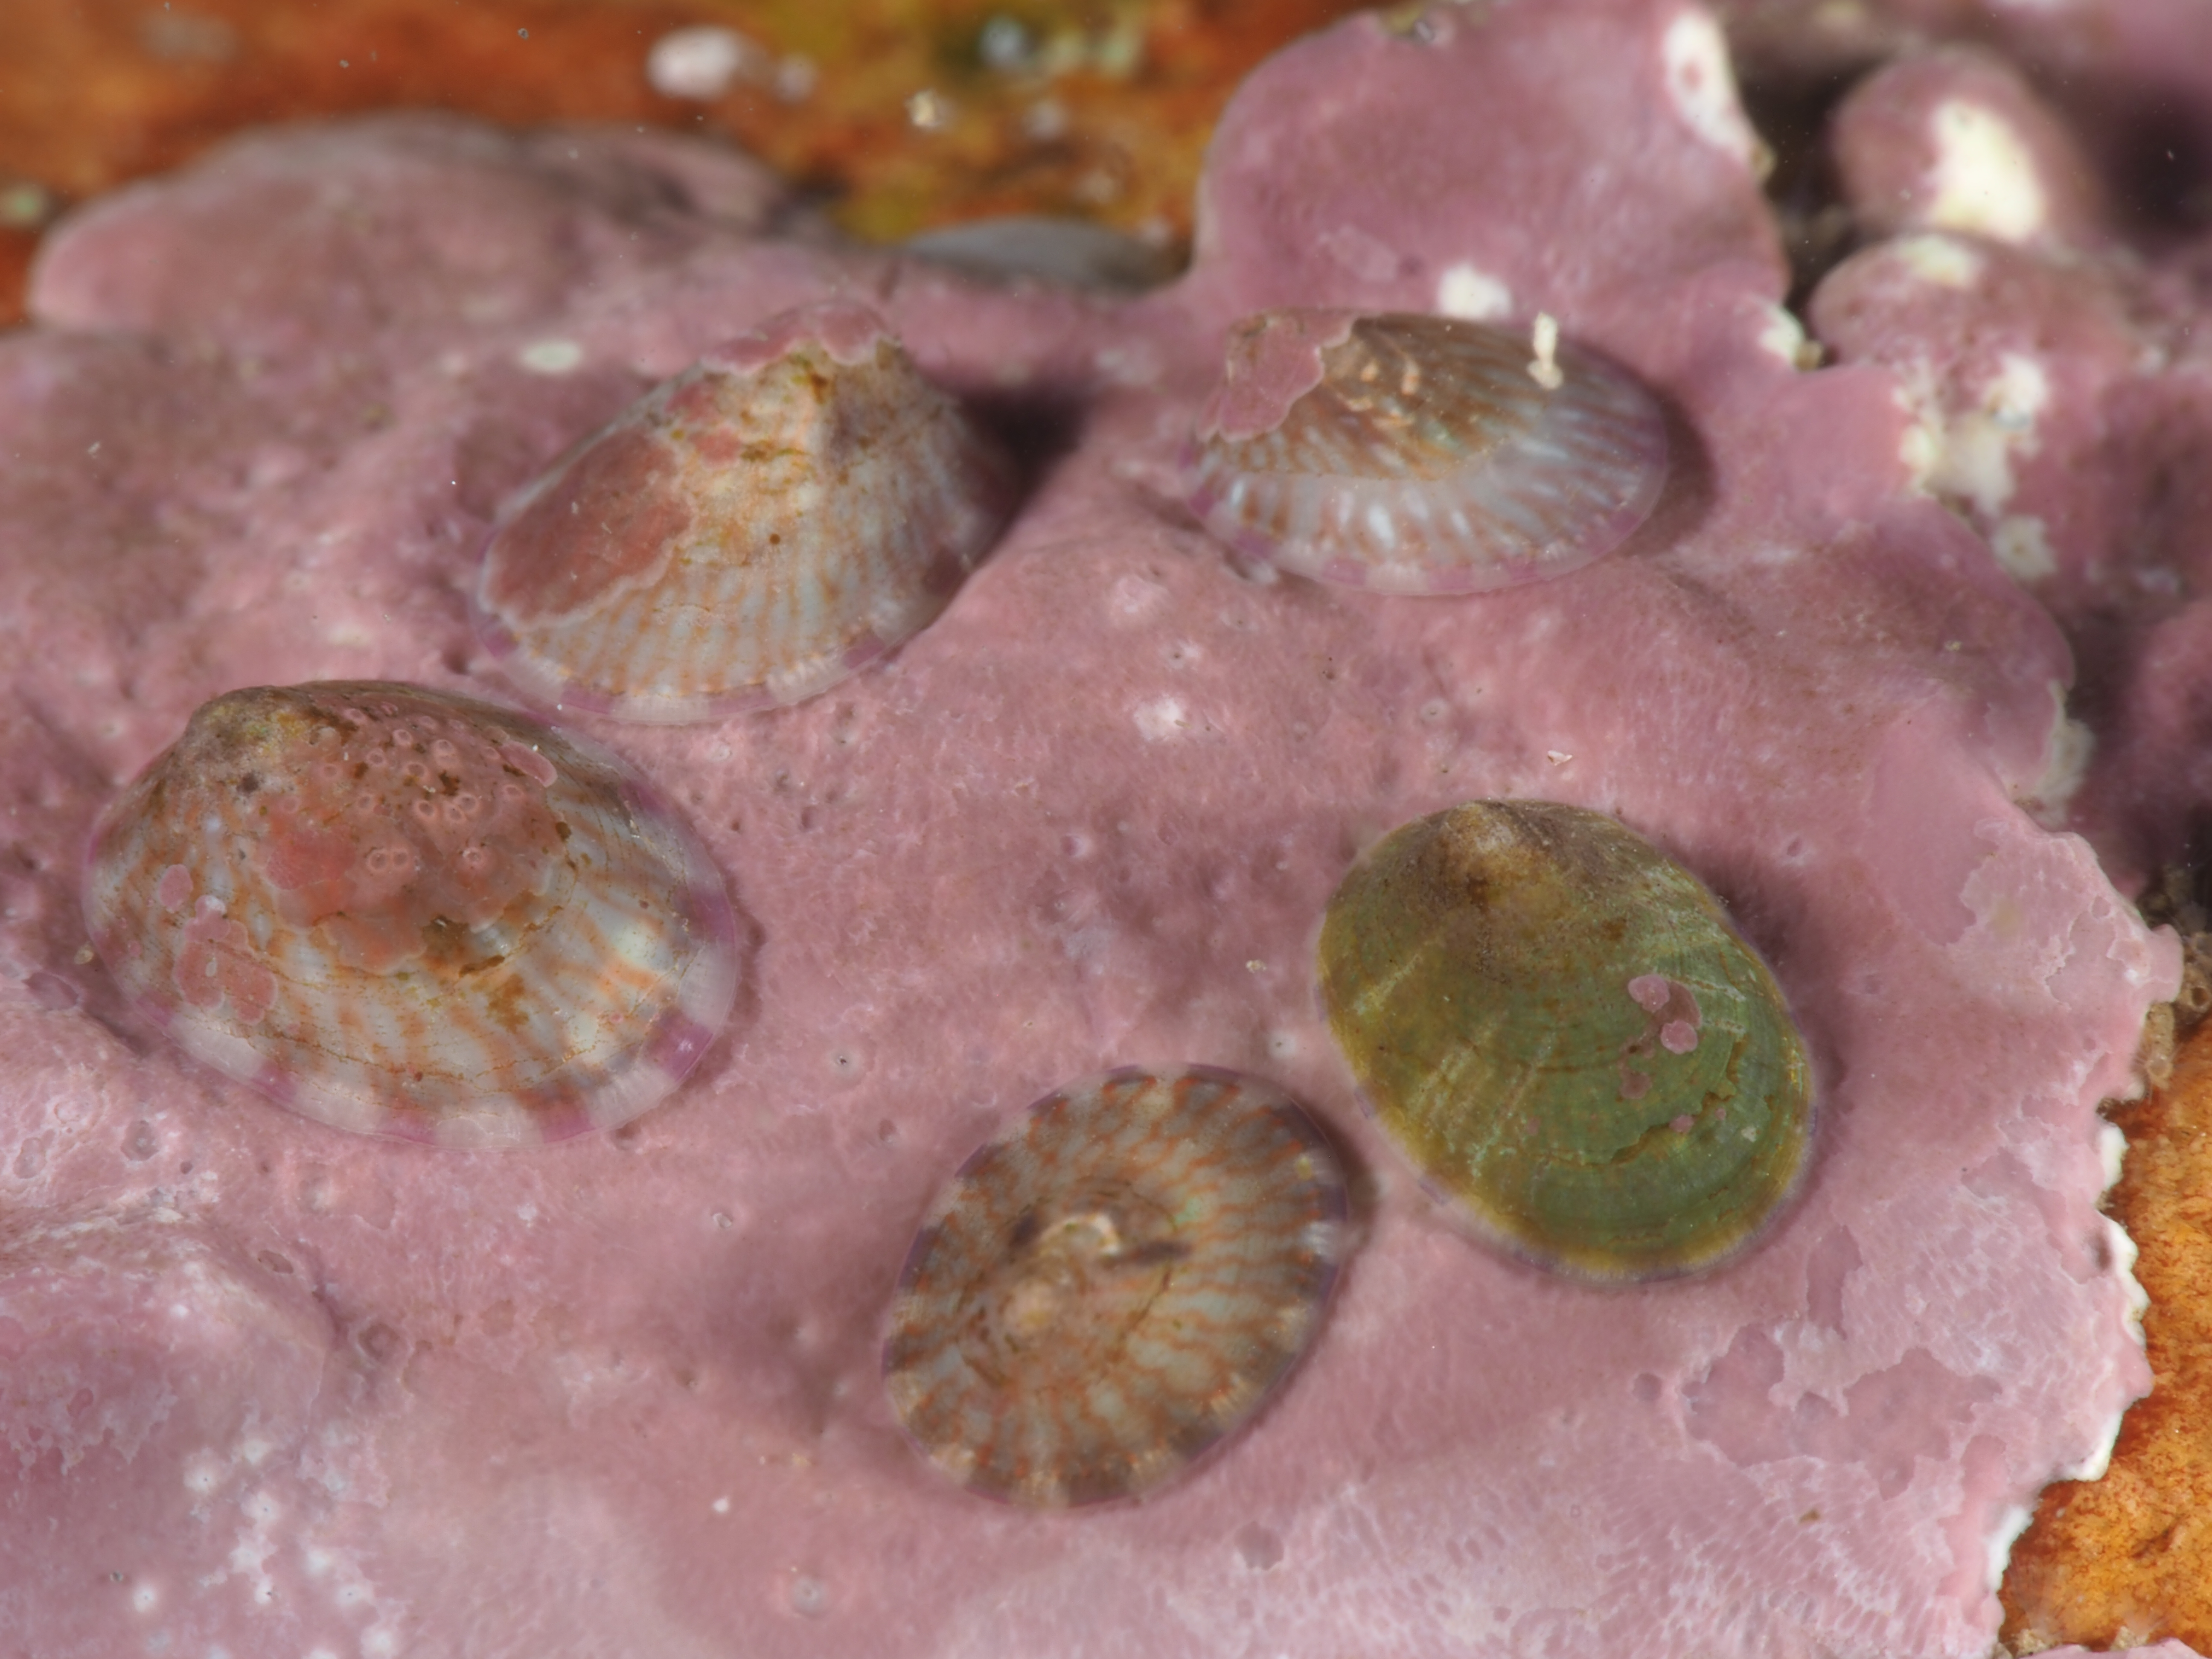
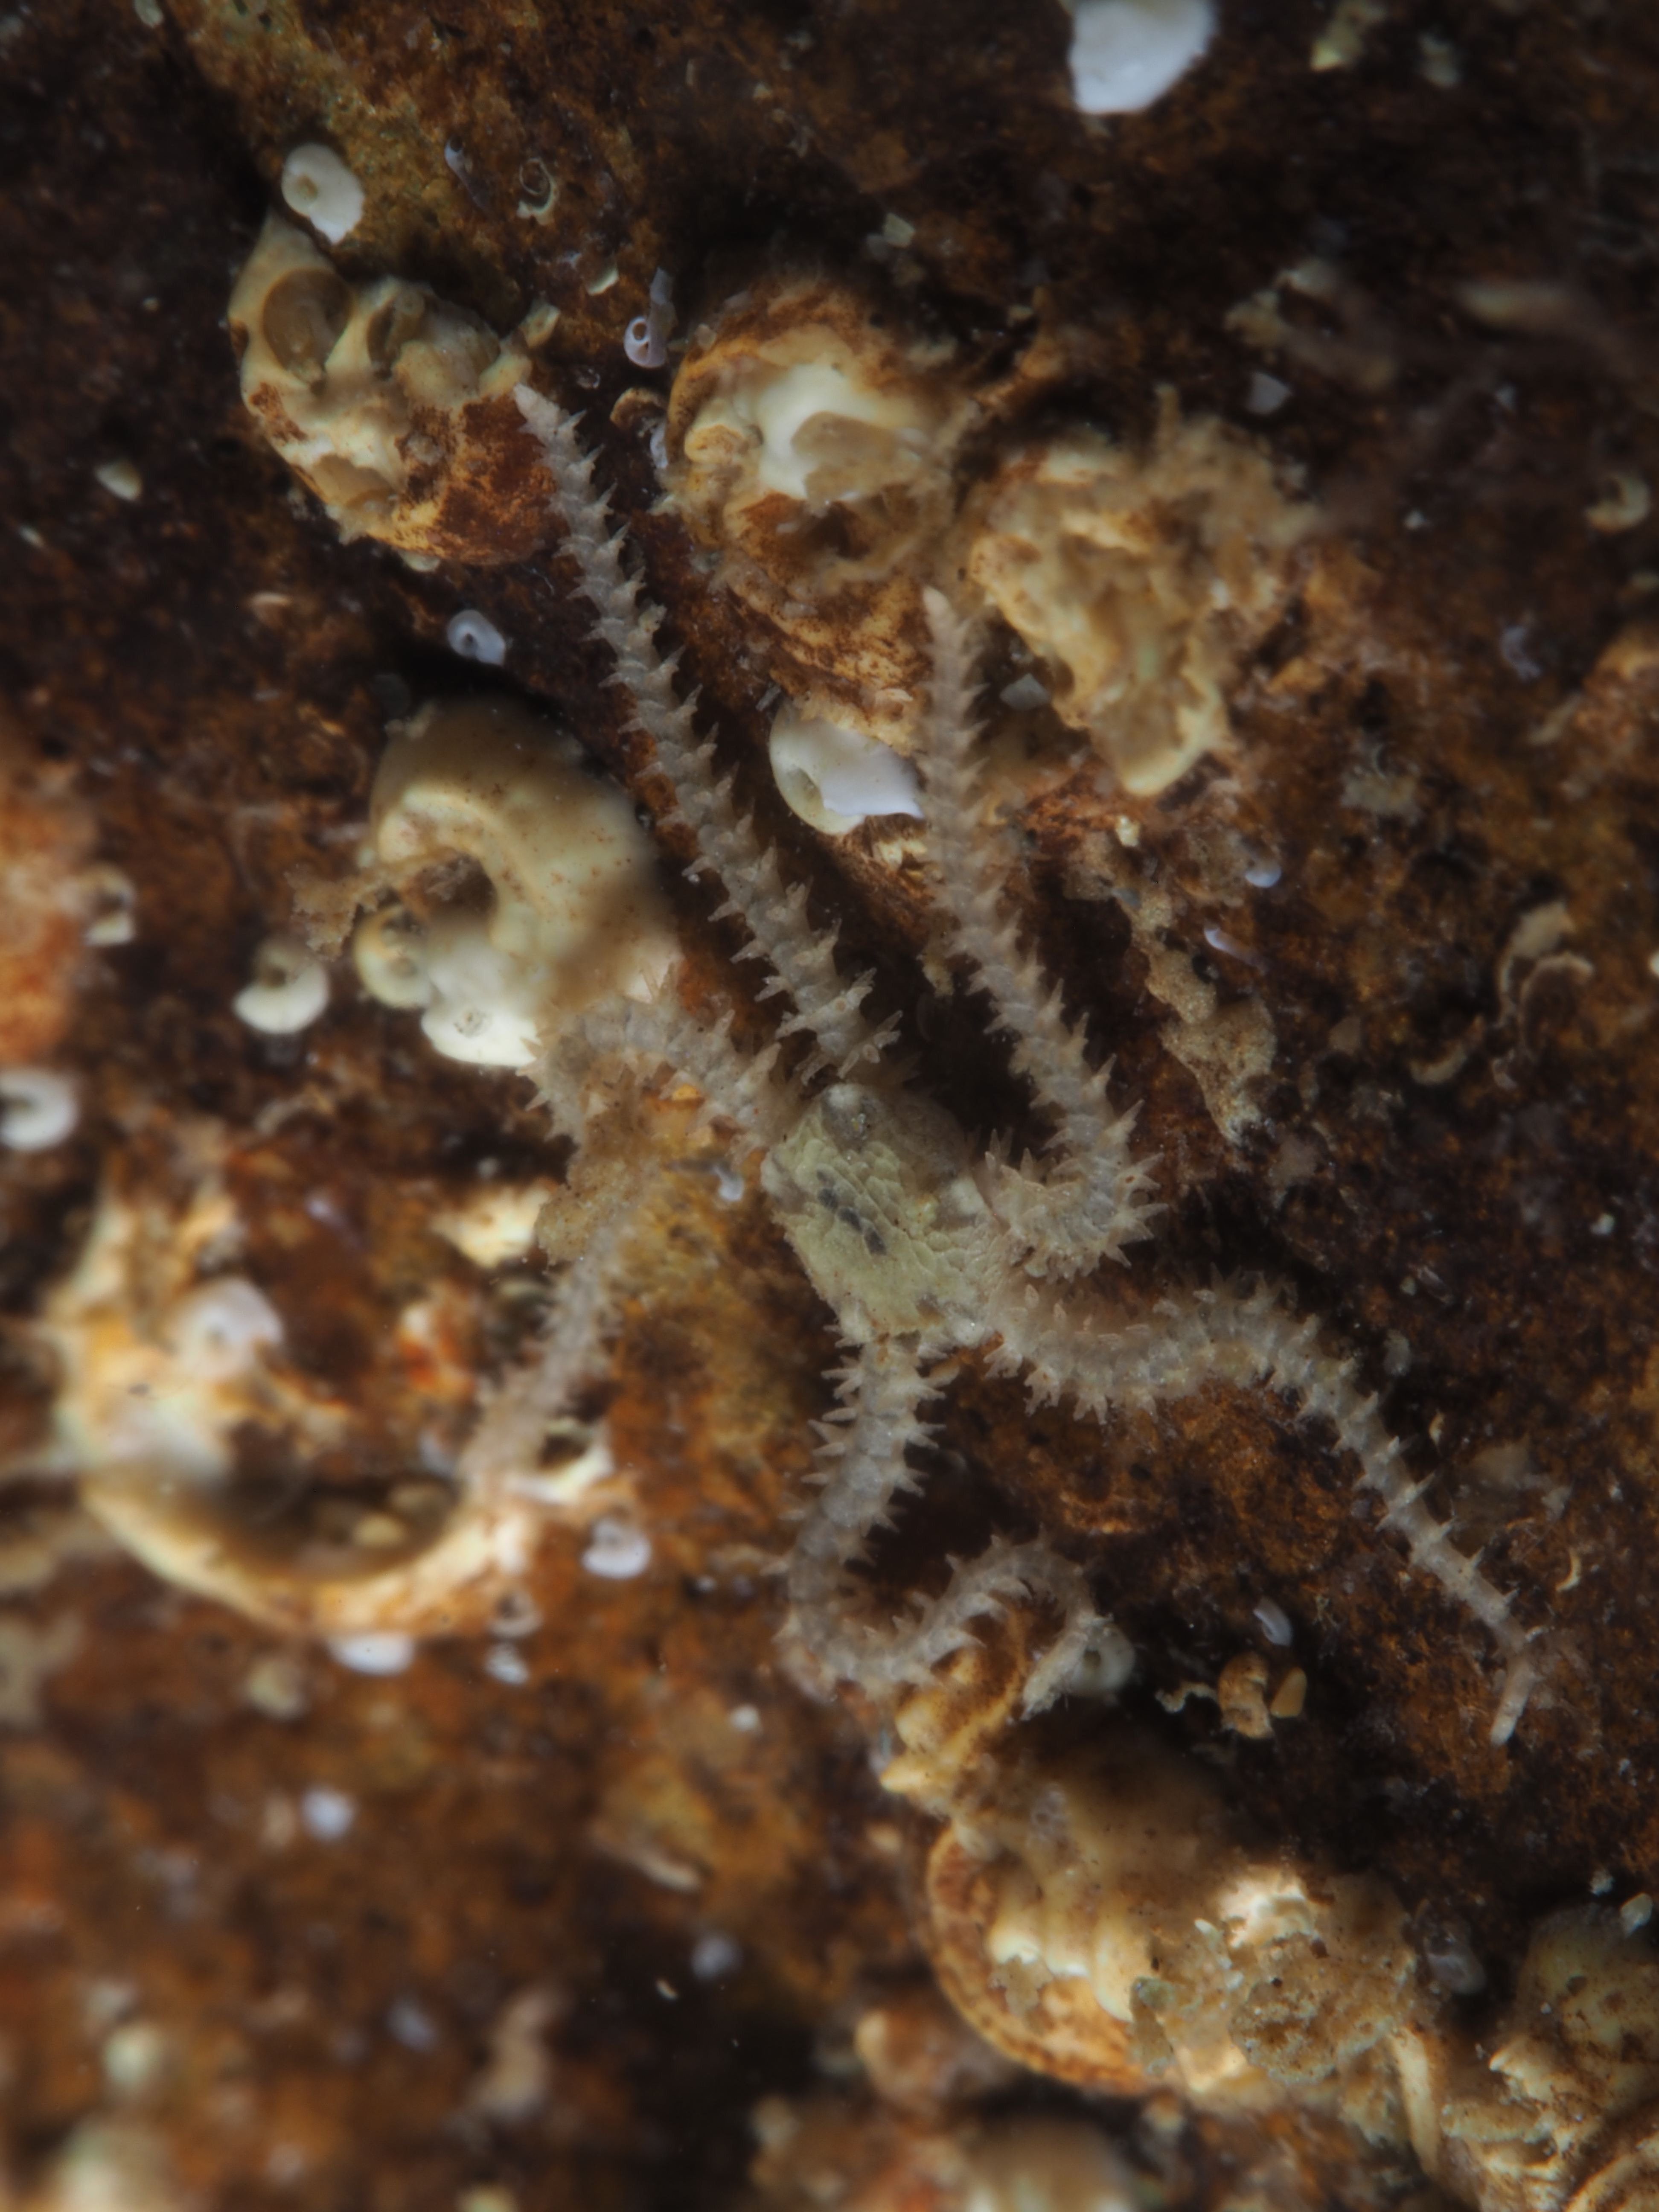
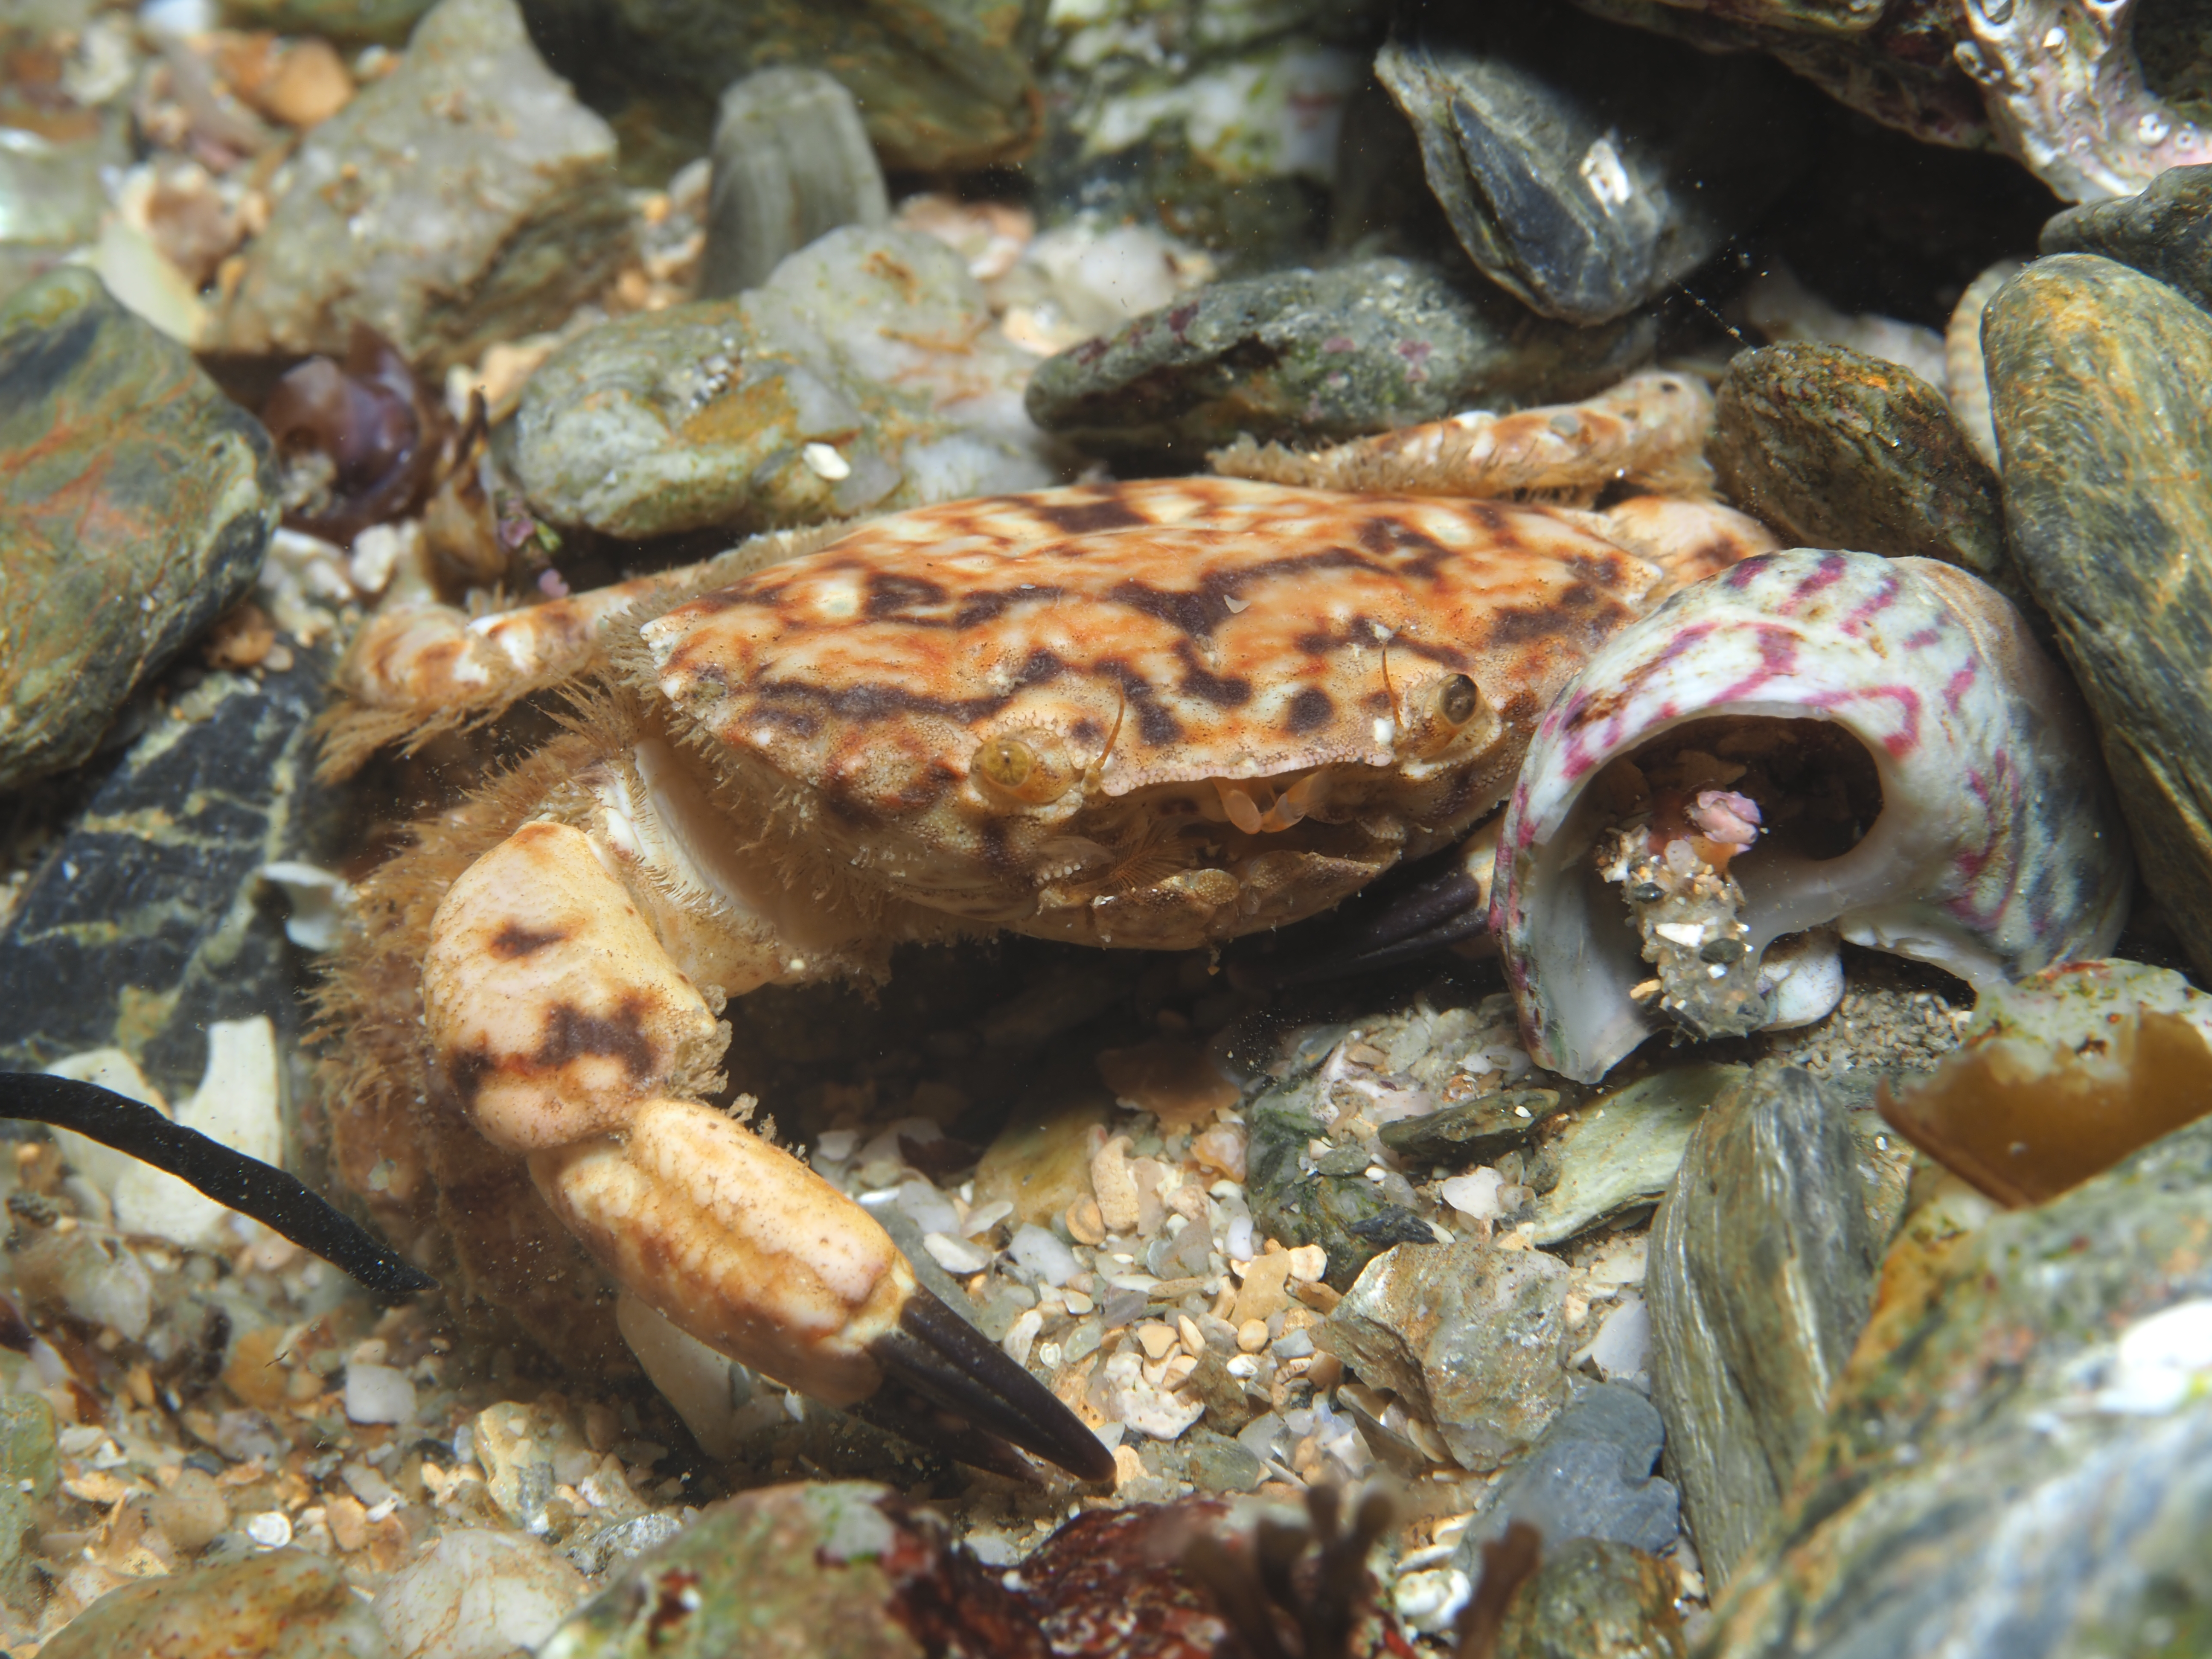
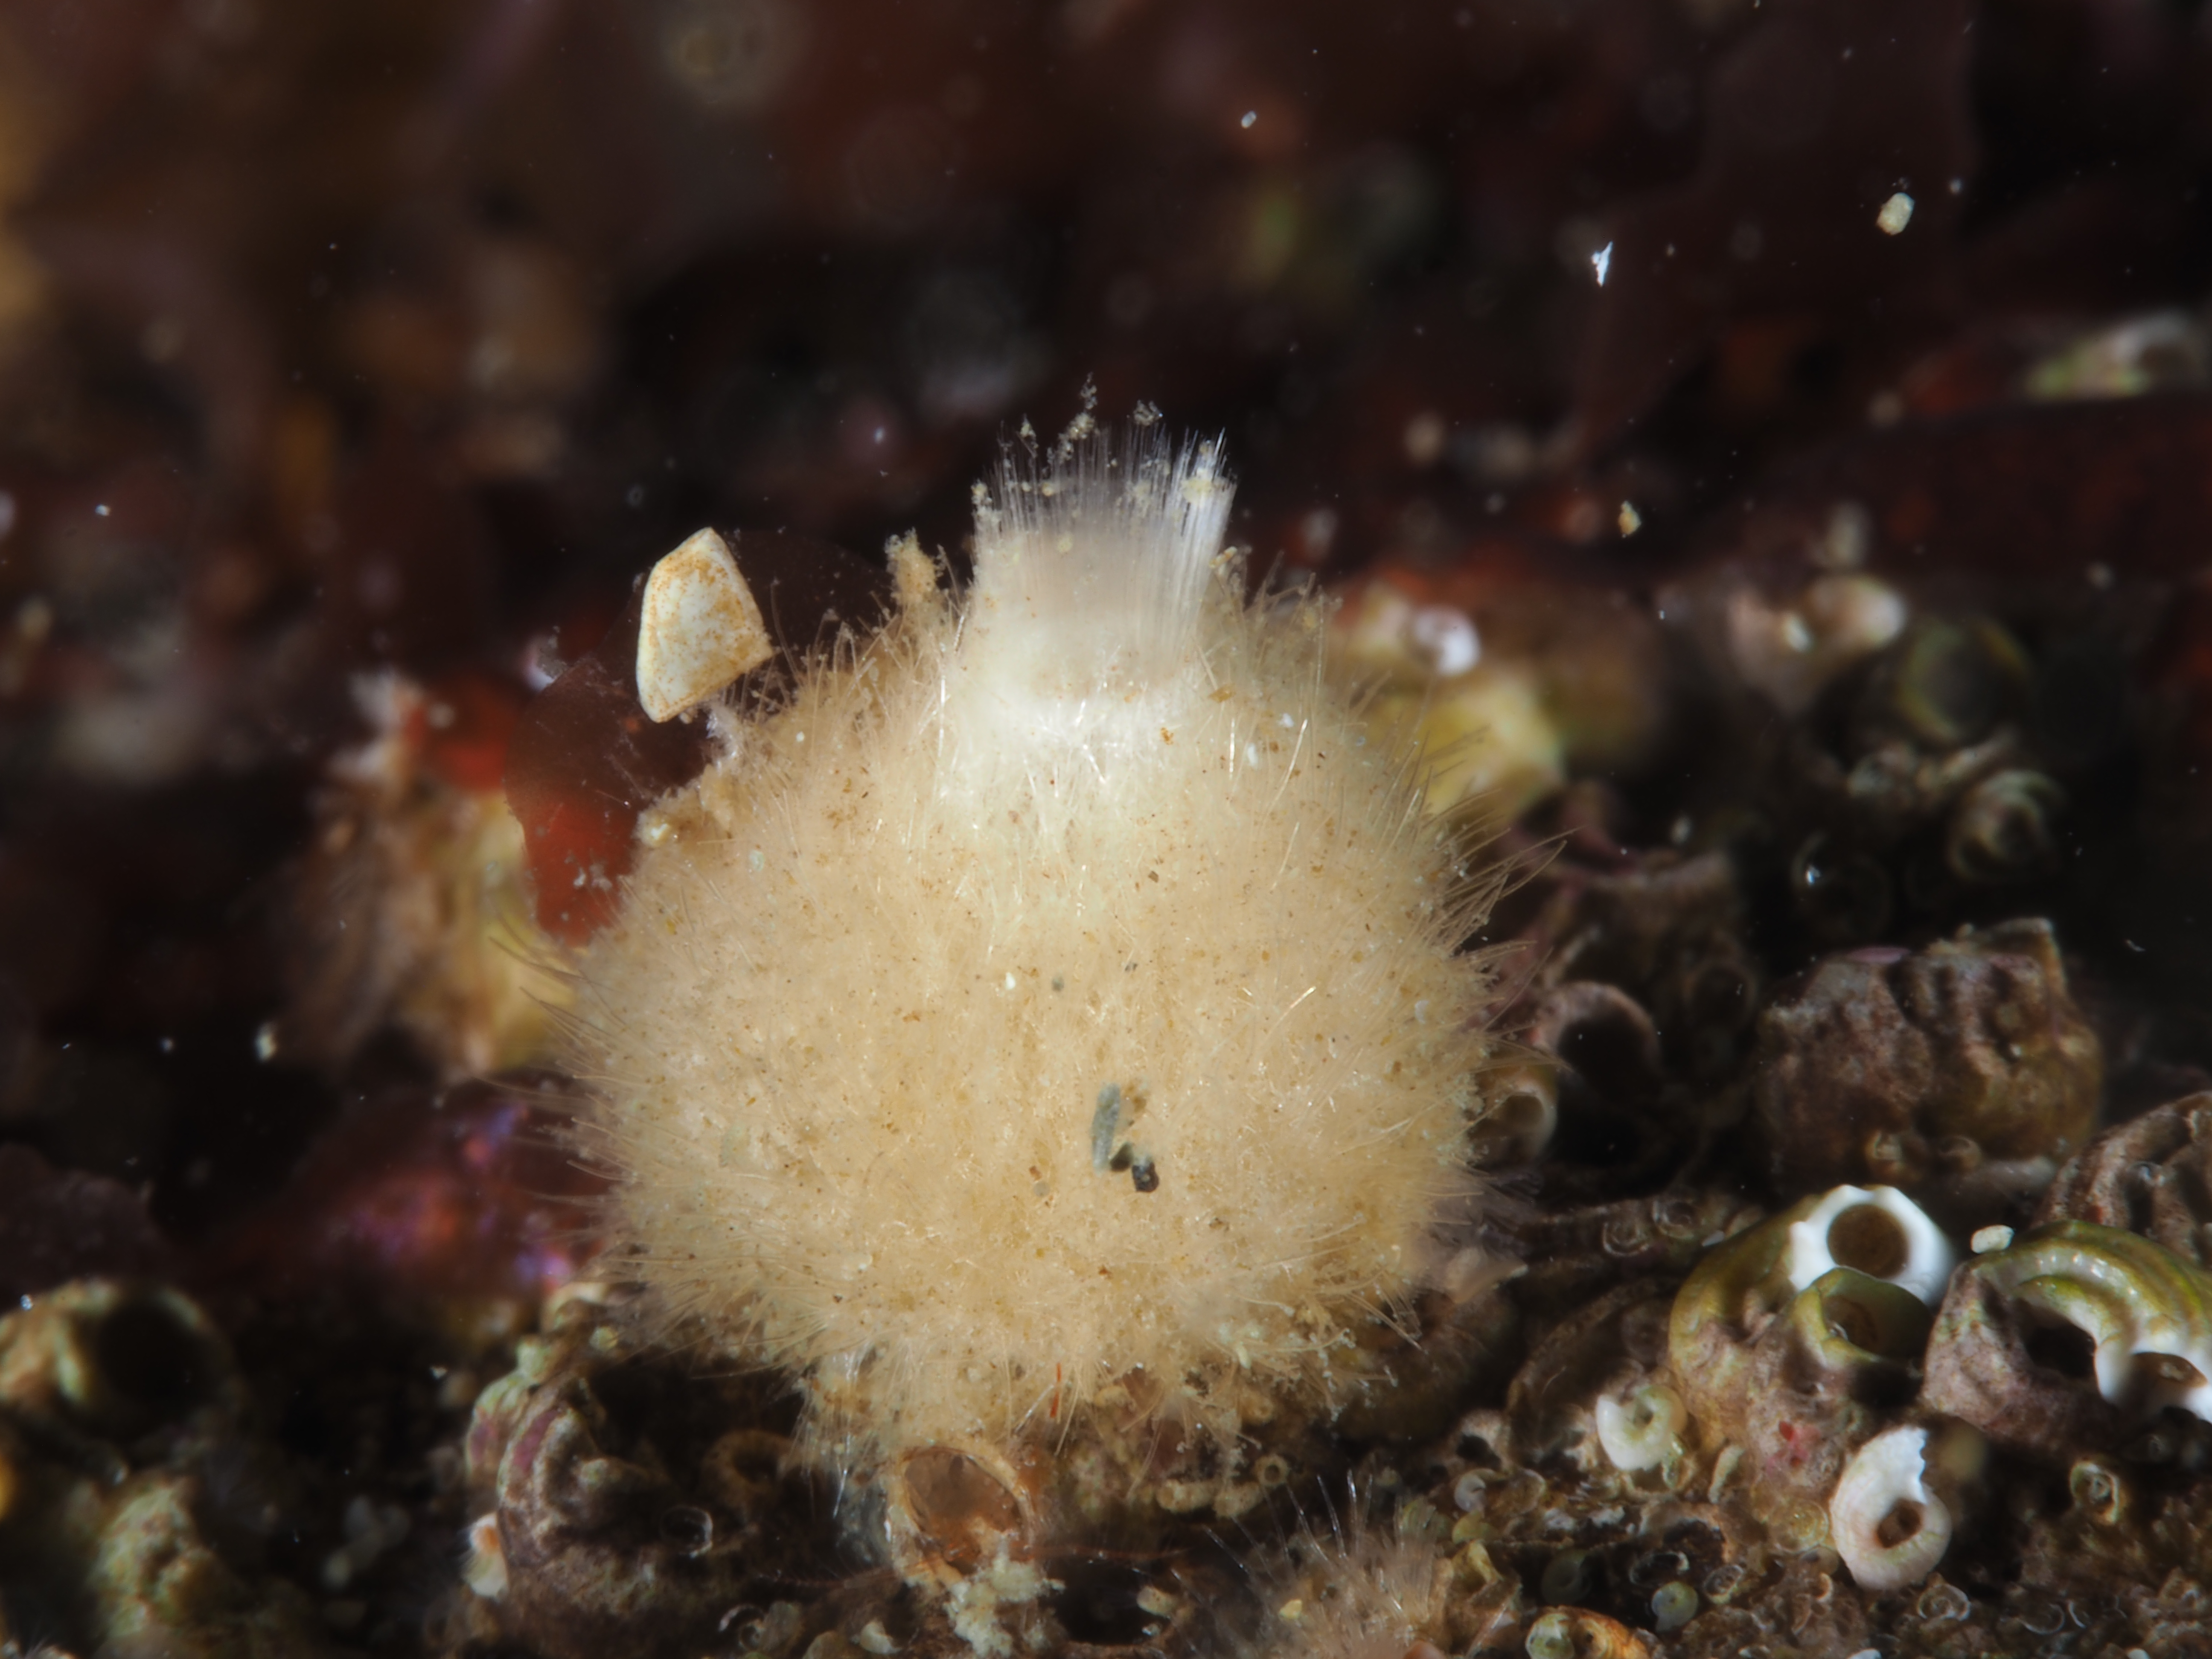
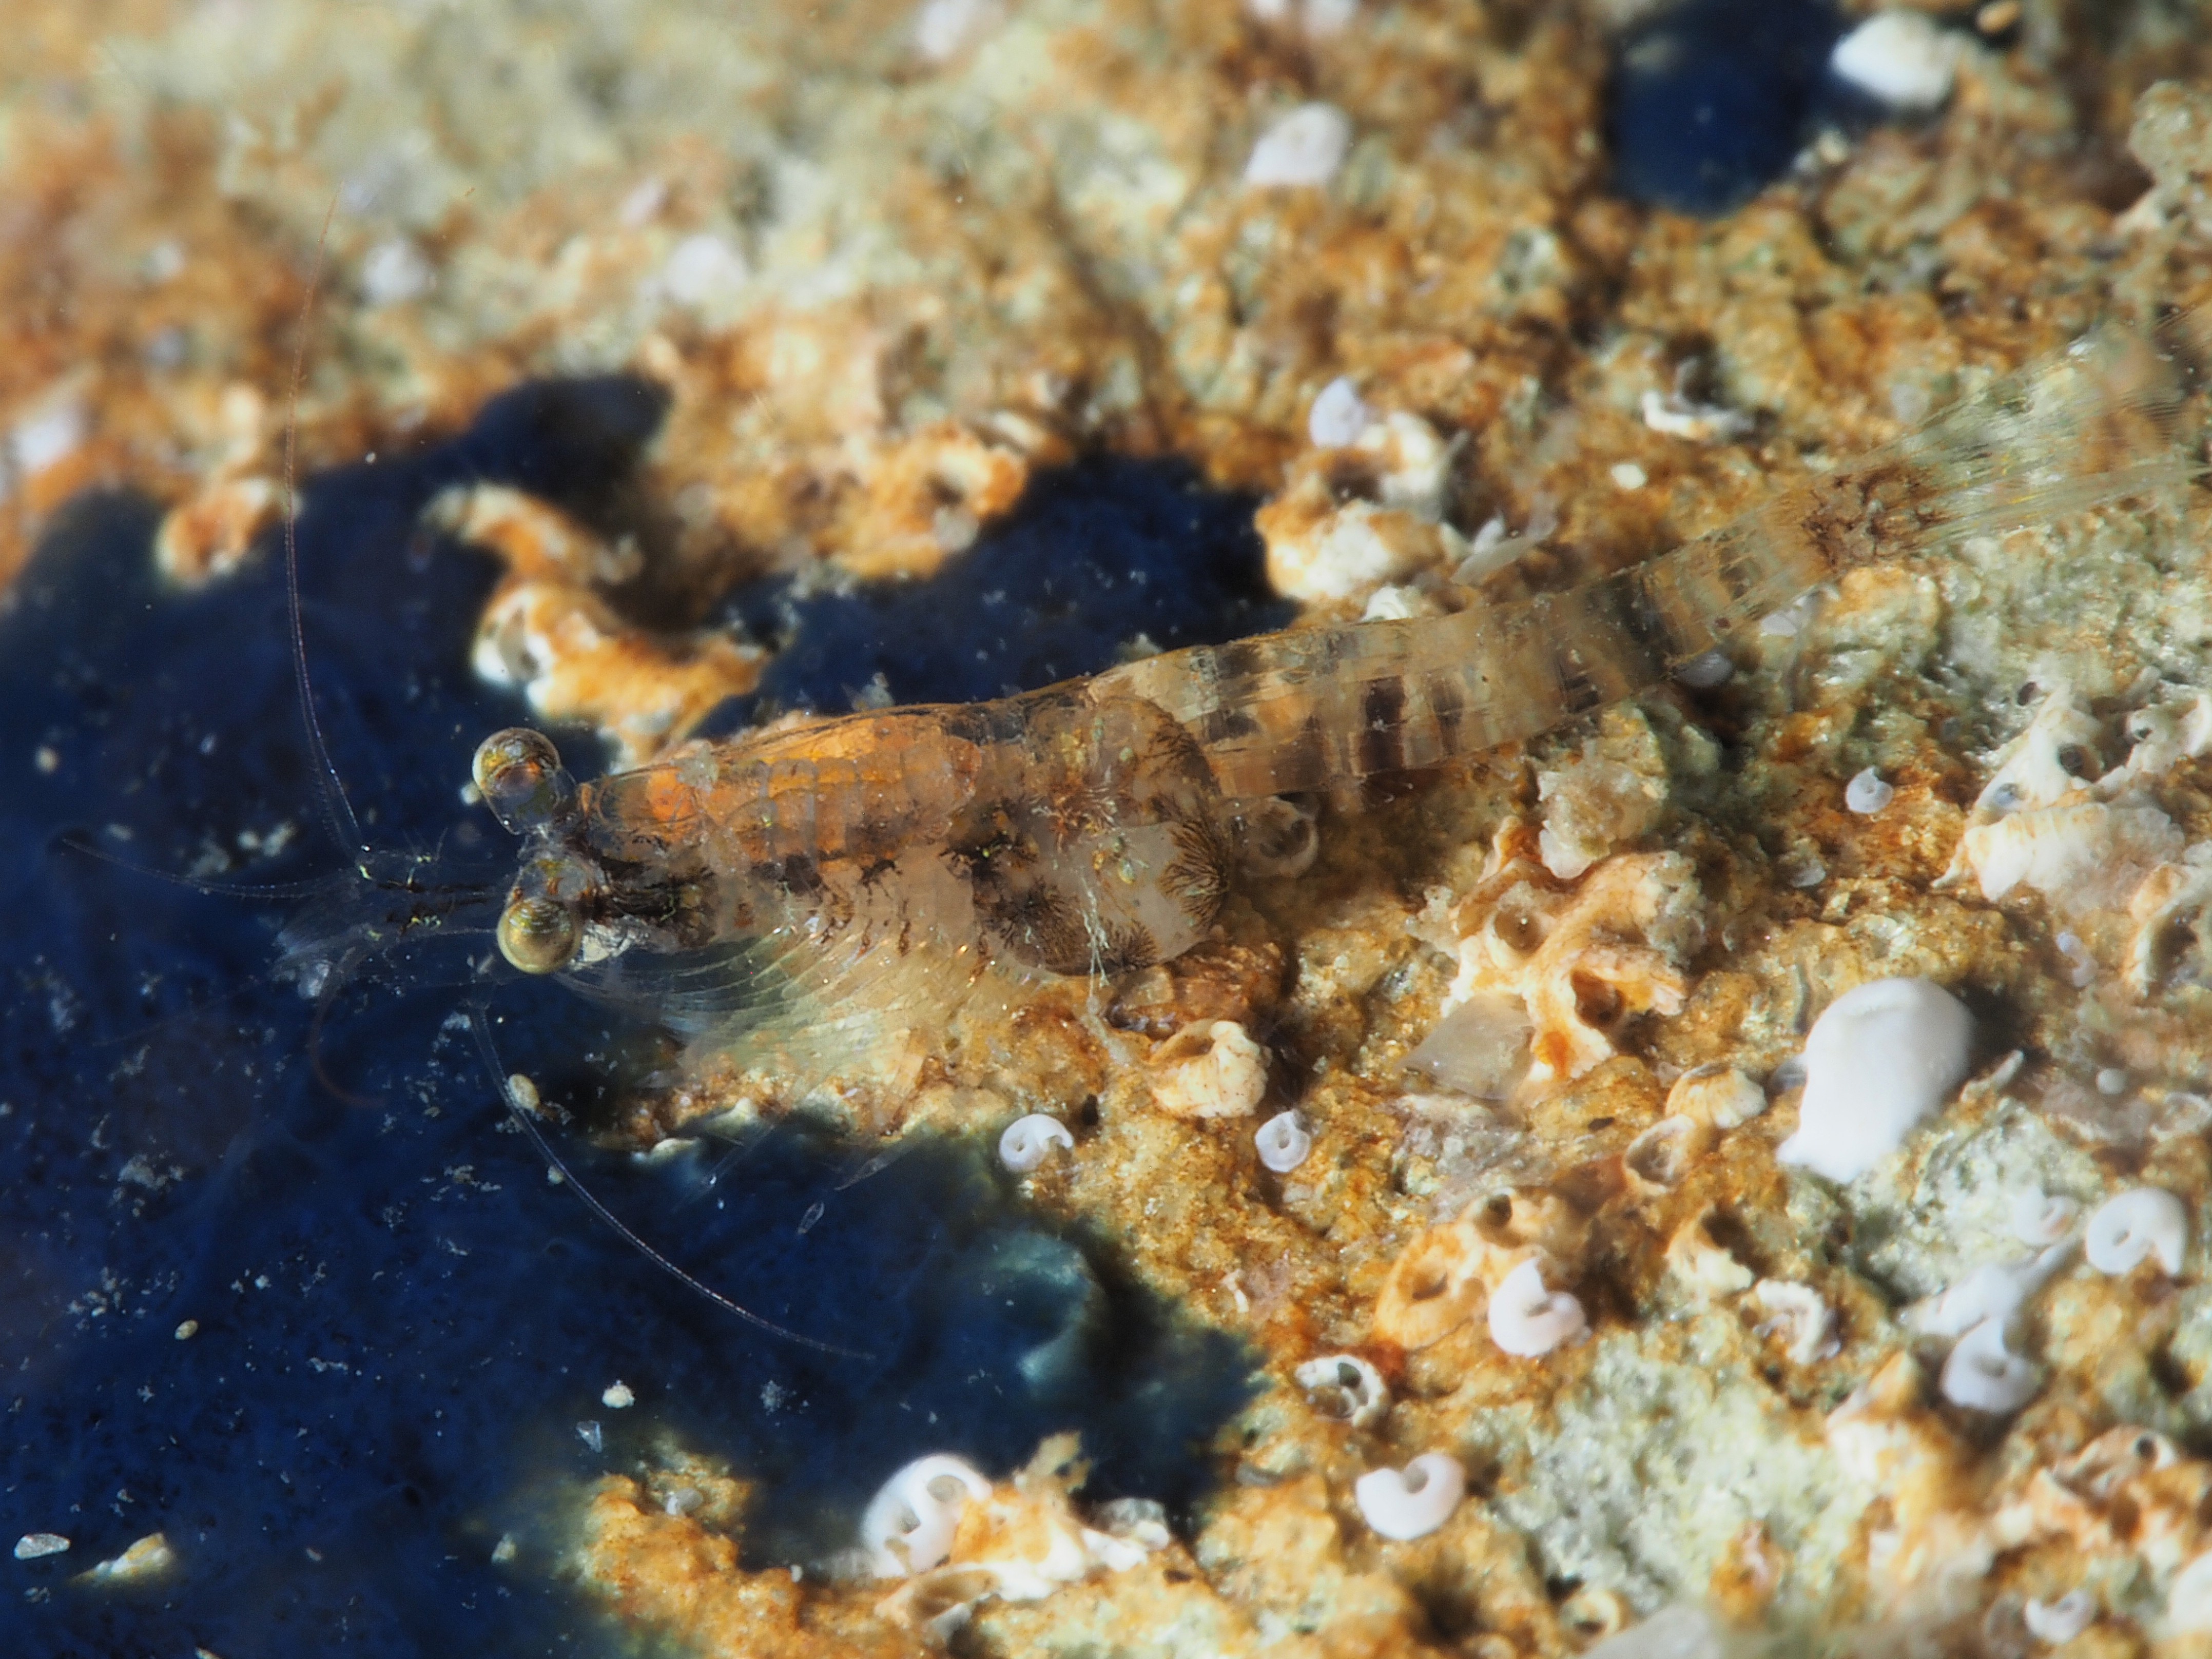
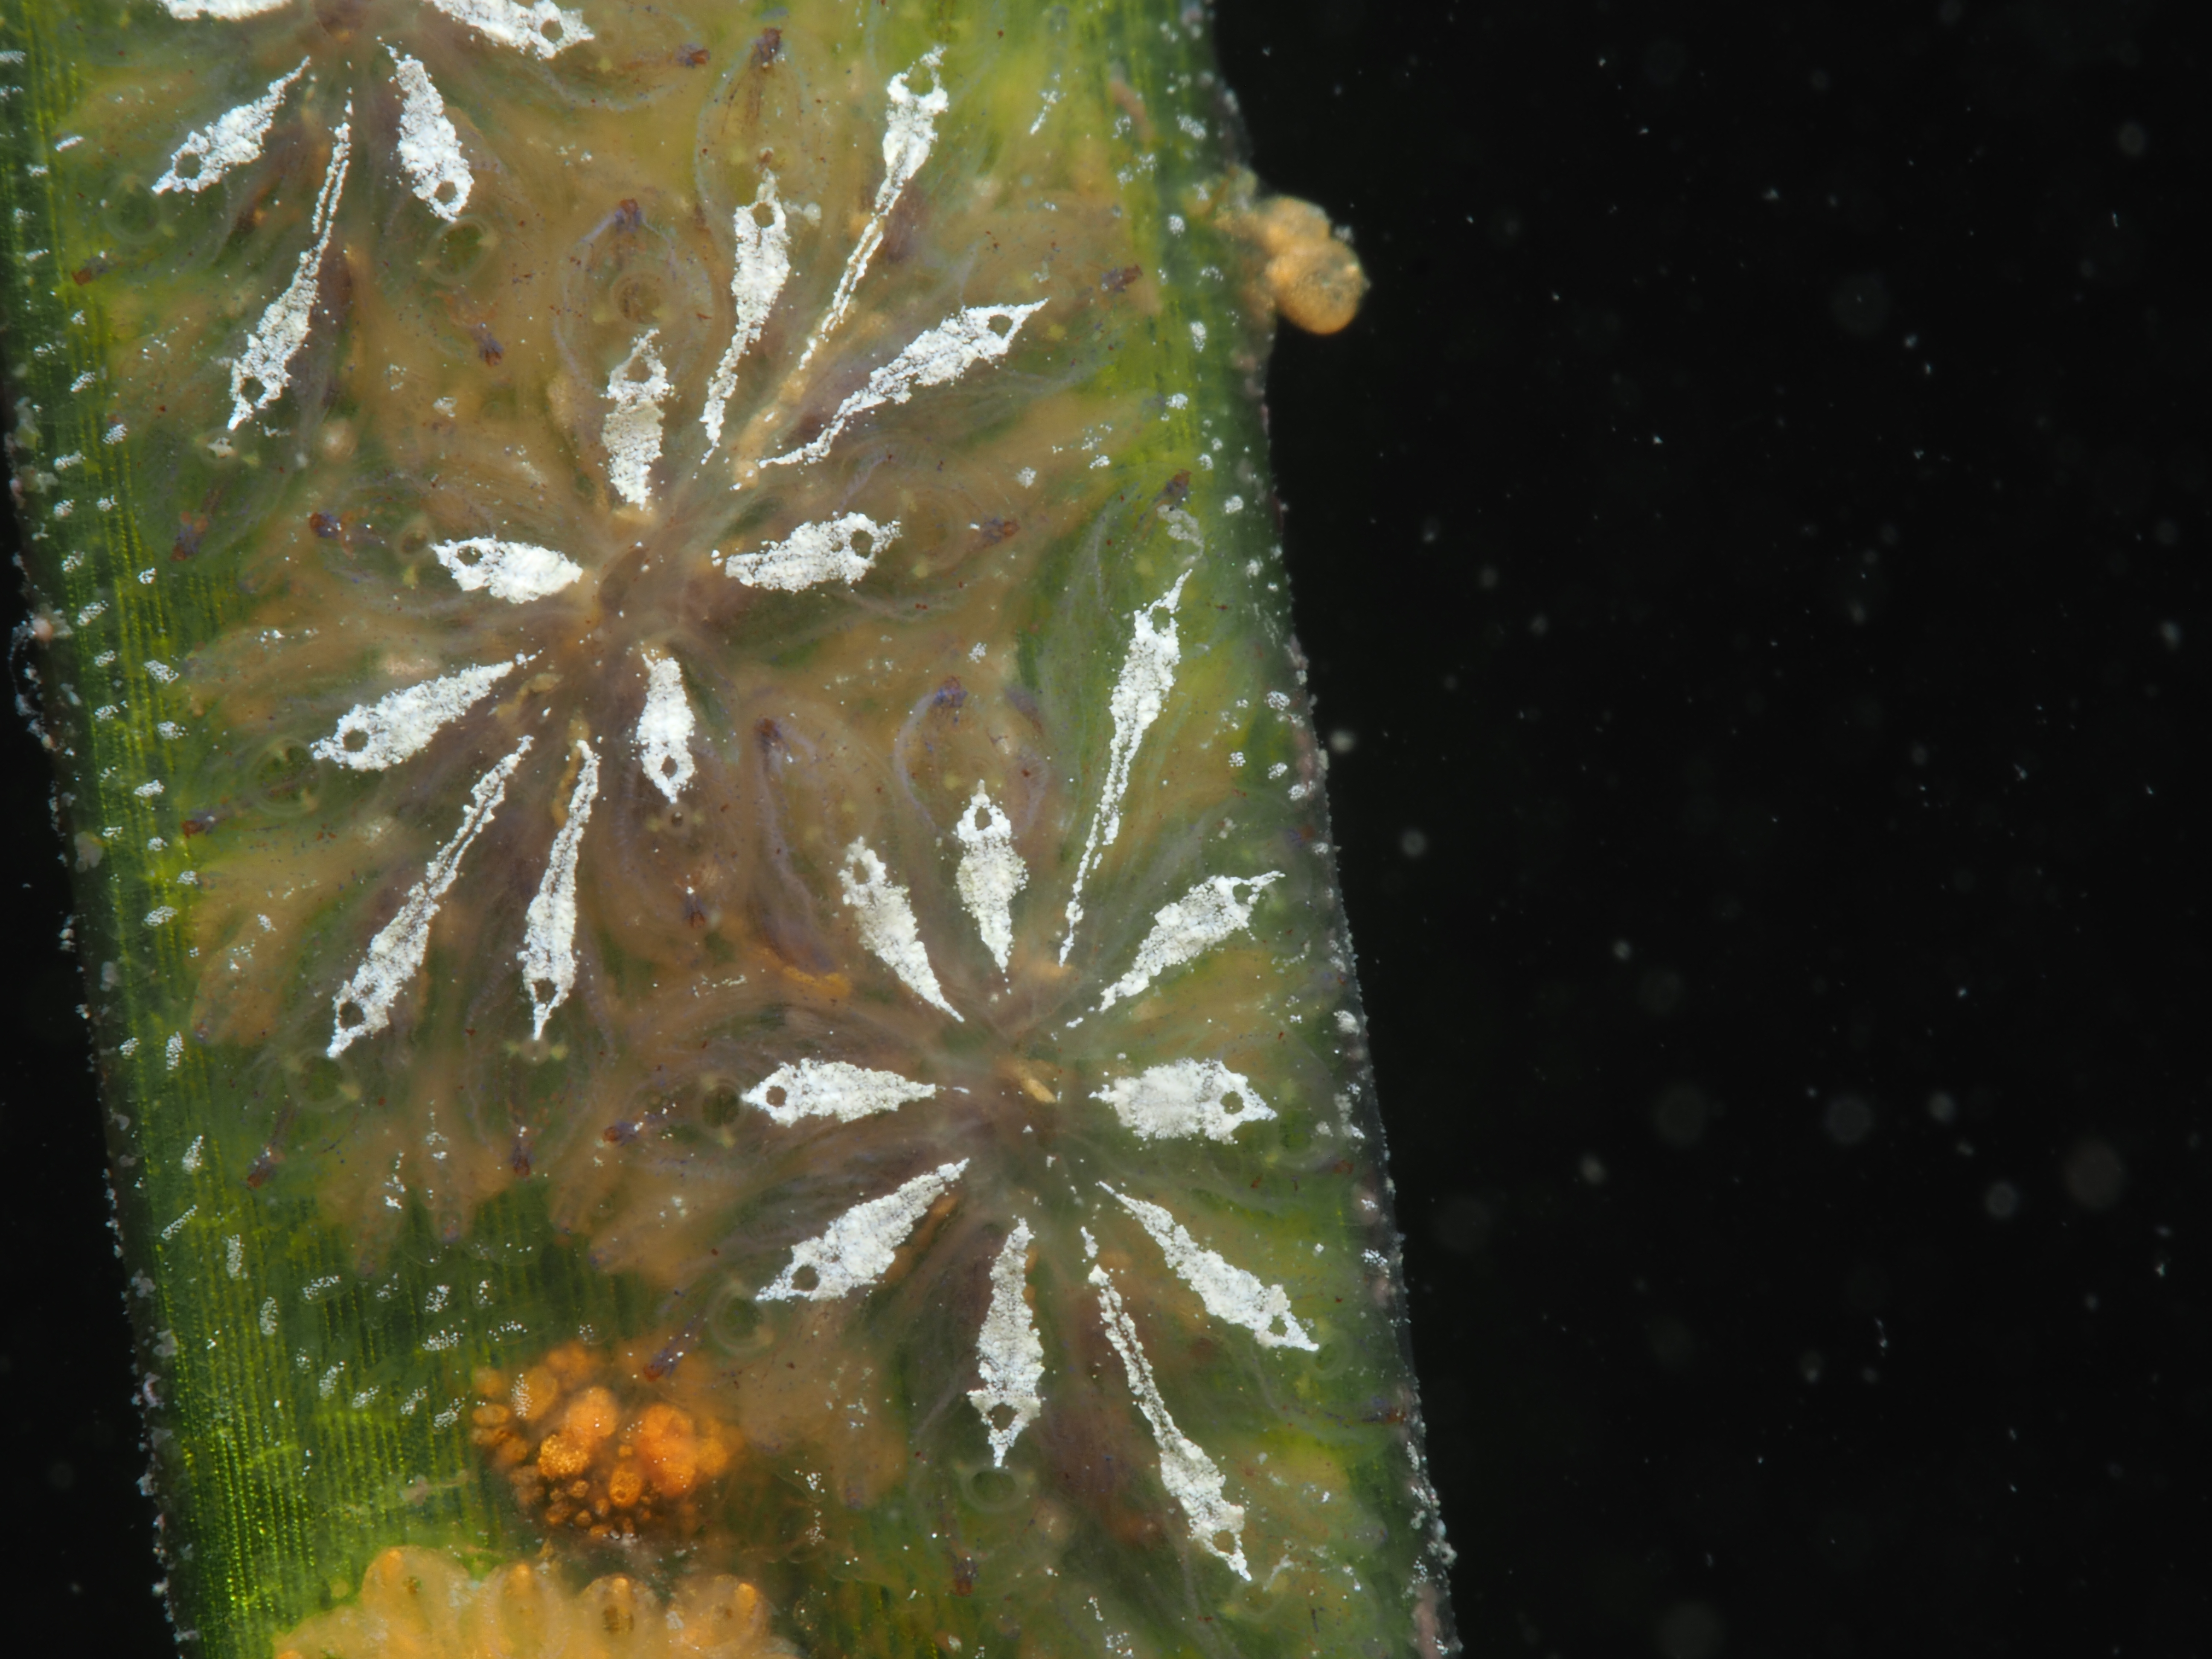
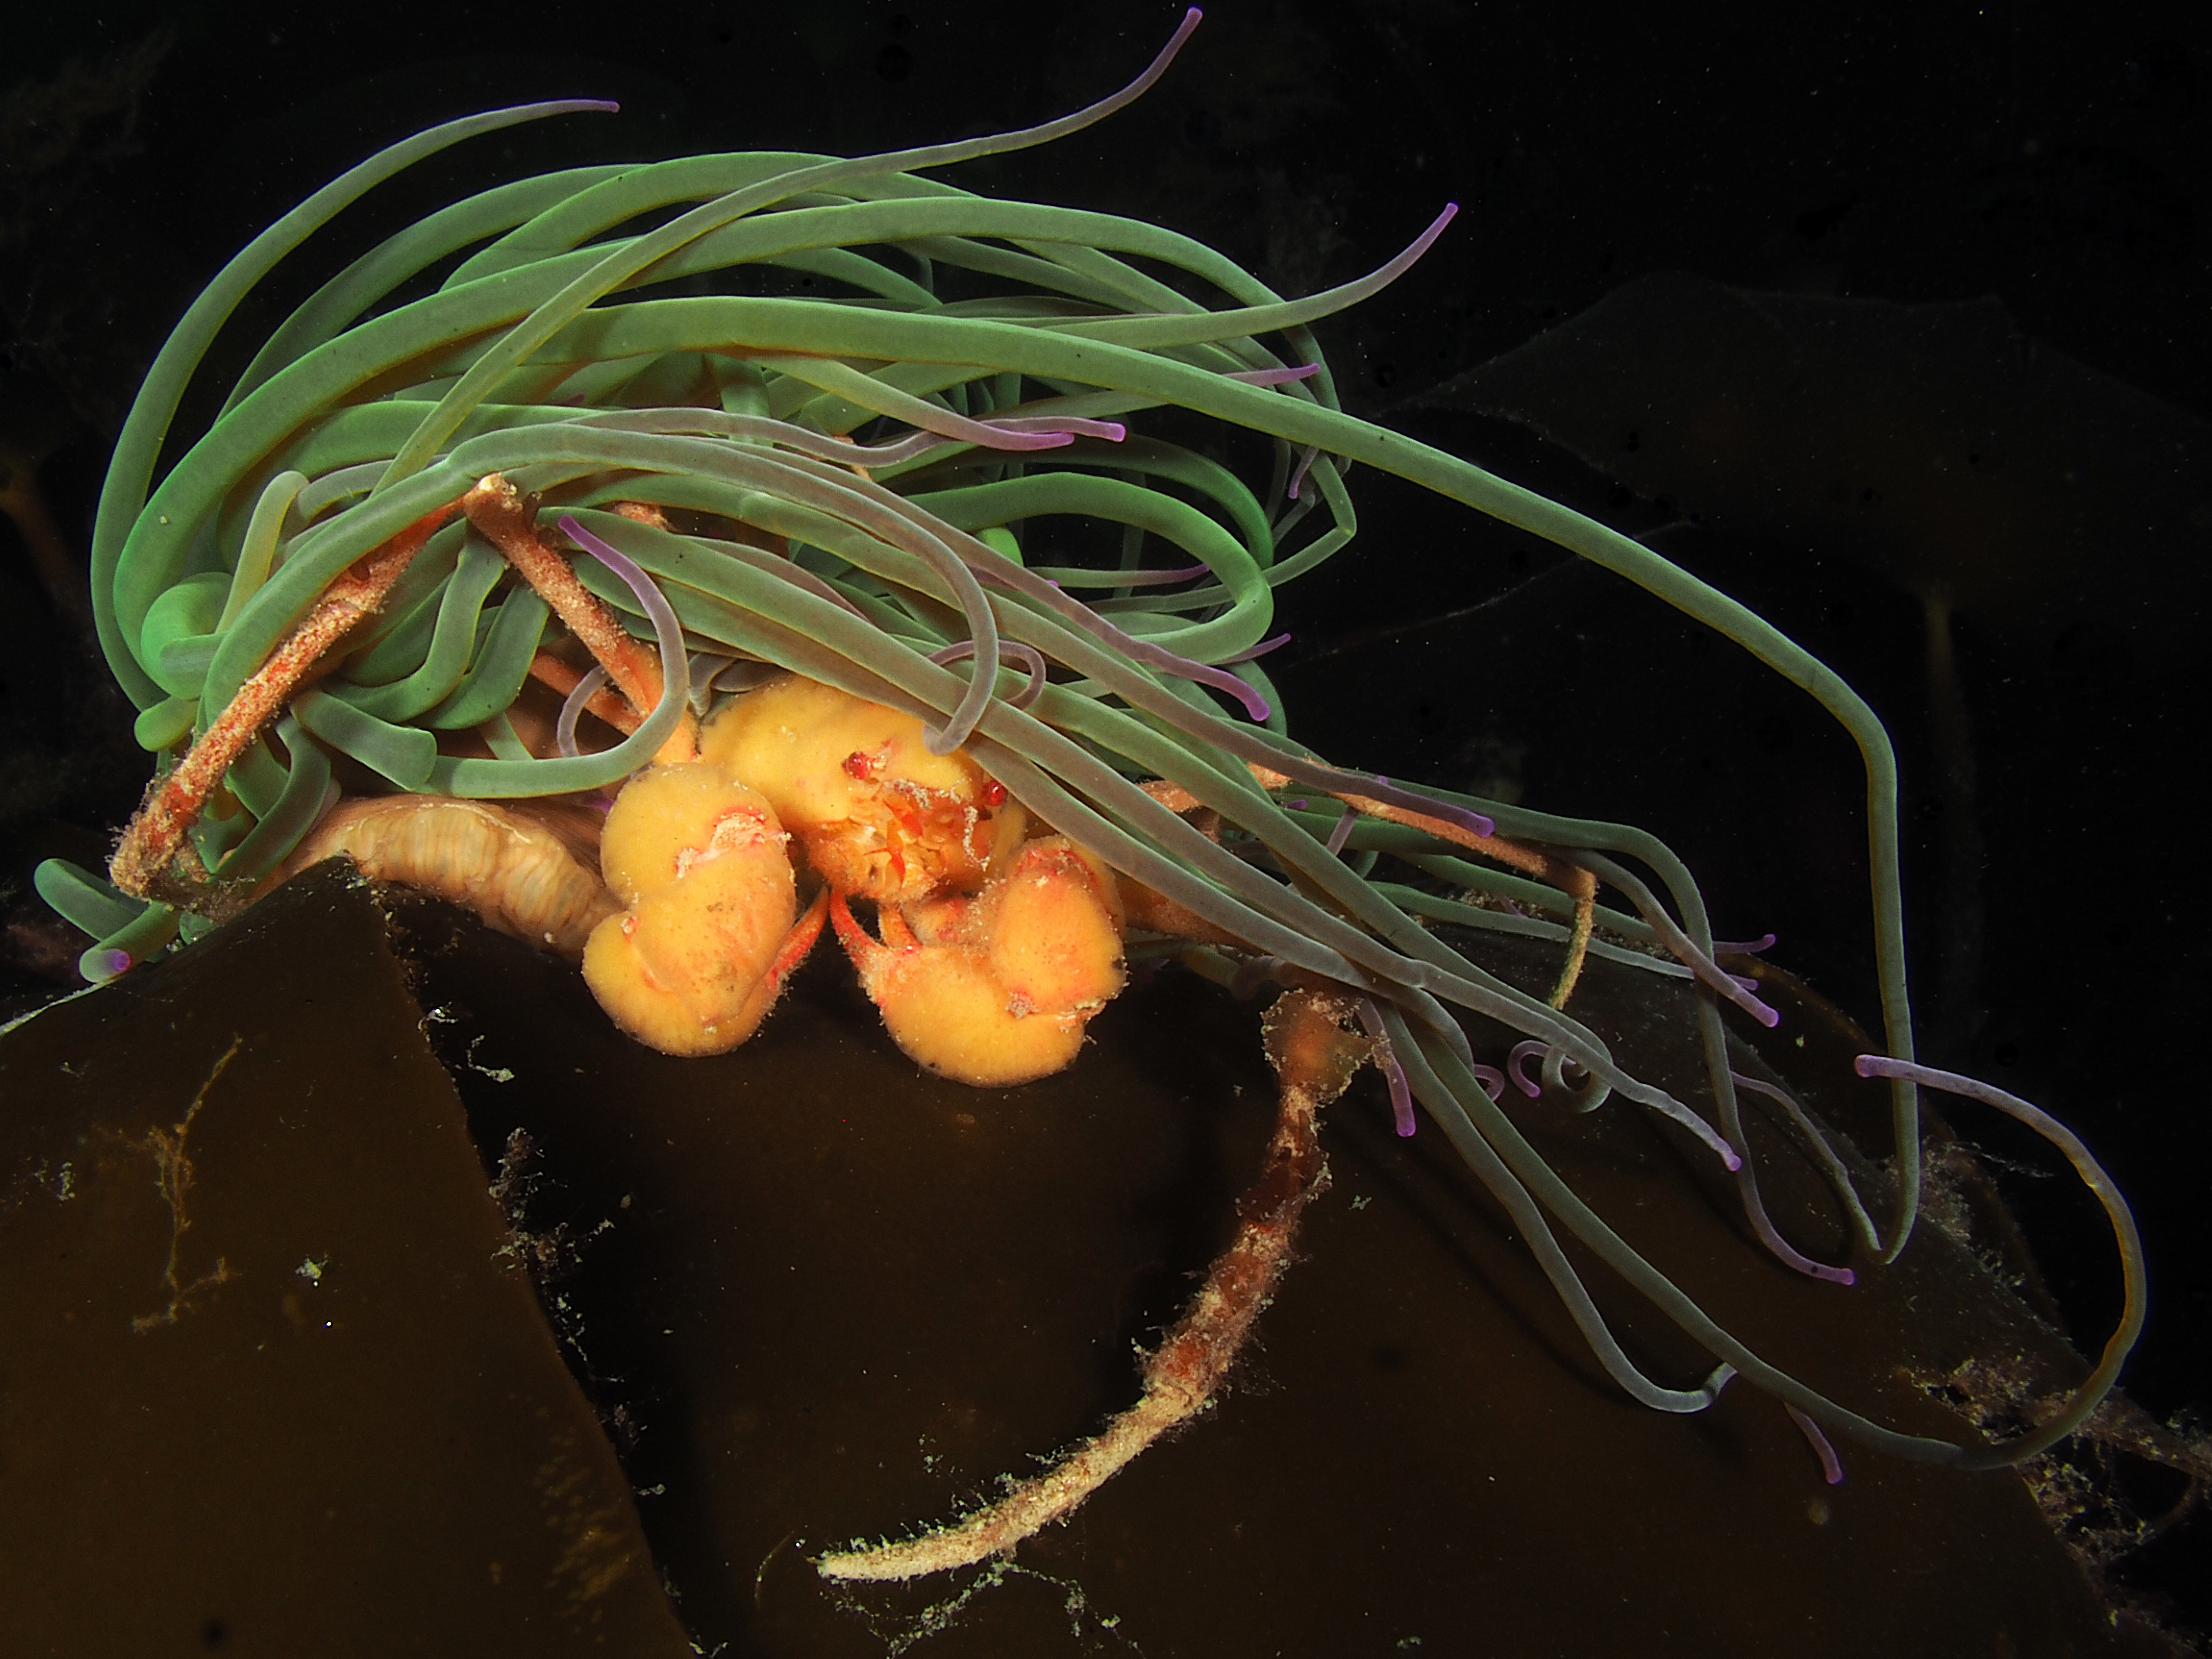
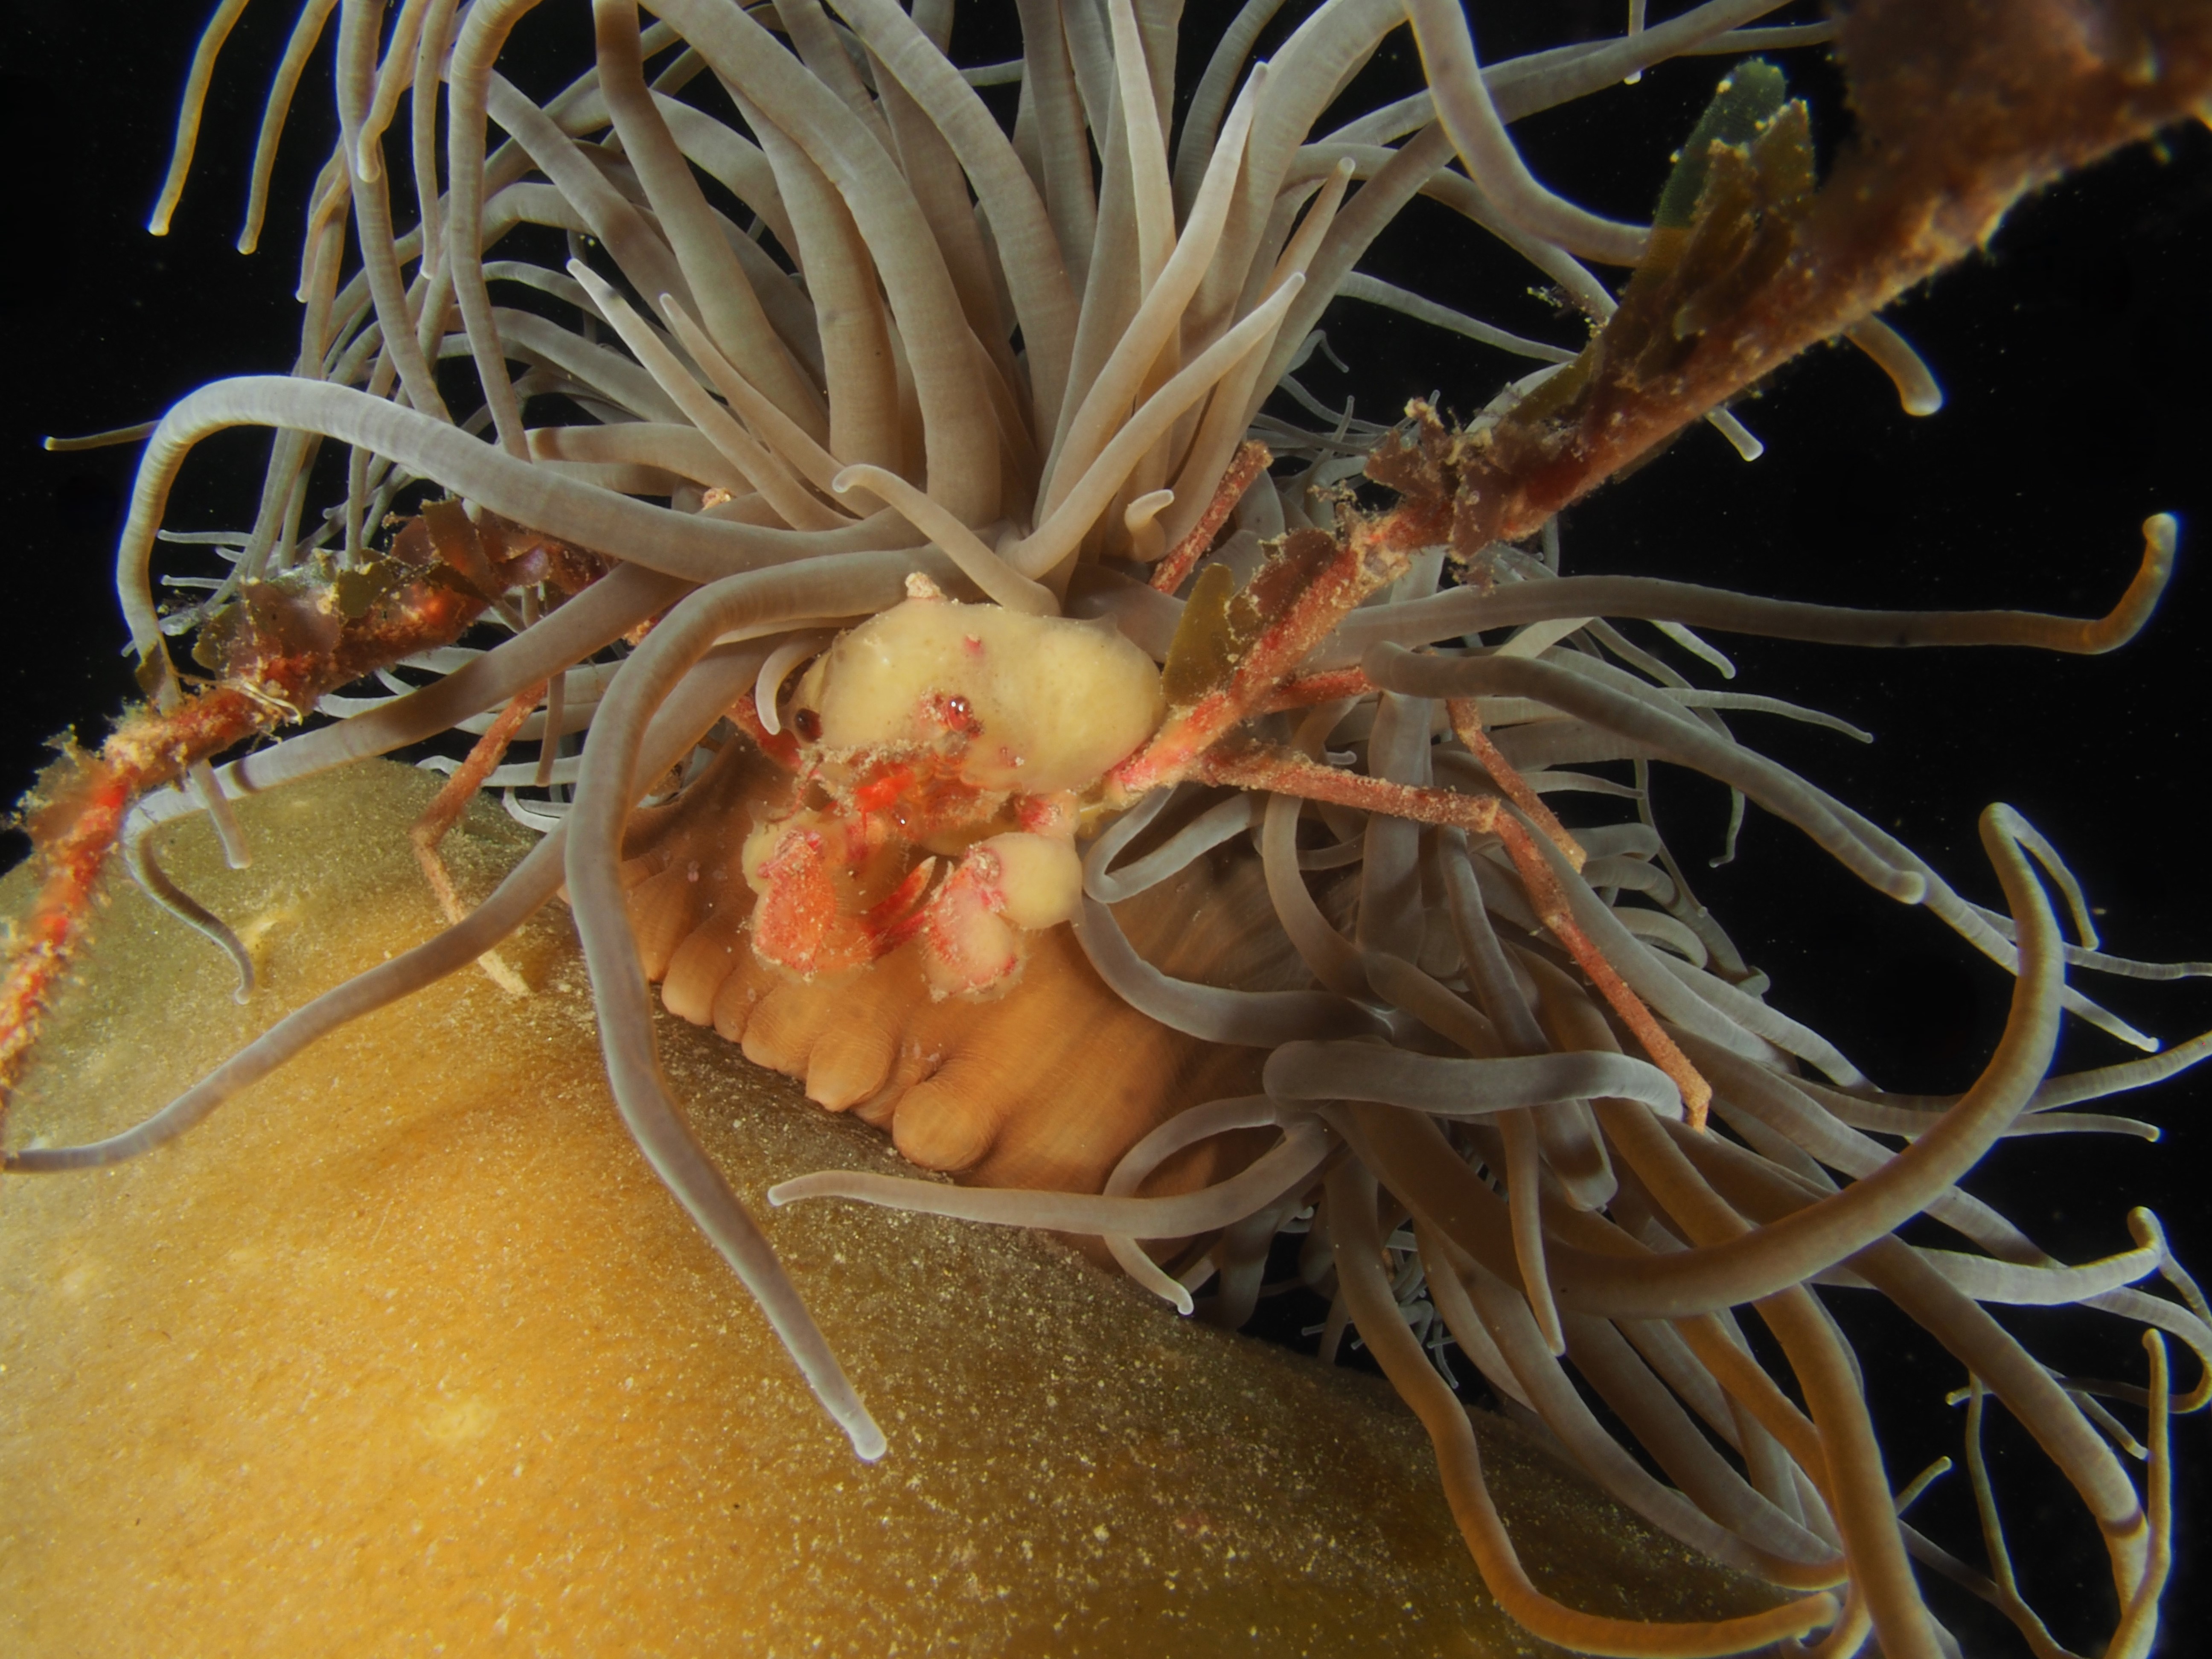
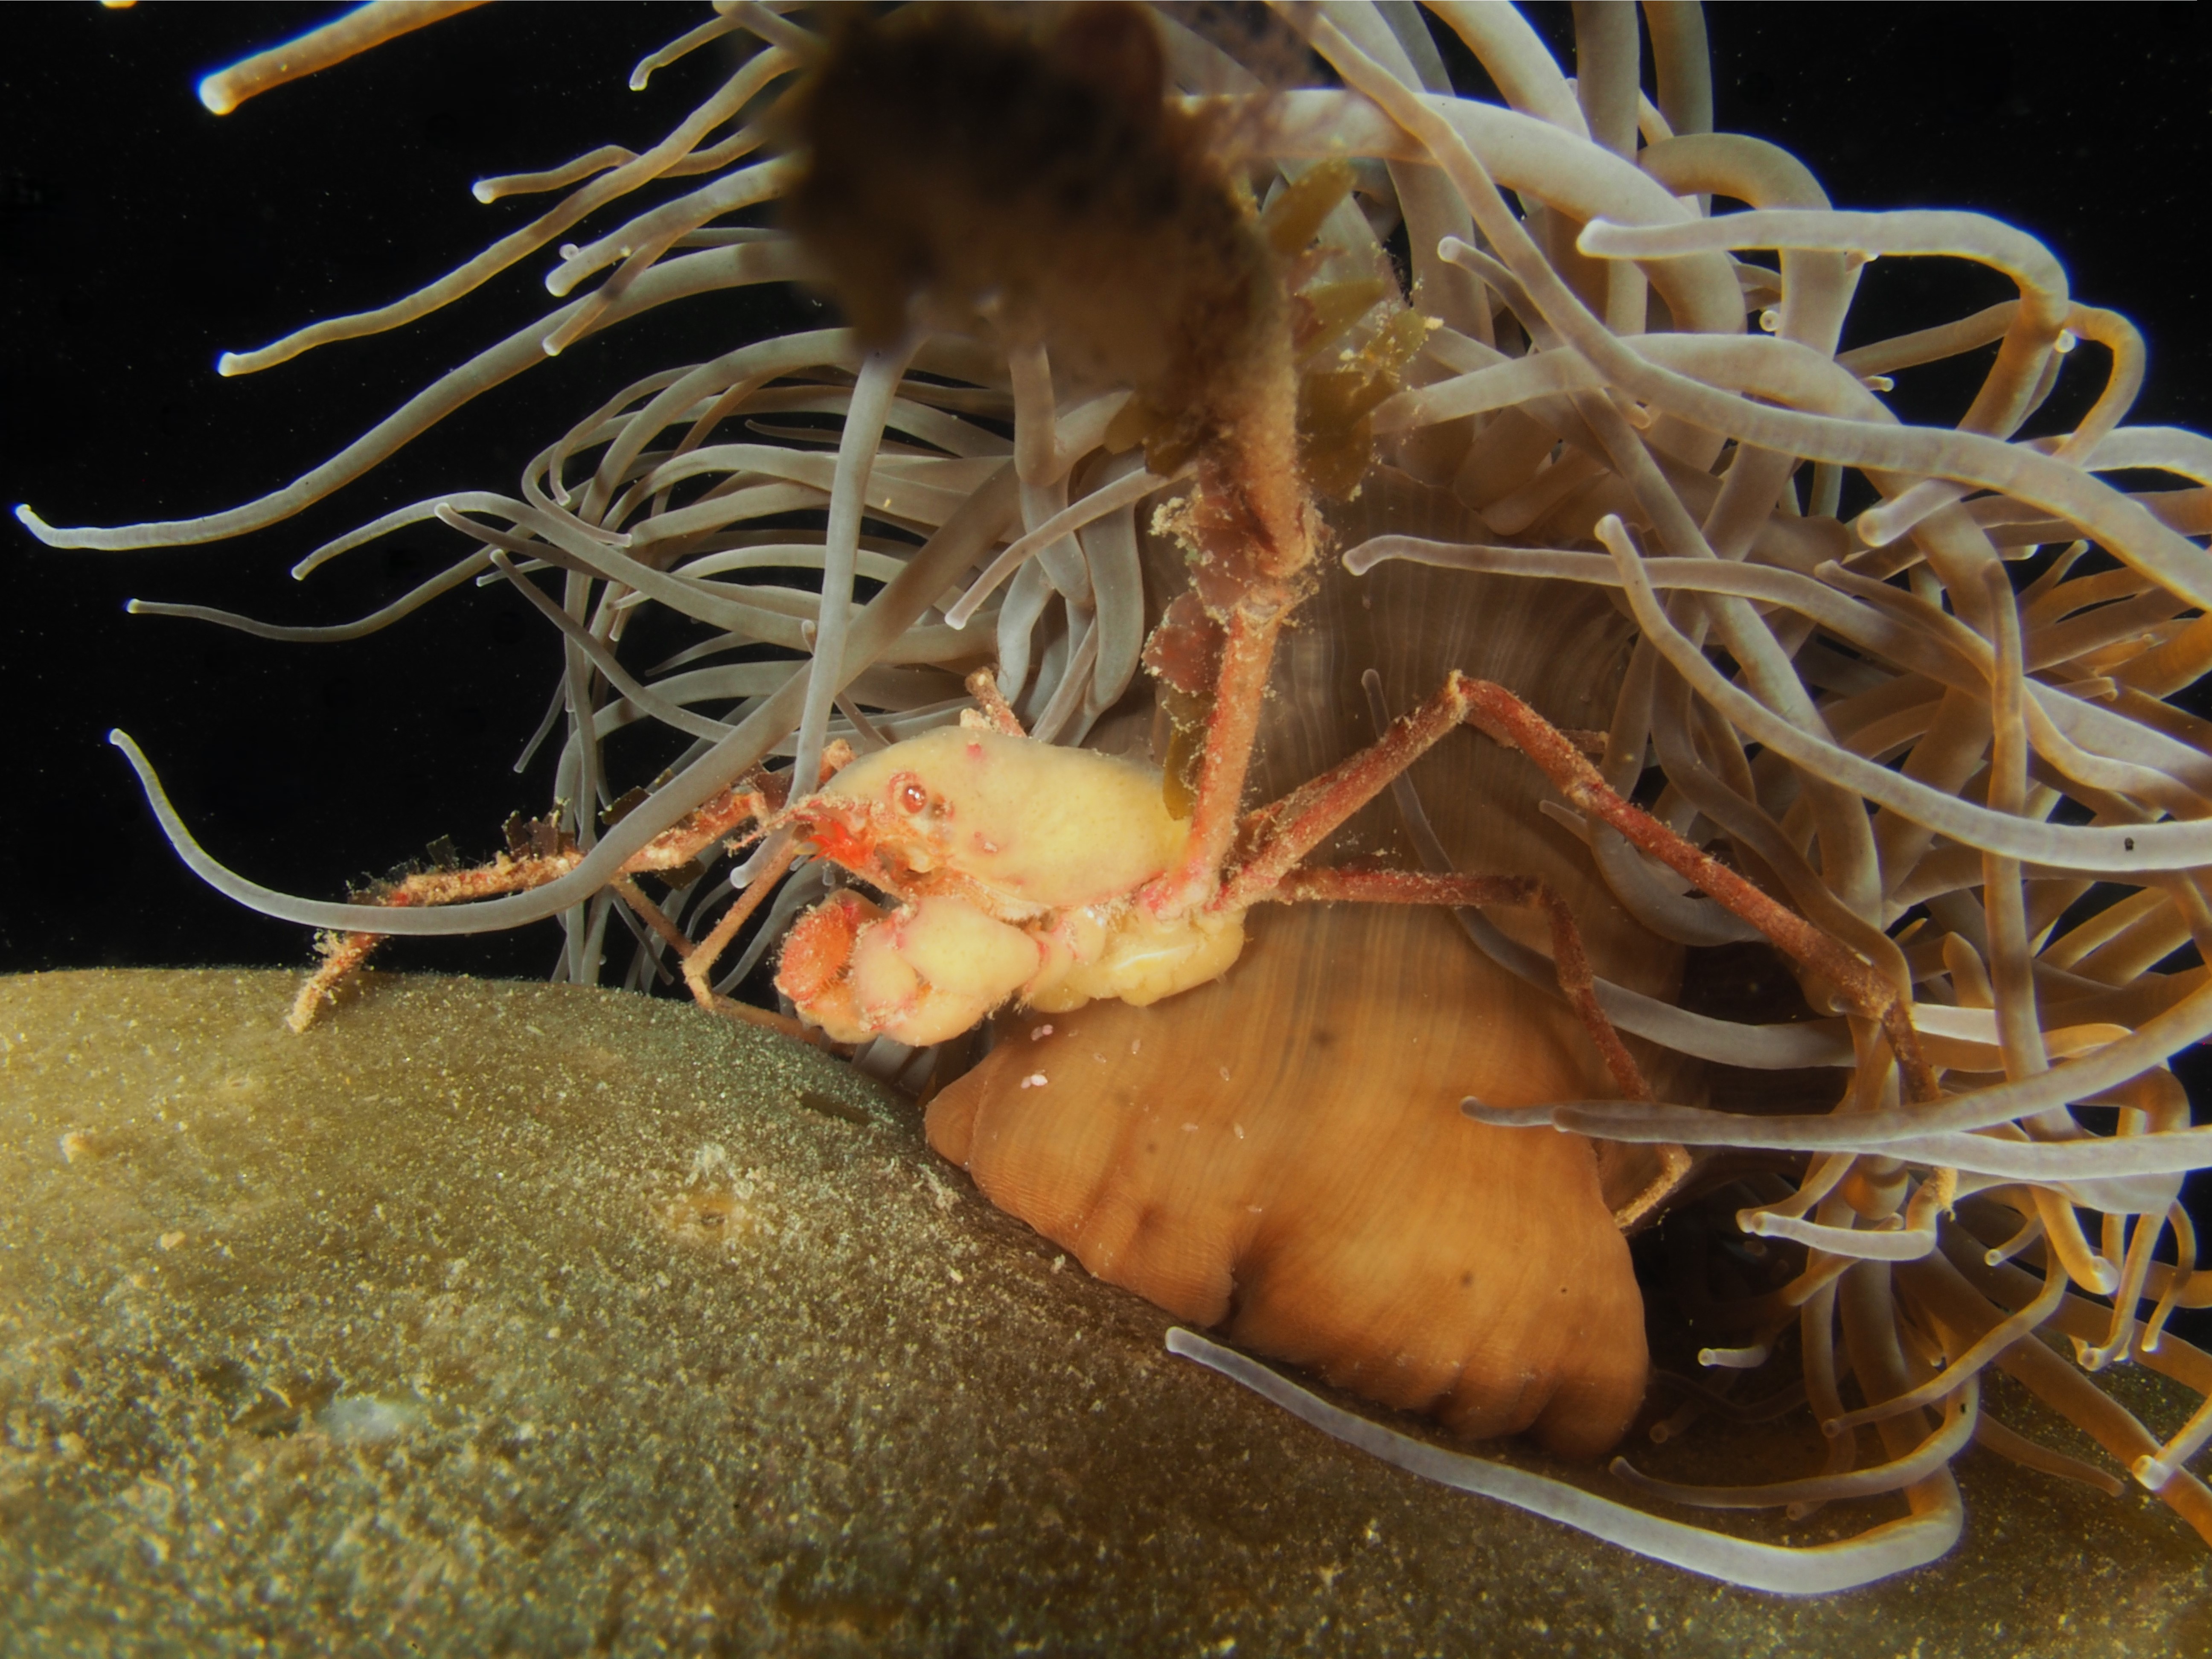
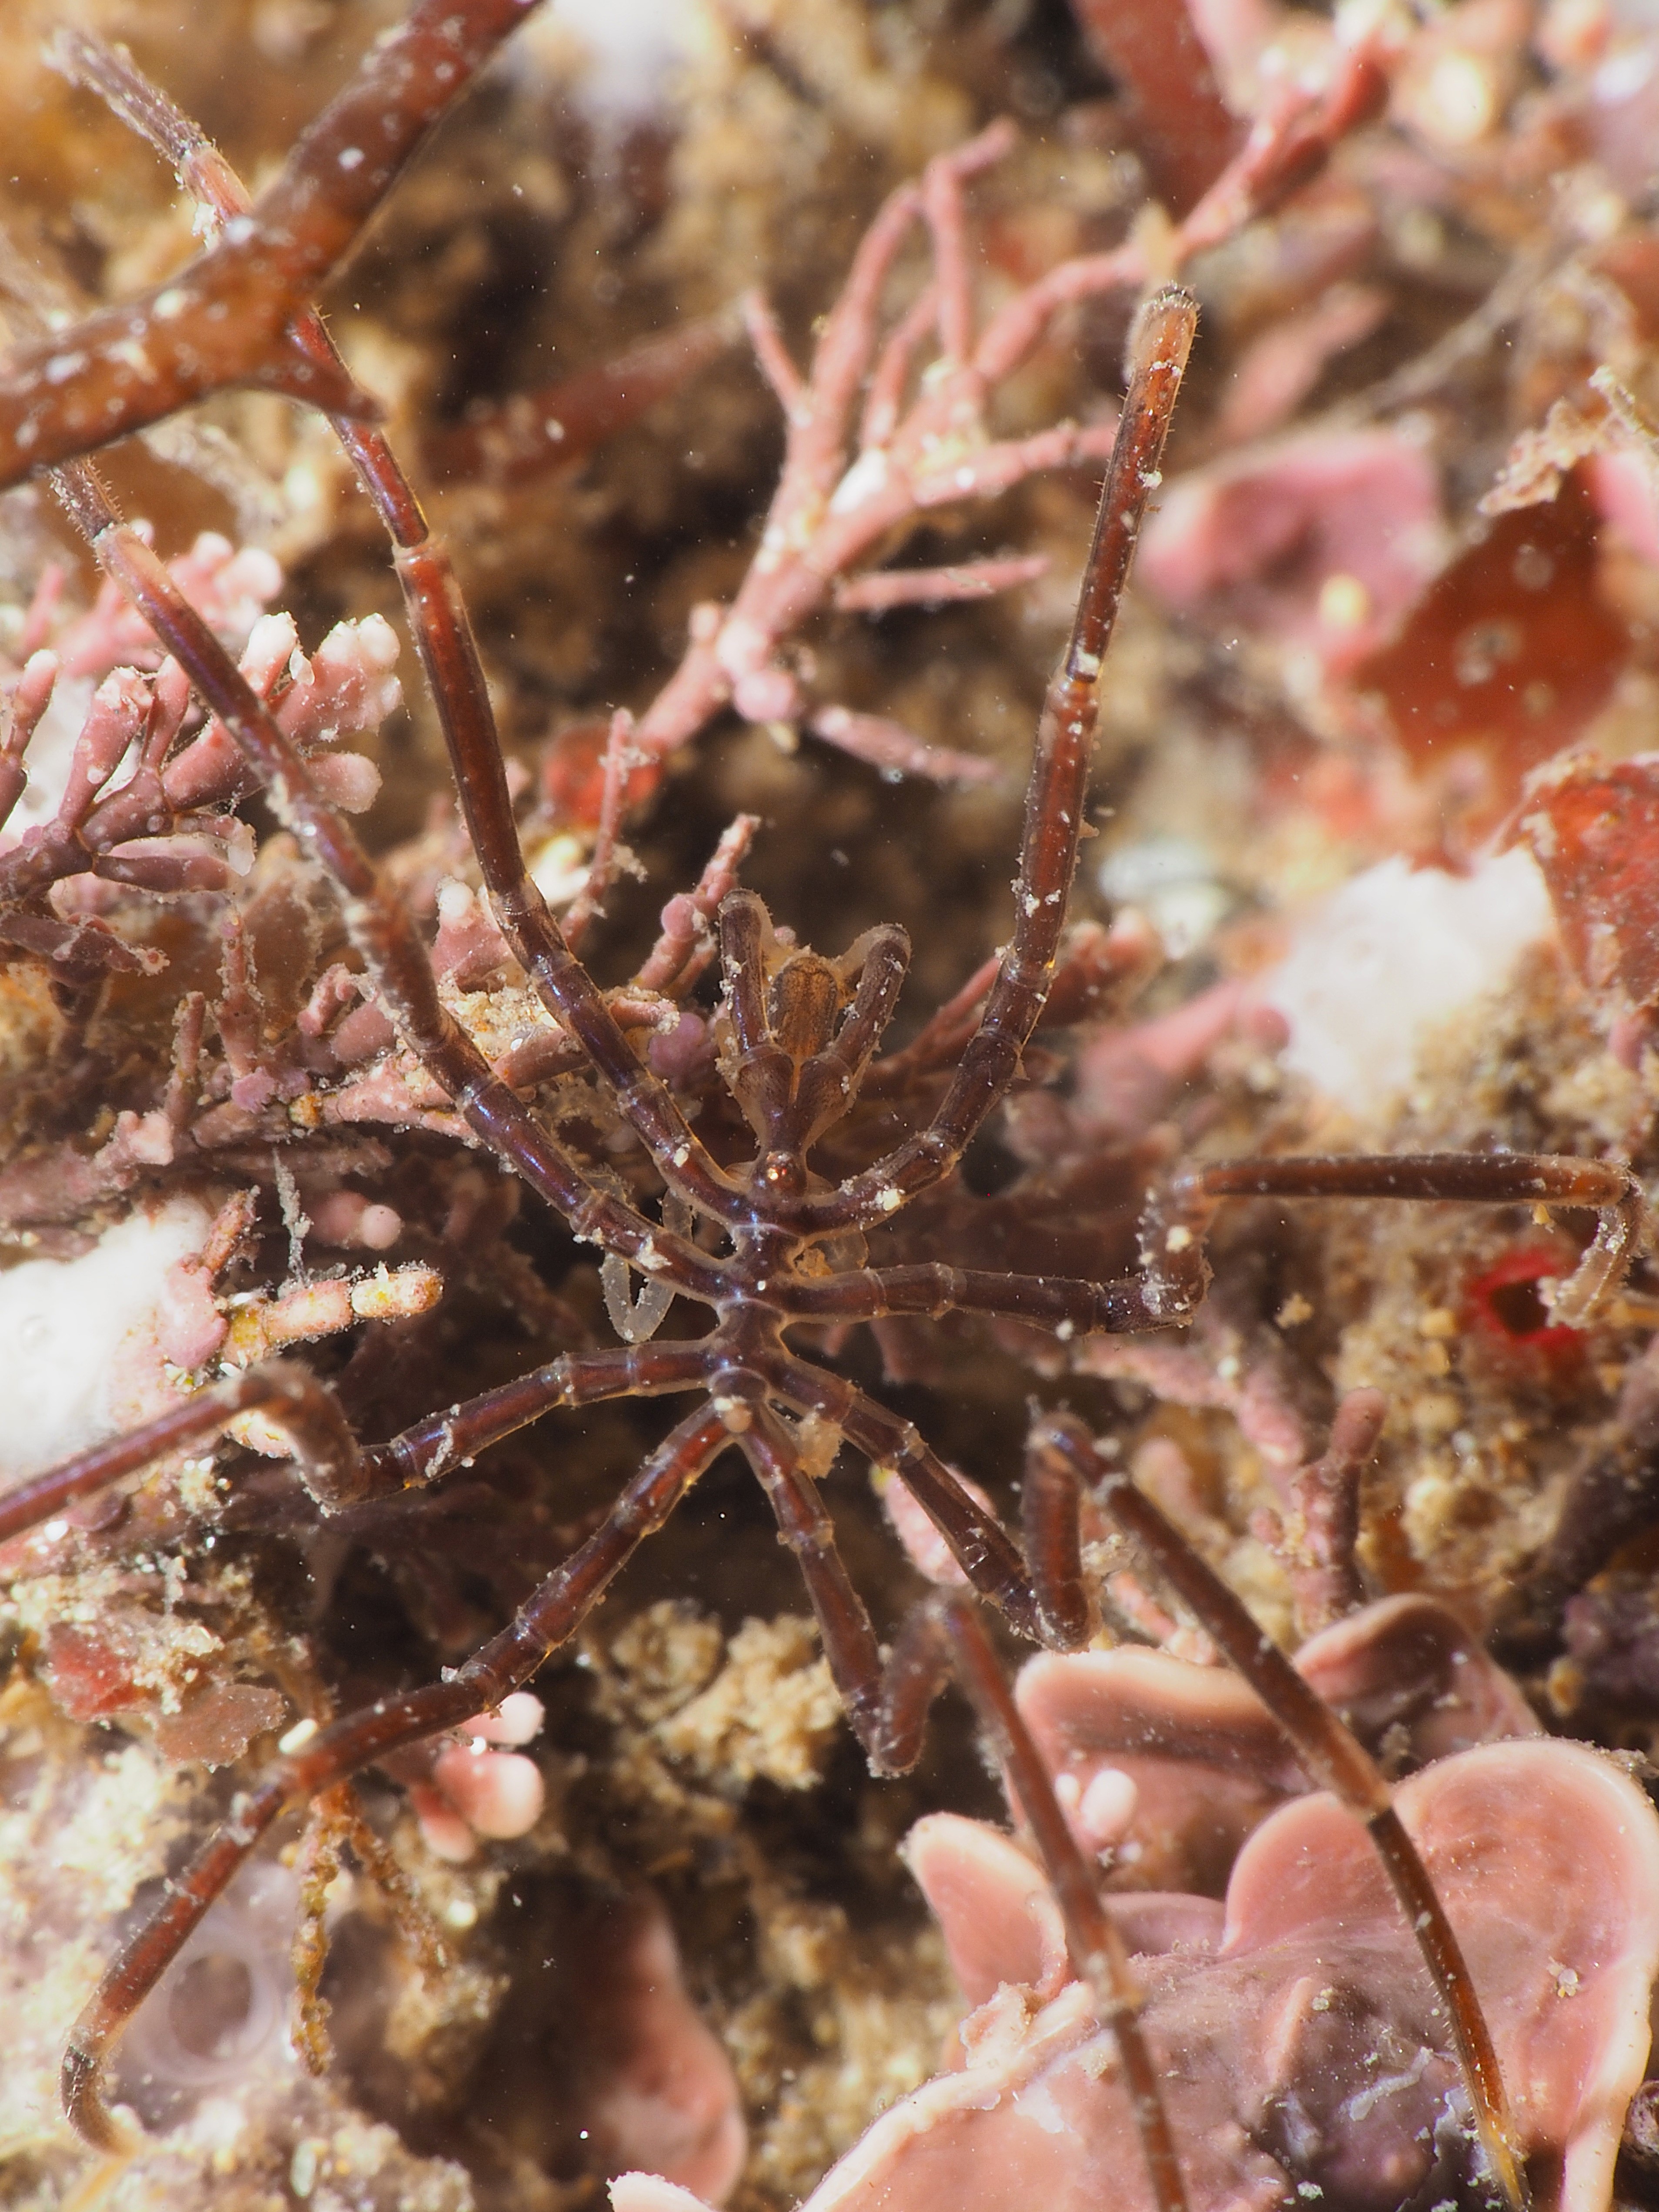
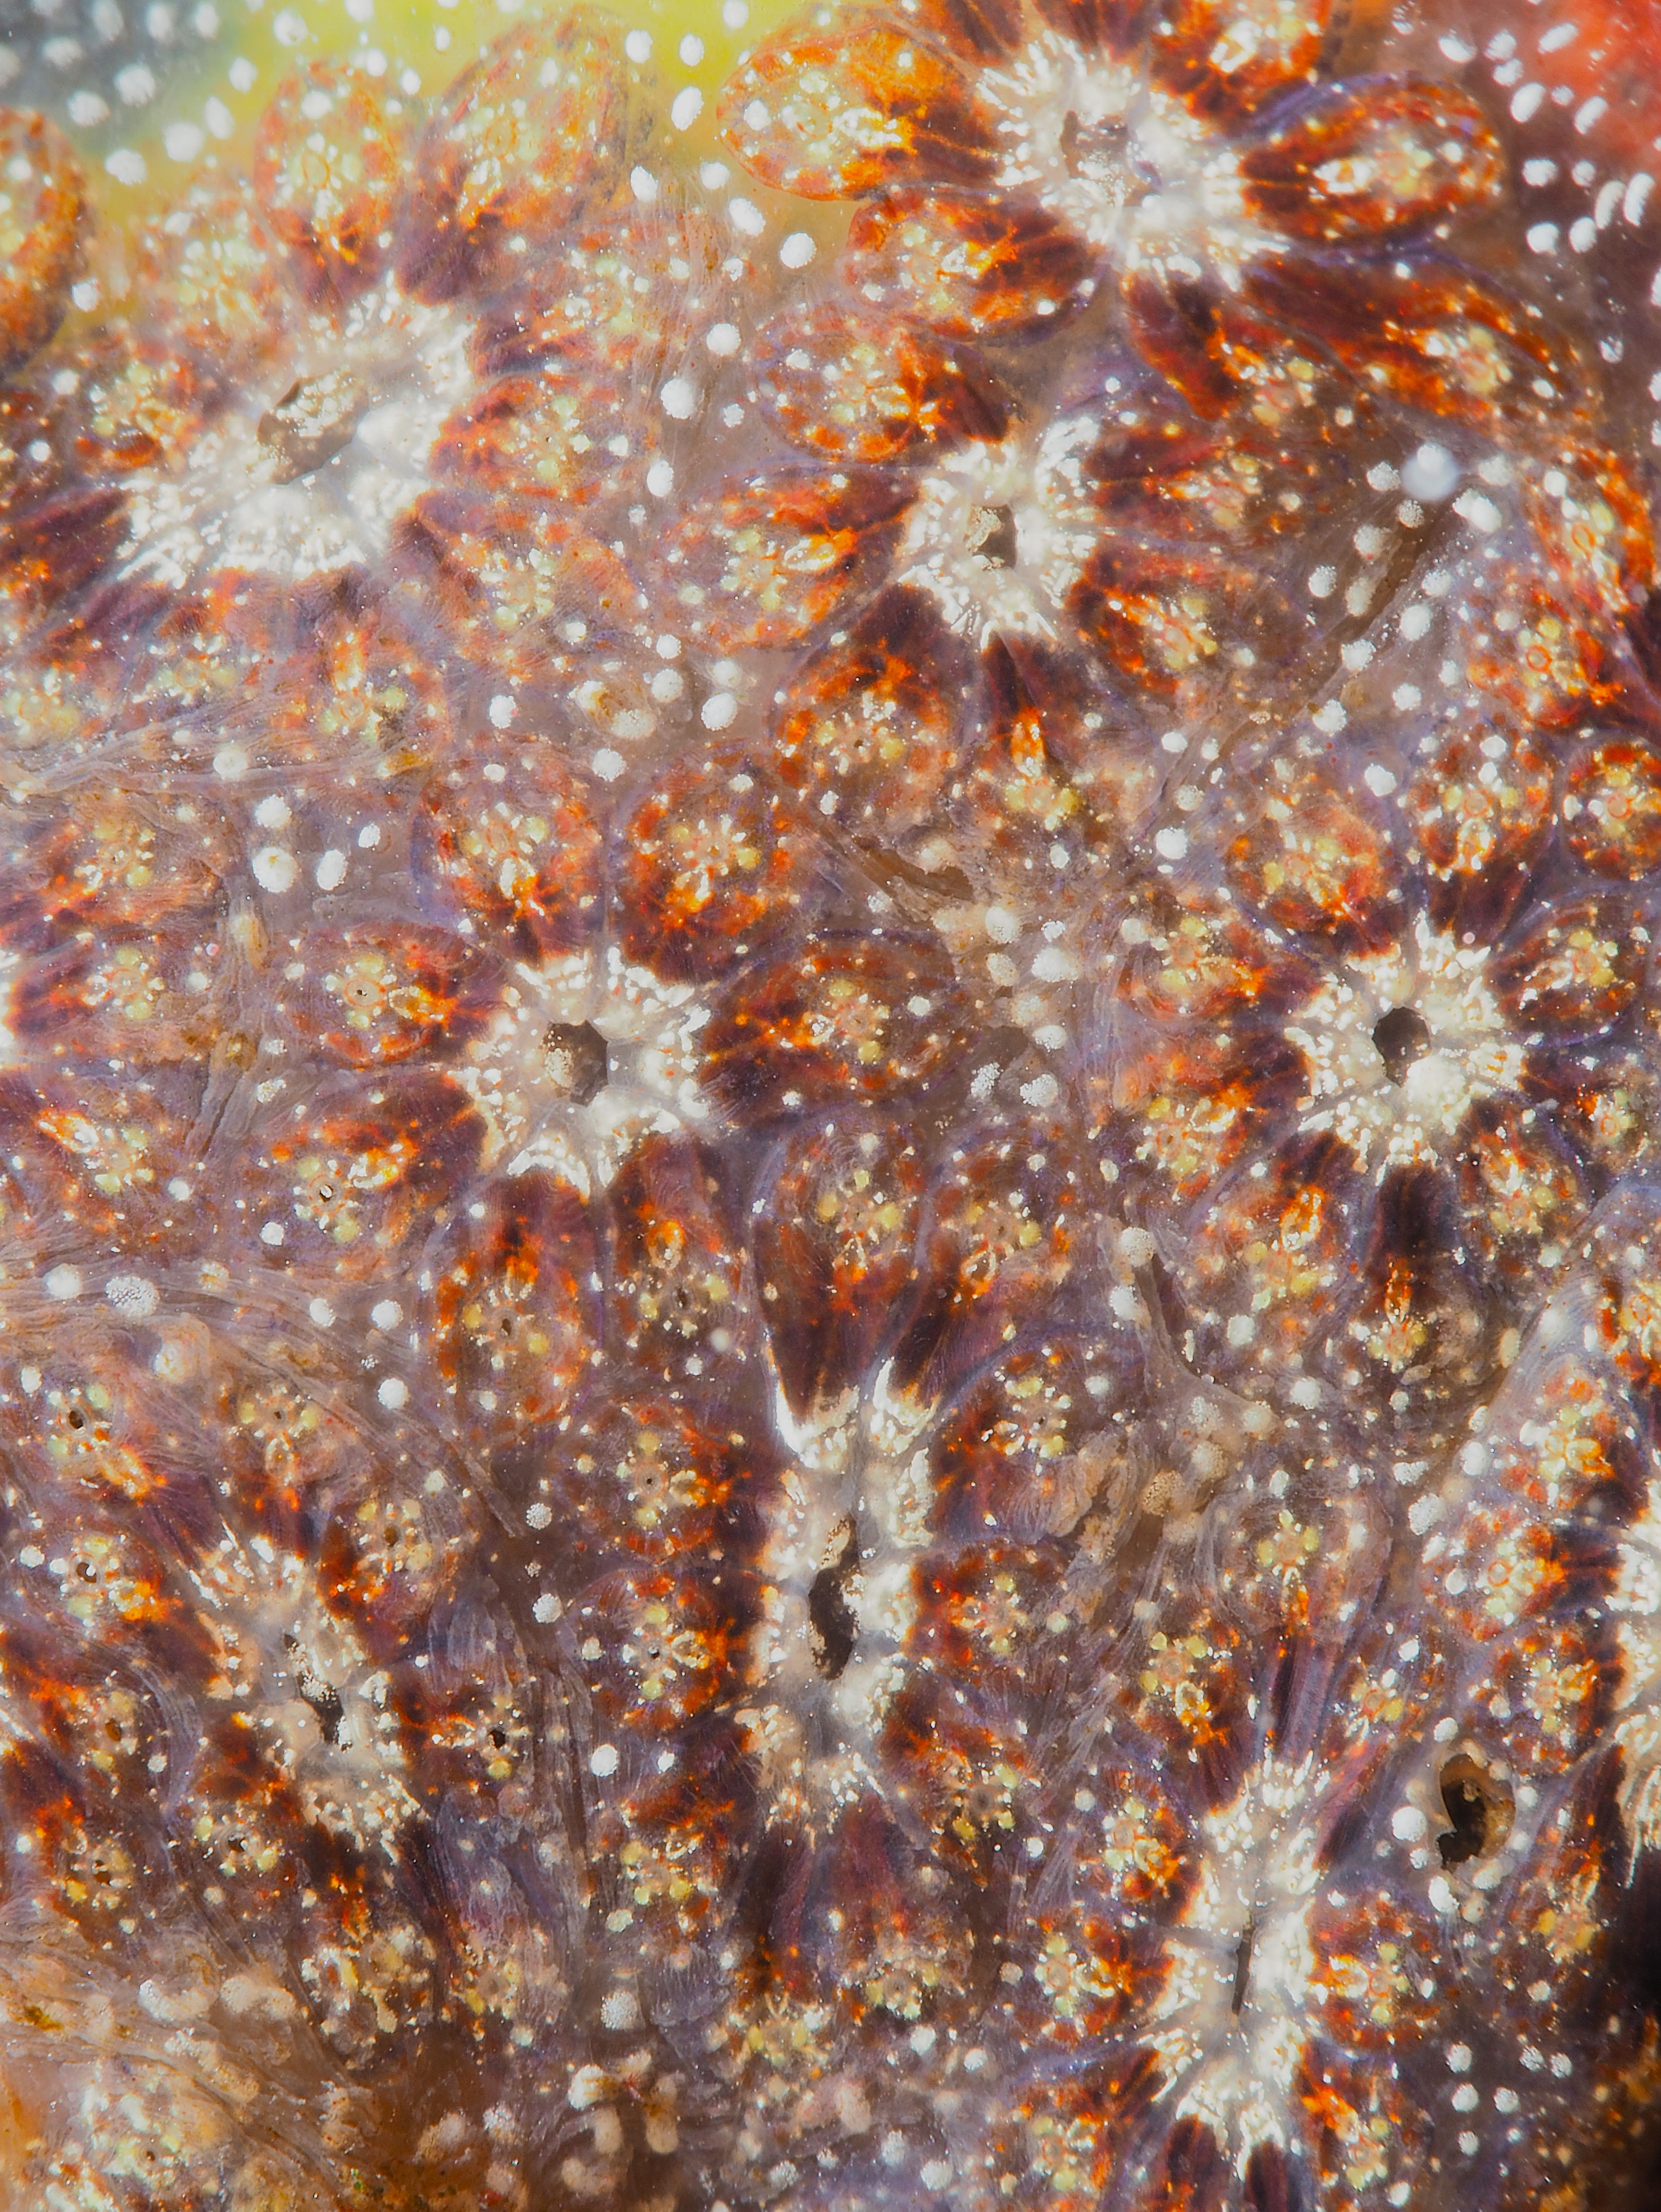
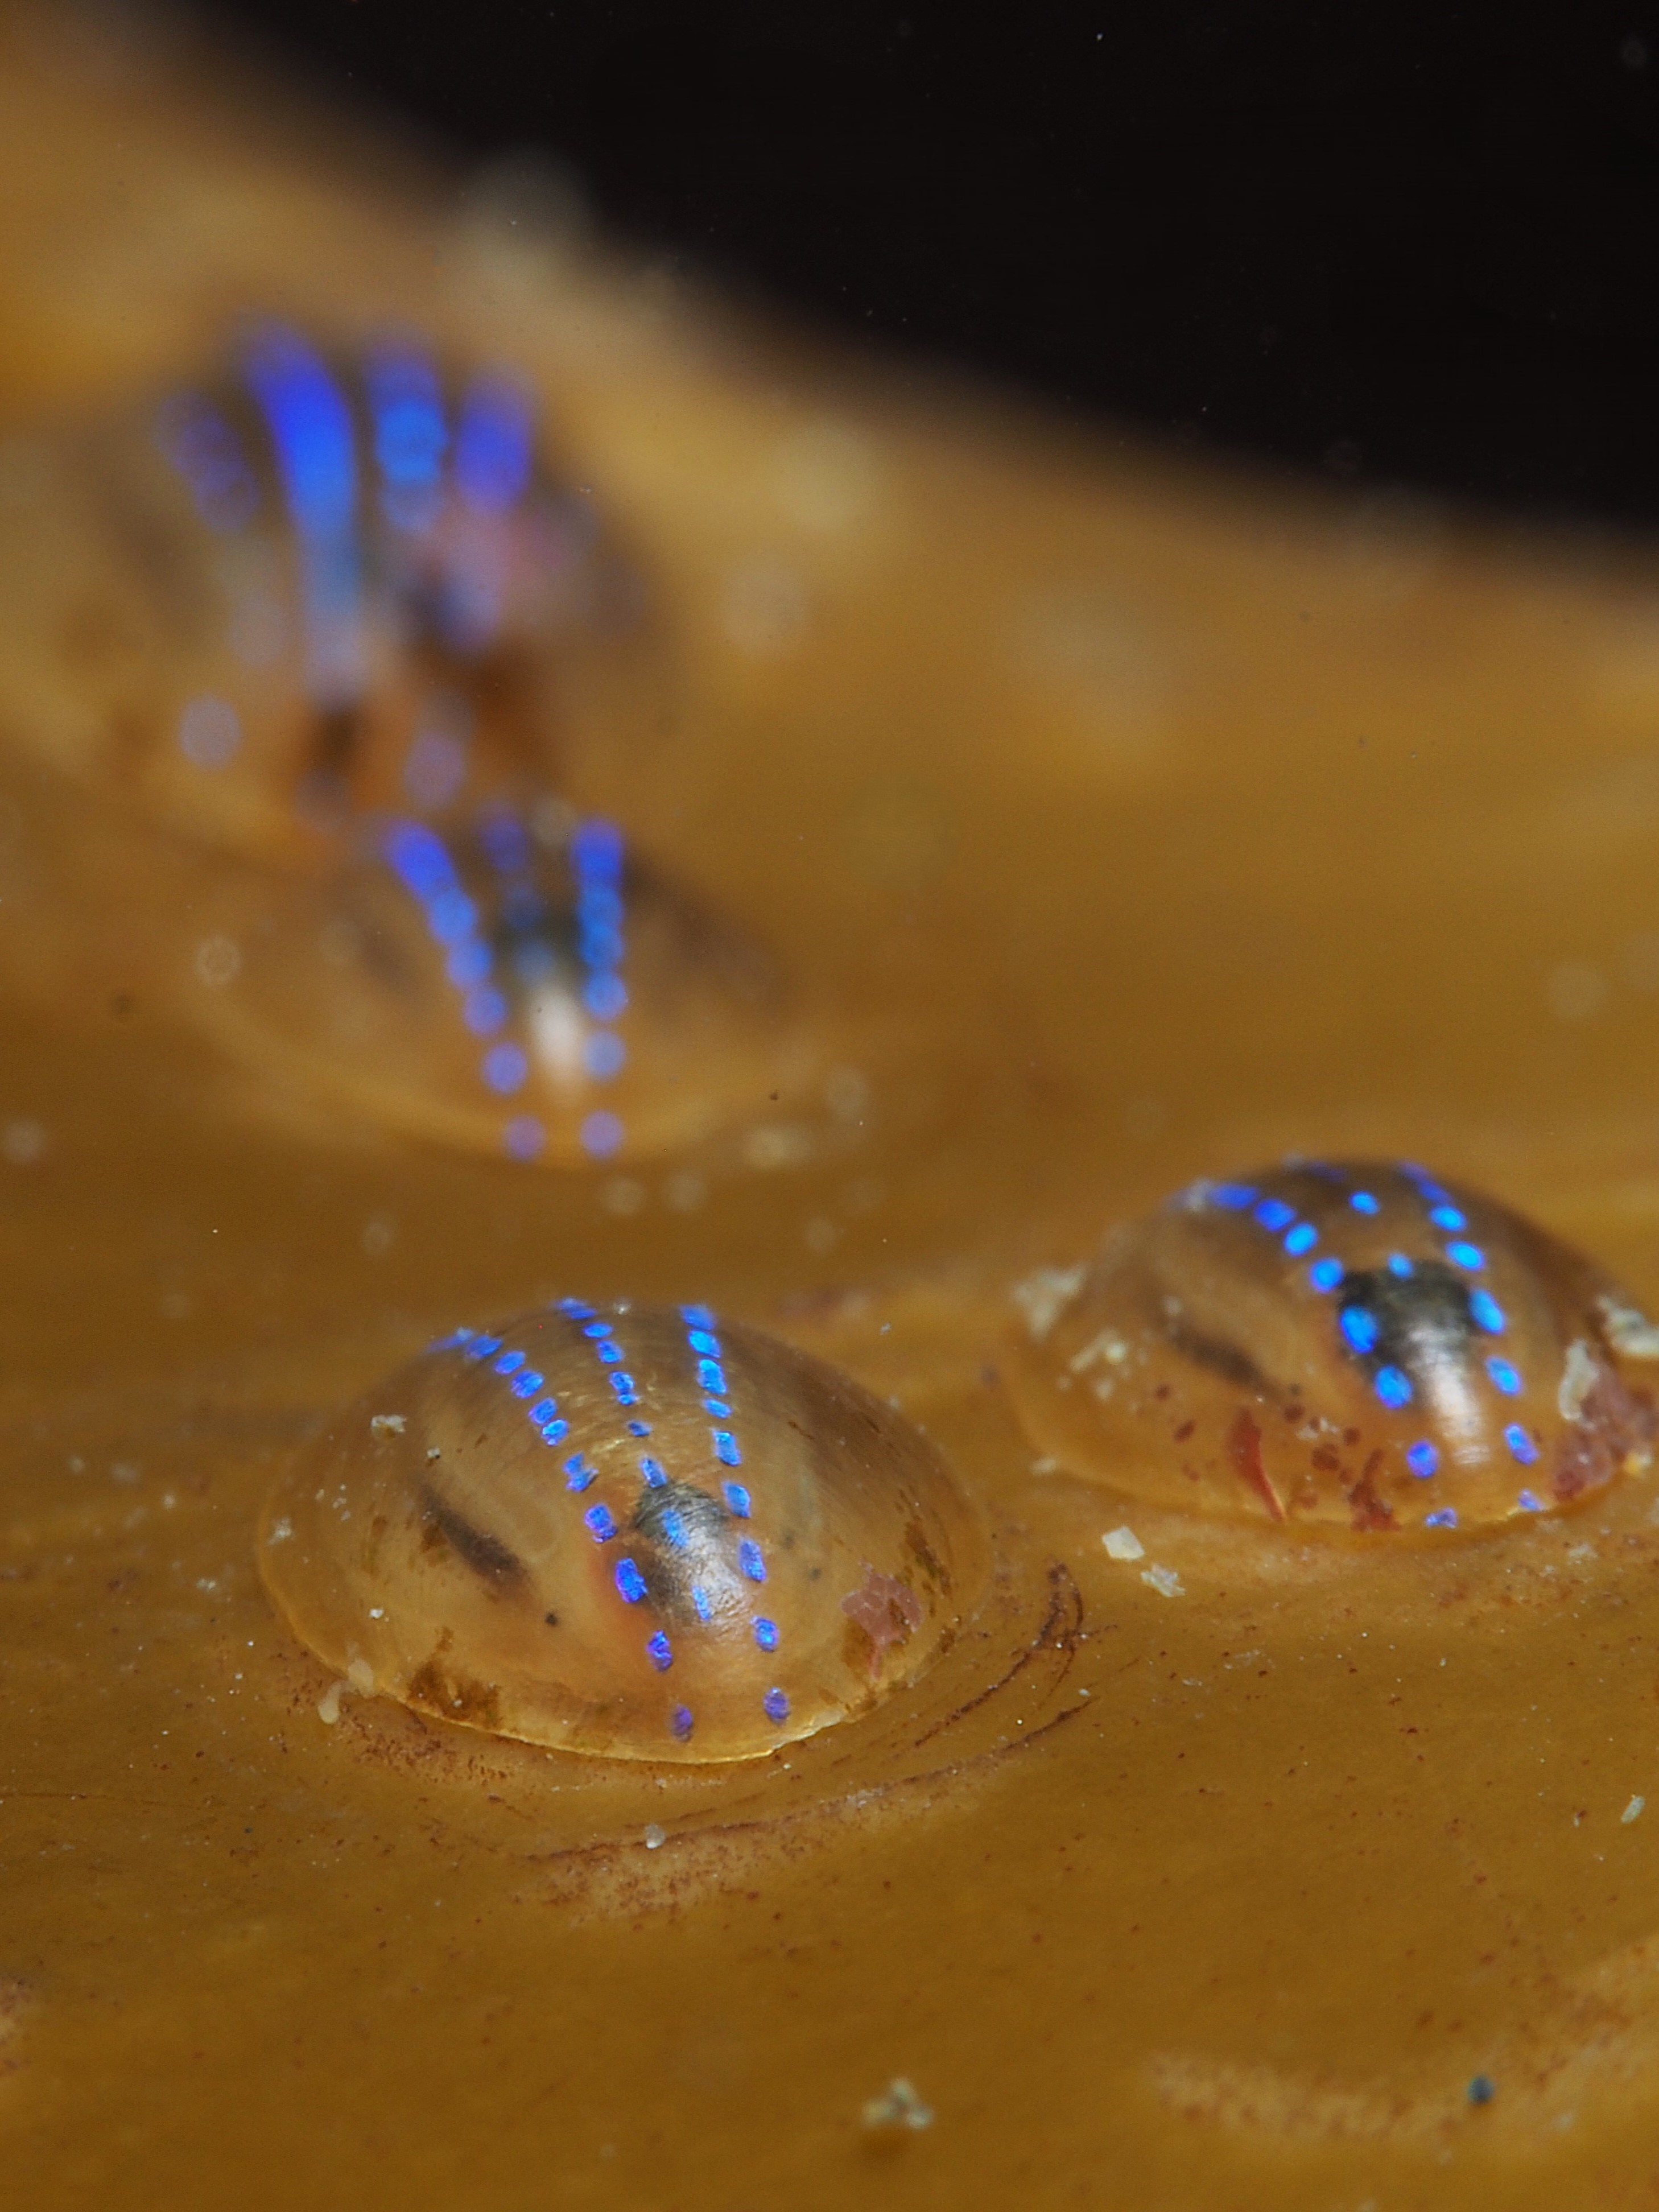
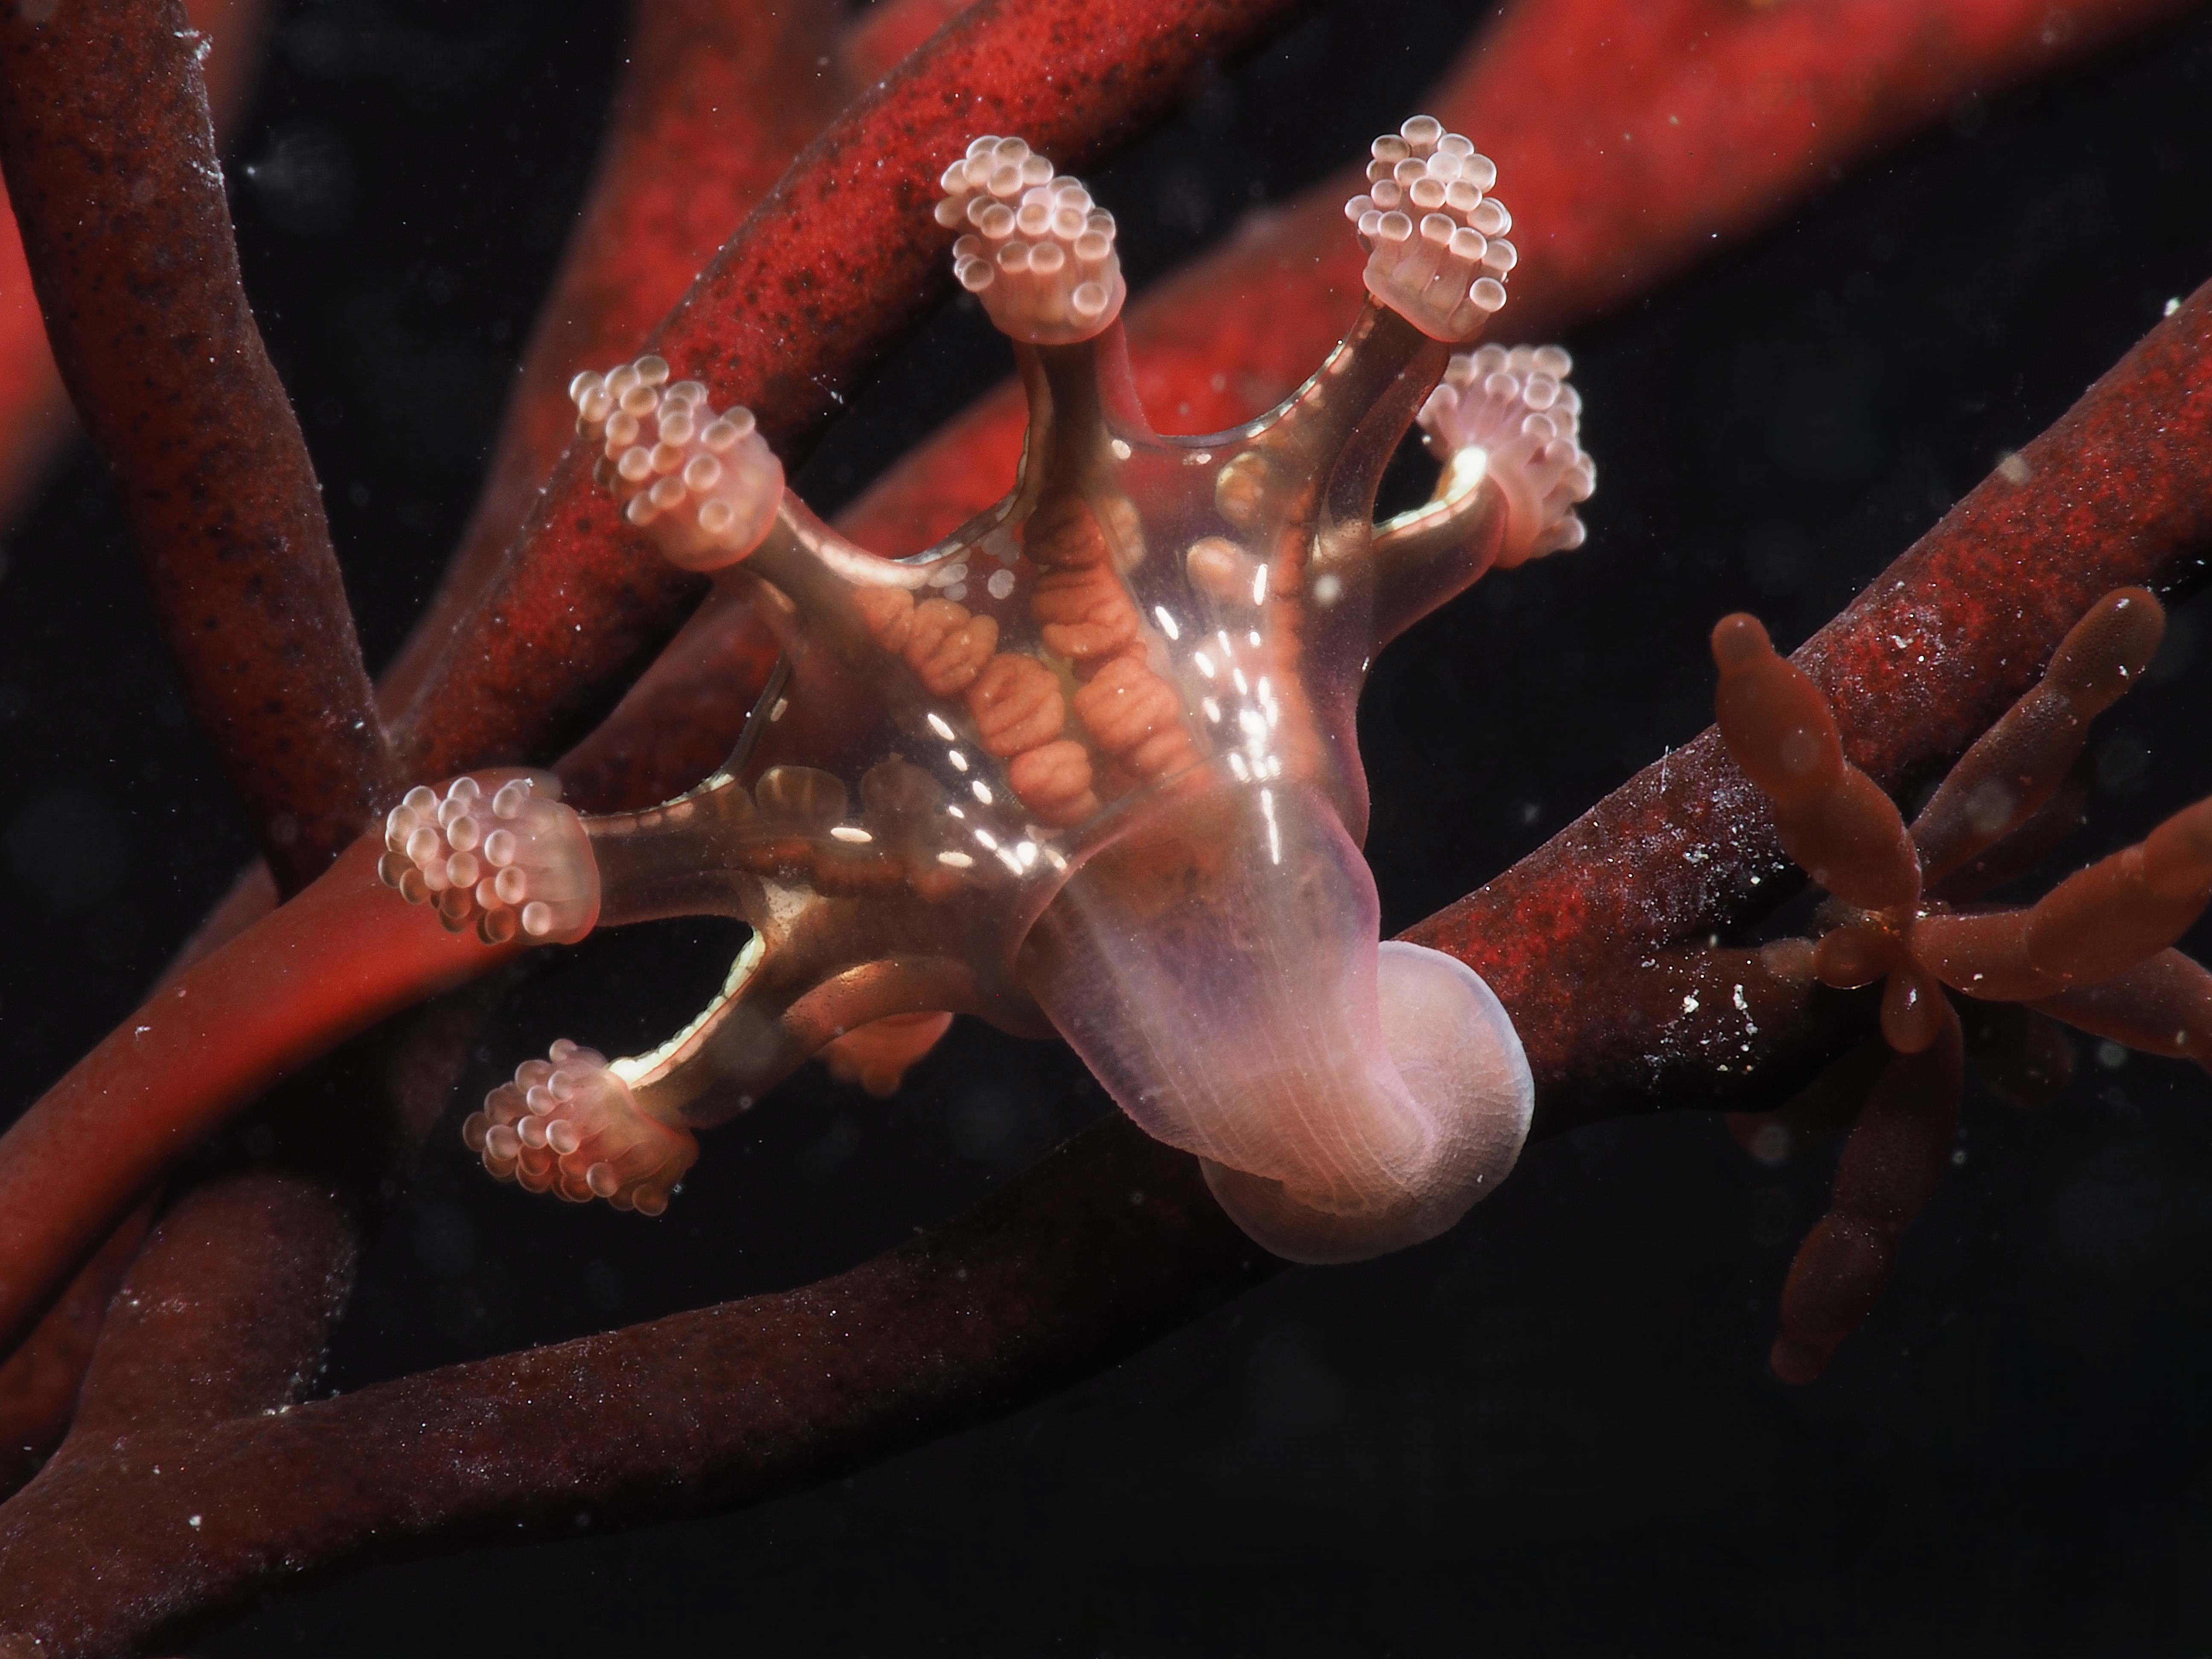
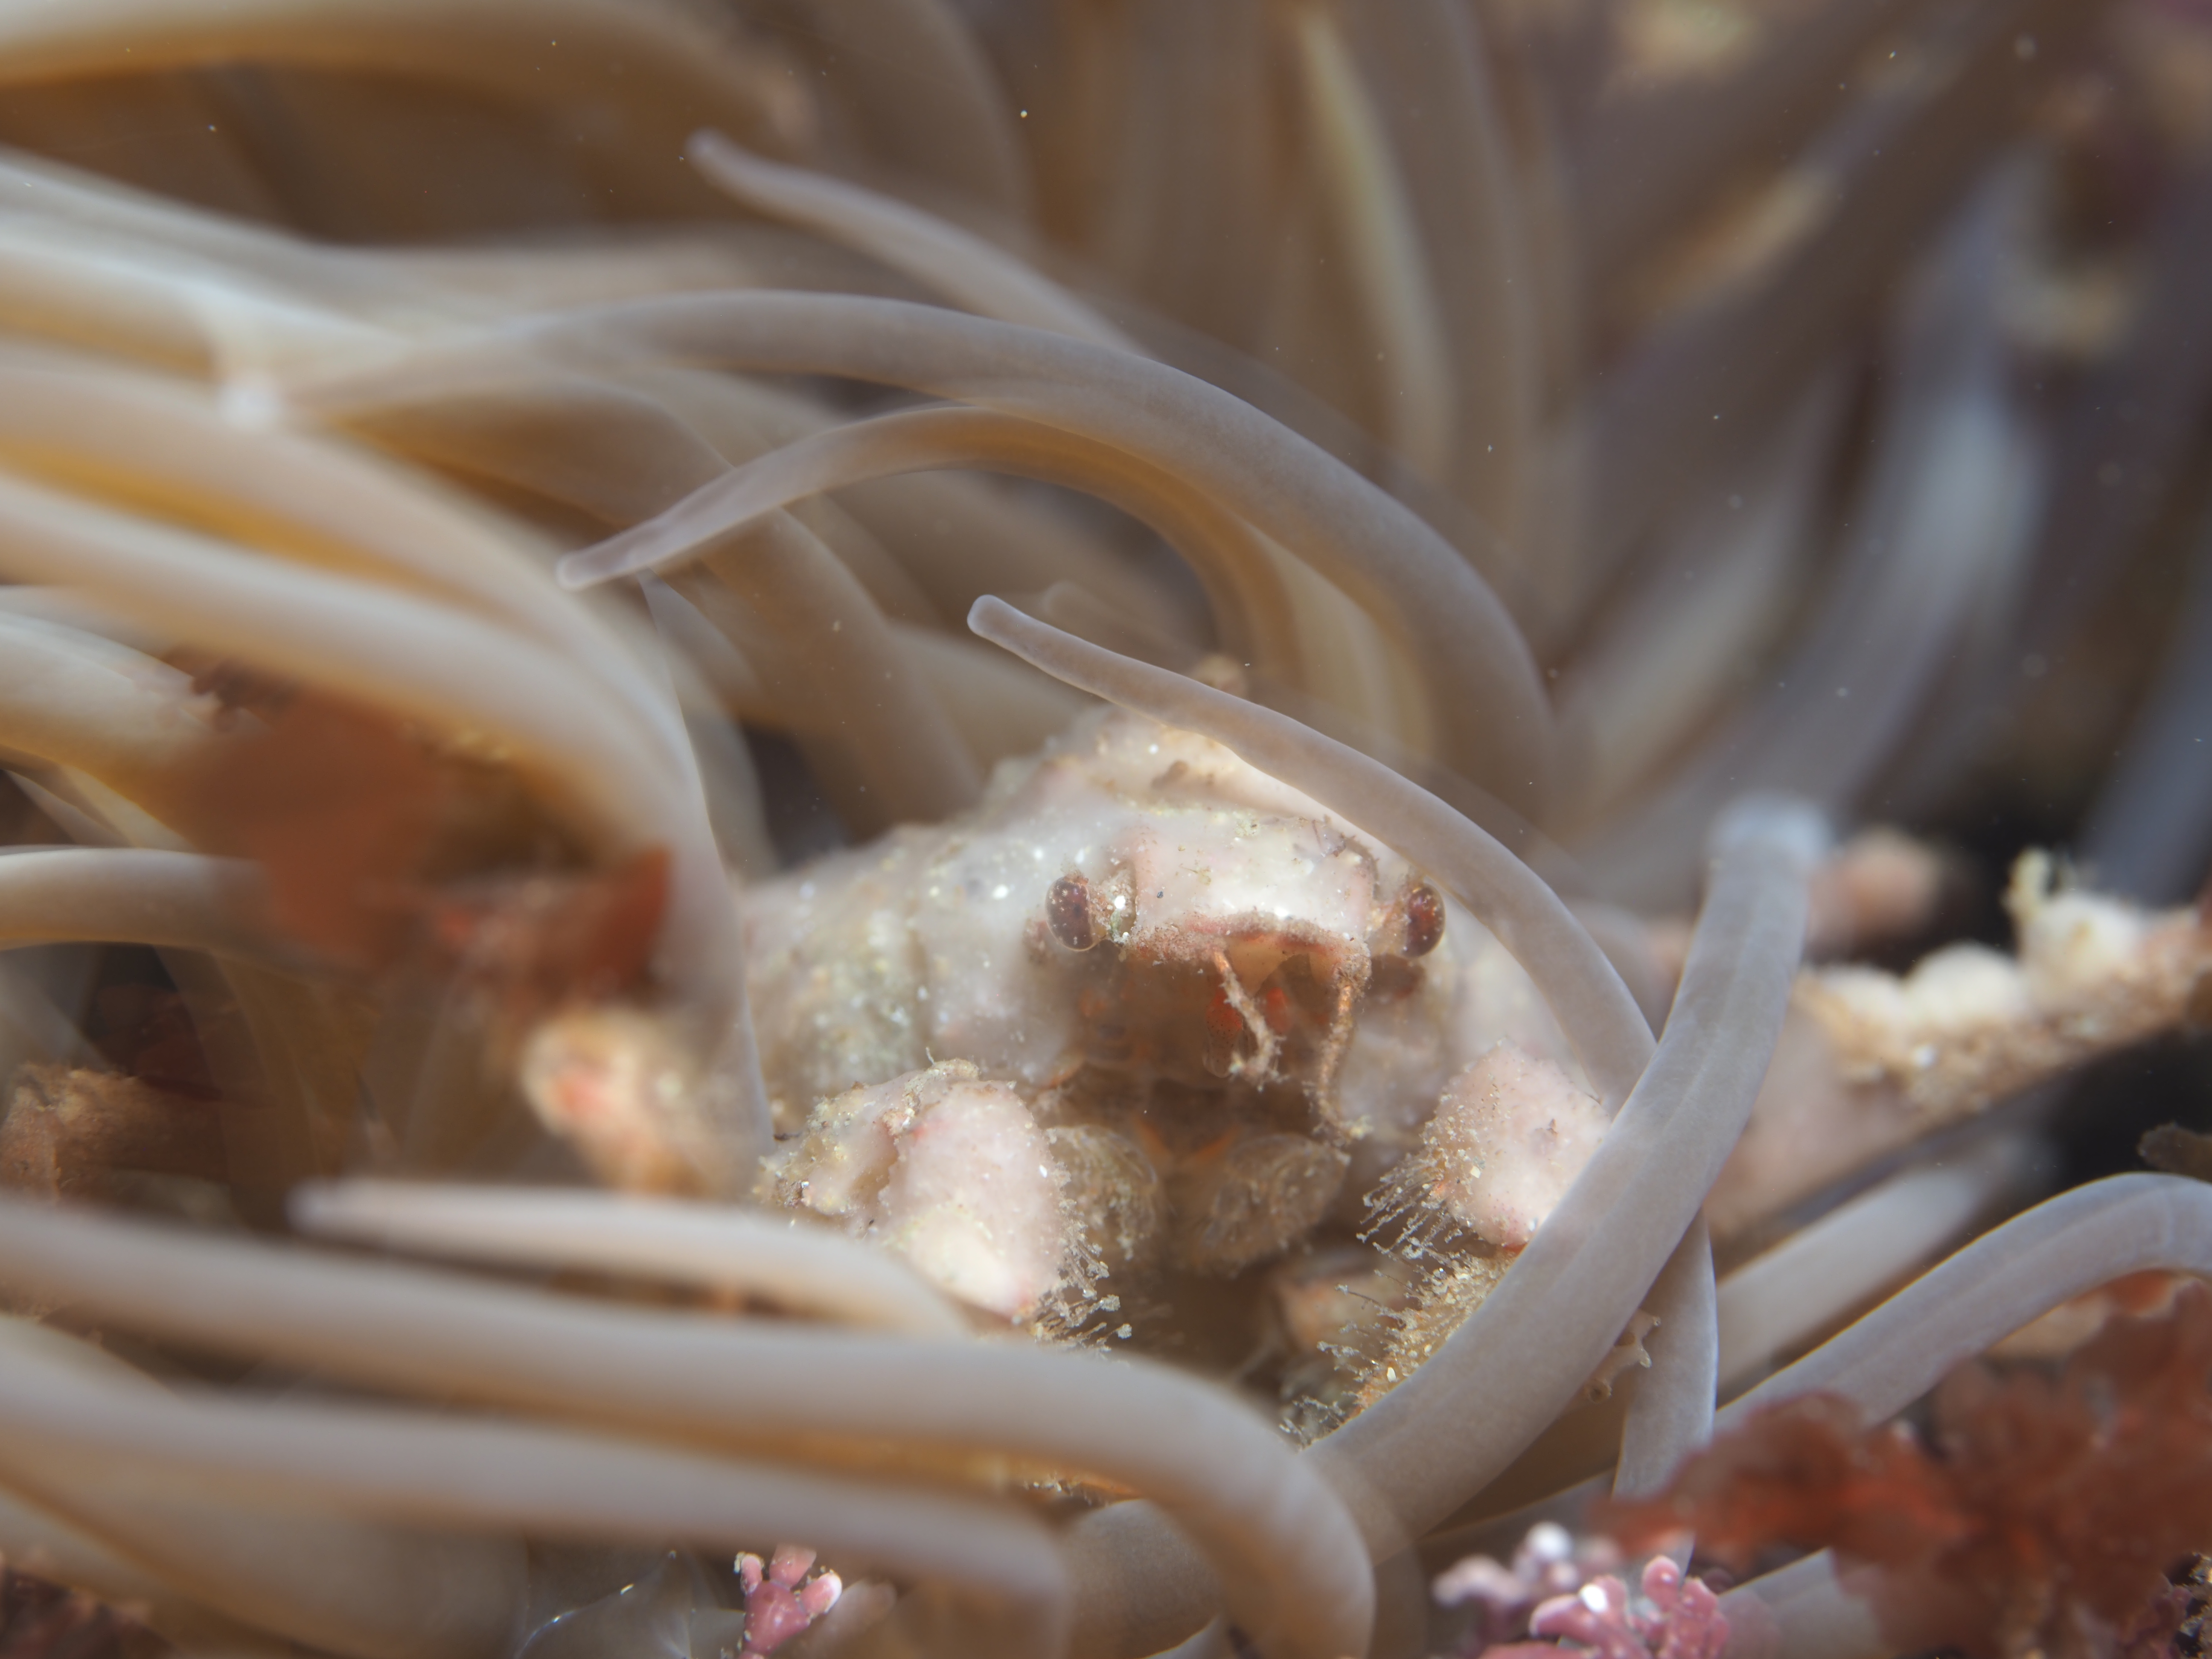
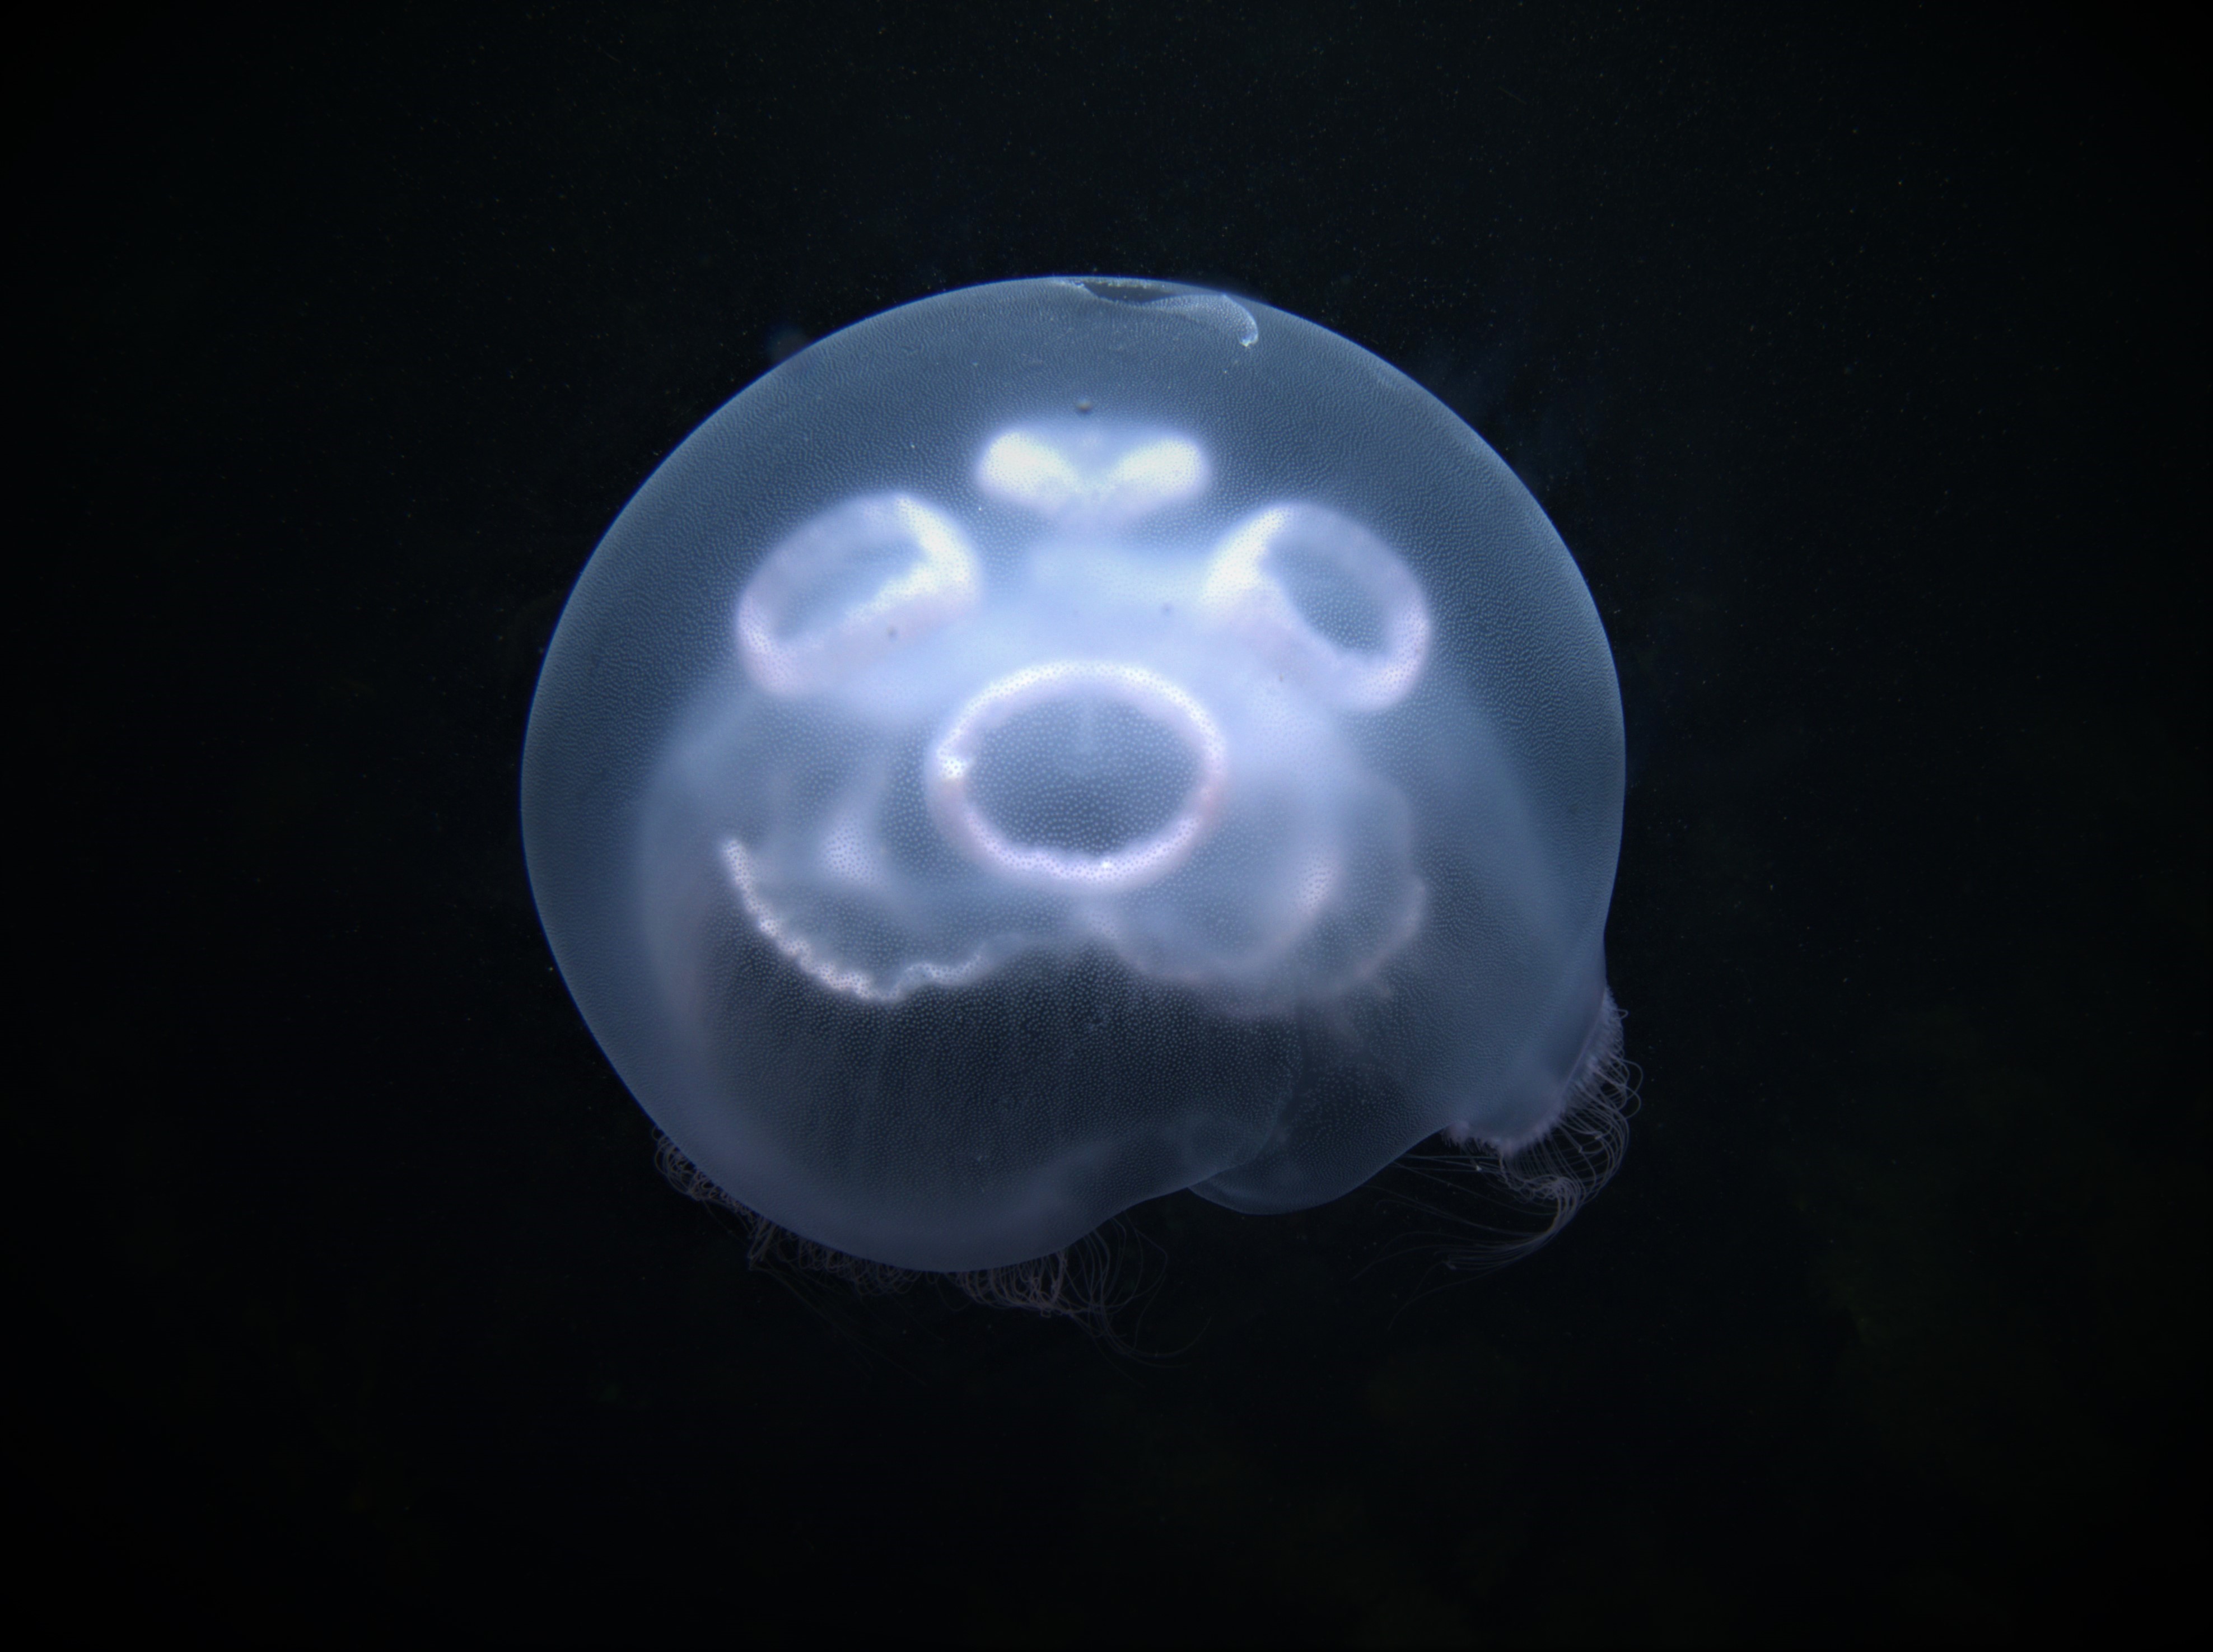
Many other critters were found too and I took shots of a selection. First, a Sea Spider, all legs and crawling away. A tiny mat of colonial tunicate that looked like a persian rug on drugs. A quick shot of the ubiquitous (if you know where to look – on kelp fronds) blue-rayed Limpets and a stalked jellyfish. Finally, I spent a lot of time taking shallow-depth-of-field AND slow shutter-speed photos of a scorpion spider crab in a snakelocks anemone to get some sort of ‘artistic’ shot. It did not really work, but it was fun nonetheless and I will have a go at it again. After almost 2,5 hours in the water I stumbled back to the car to get changed – an afternoon well-spent!
Sorry for you non-photography geeks, this is a short post about a lens, the “Panasonic H-X09E Lumix LEICA DG SUMMILUX 9mm F1.7 Lens” to be precise… During the spell of bad weather I was practically forced to browse, and yes, spend money on photo gear. I had long wanted a lens suitable both for landscape and street photography, but especially one that allowed me to focus on say a reptile or amphibian and still have the habitat in the background. A fisheye lens can do this a bit (see the previous post), but on land it results in distortions that just look unnatural. This is a lens that can do the job, as it has a minimum focusing distance of about 10 cm – resulting not in real macro shots but being able to come pretty close, combined with a wide angle background. After having it taken out this weekend for the first time I must say I am really happy with it.
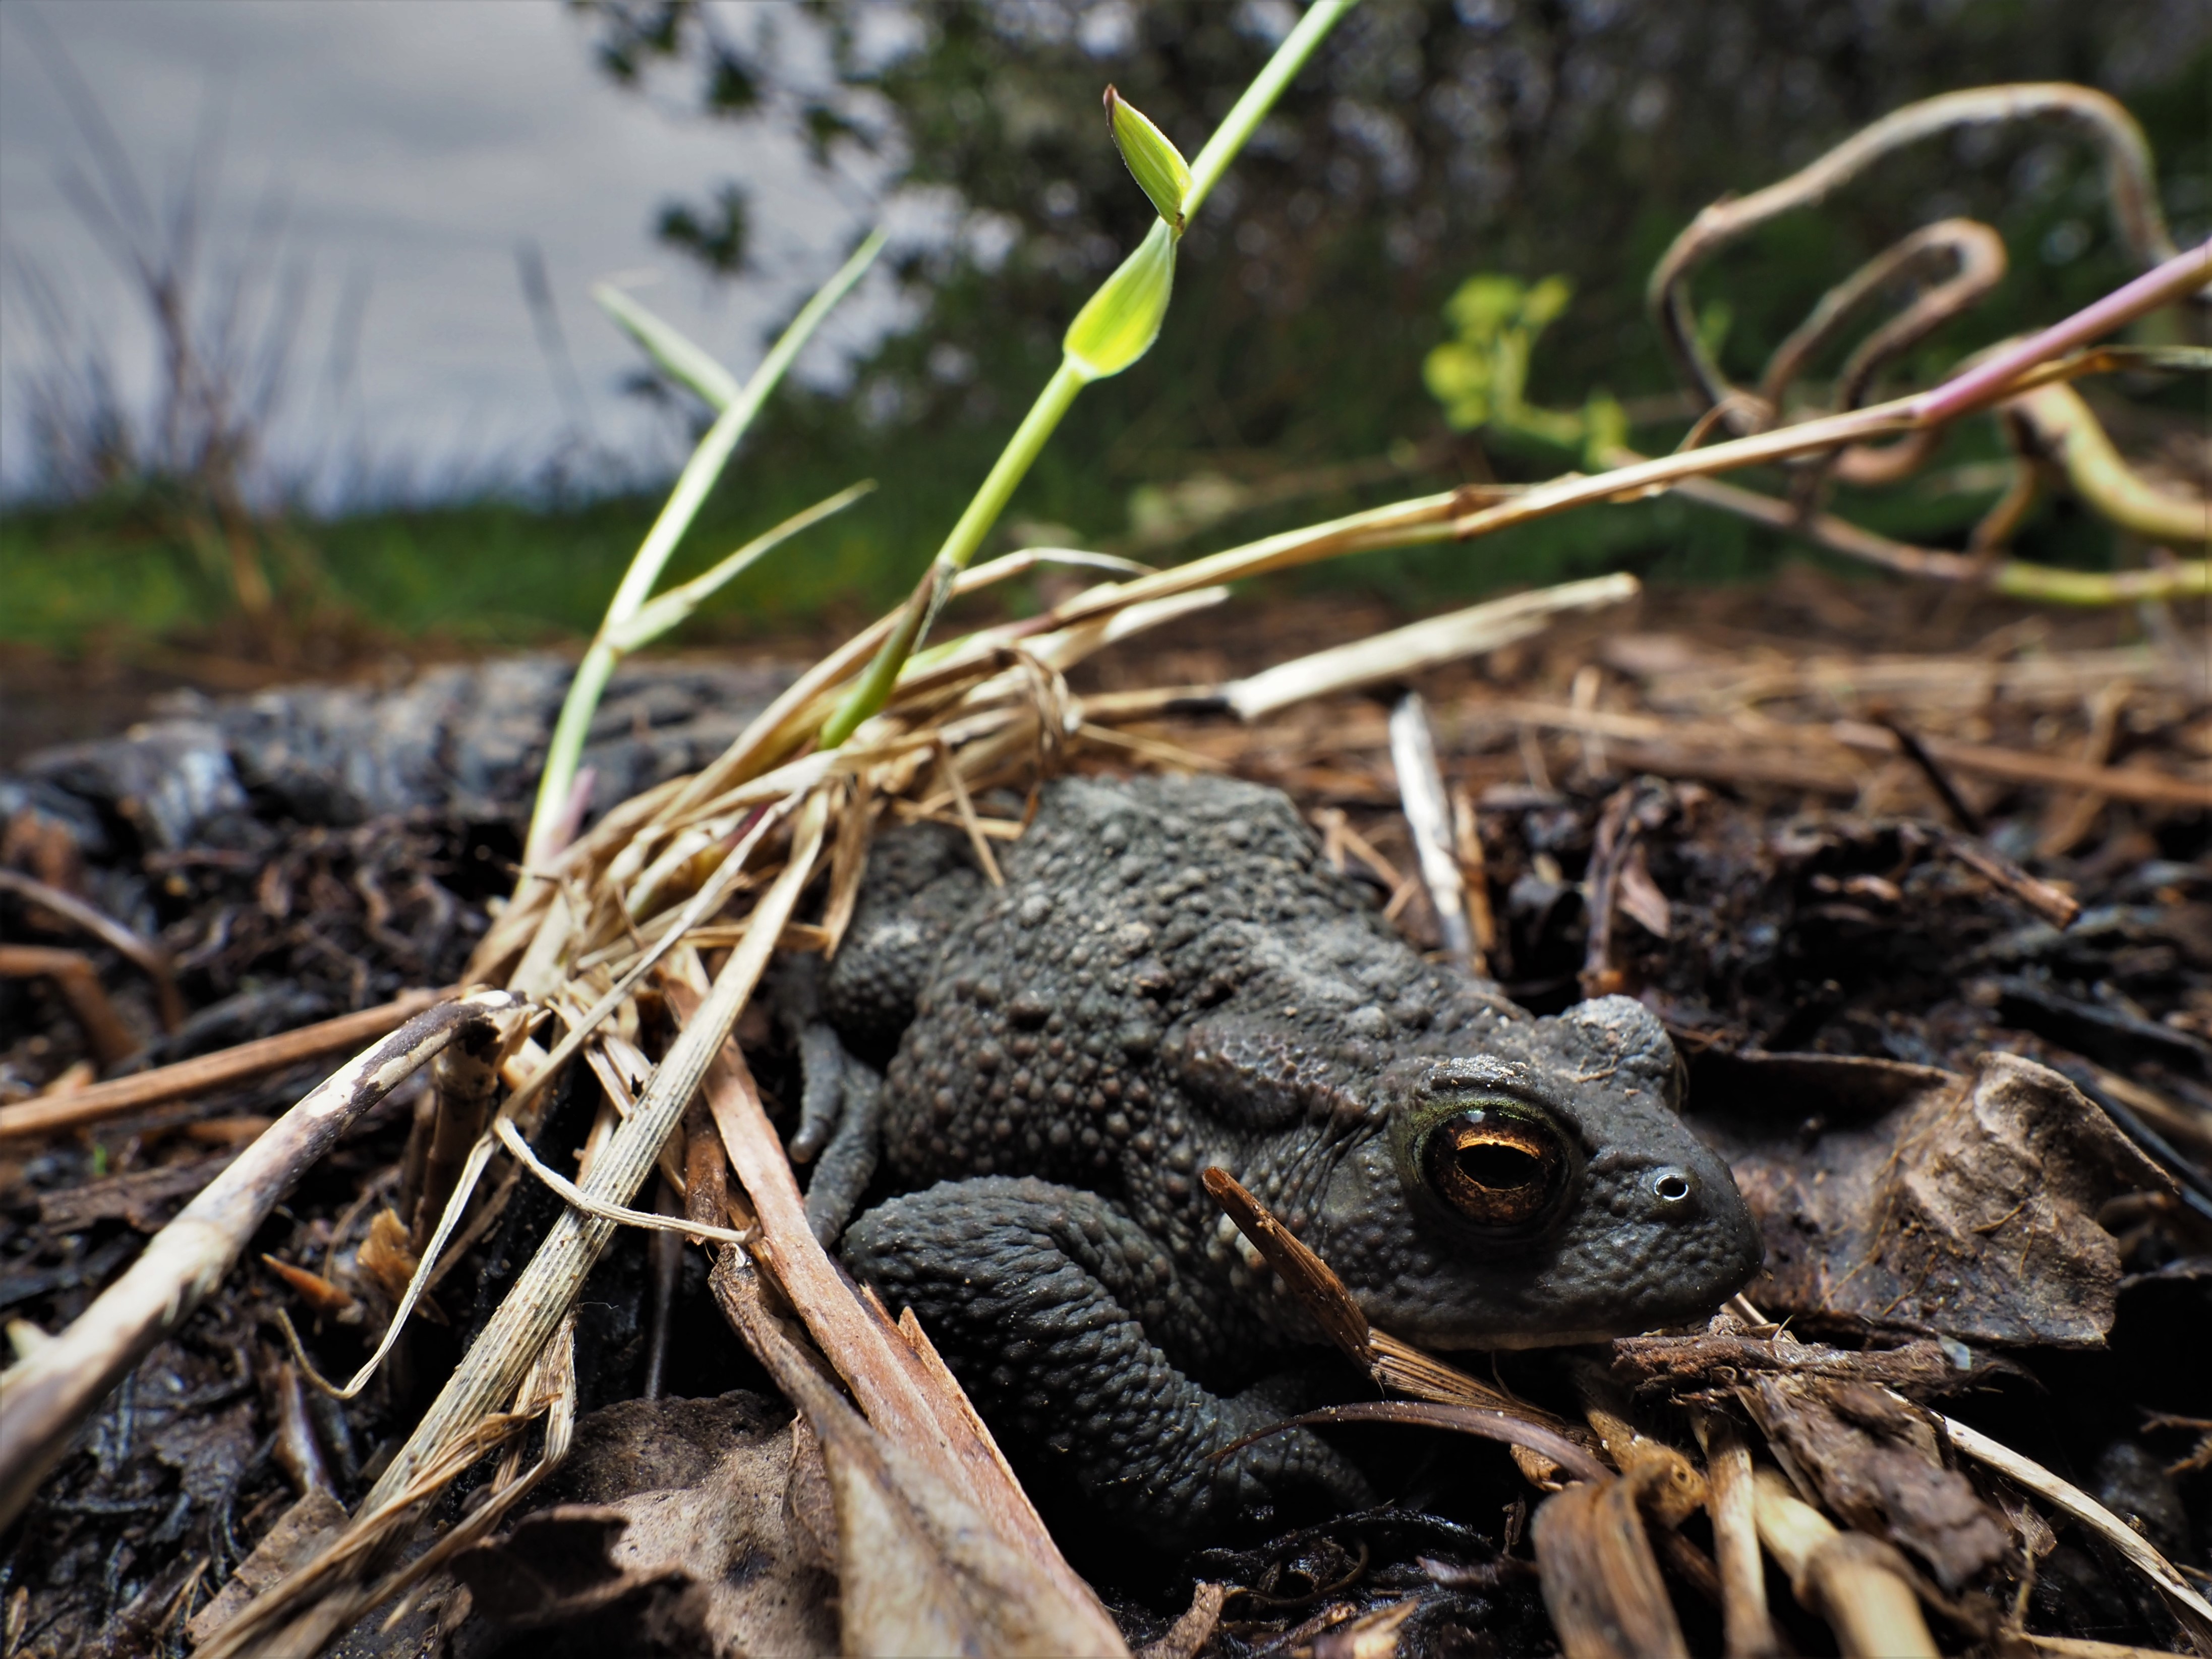
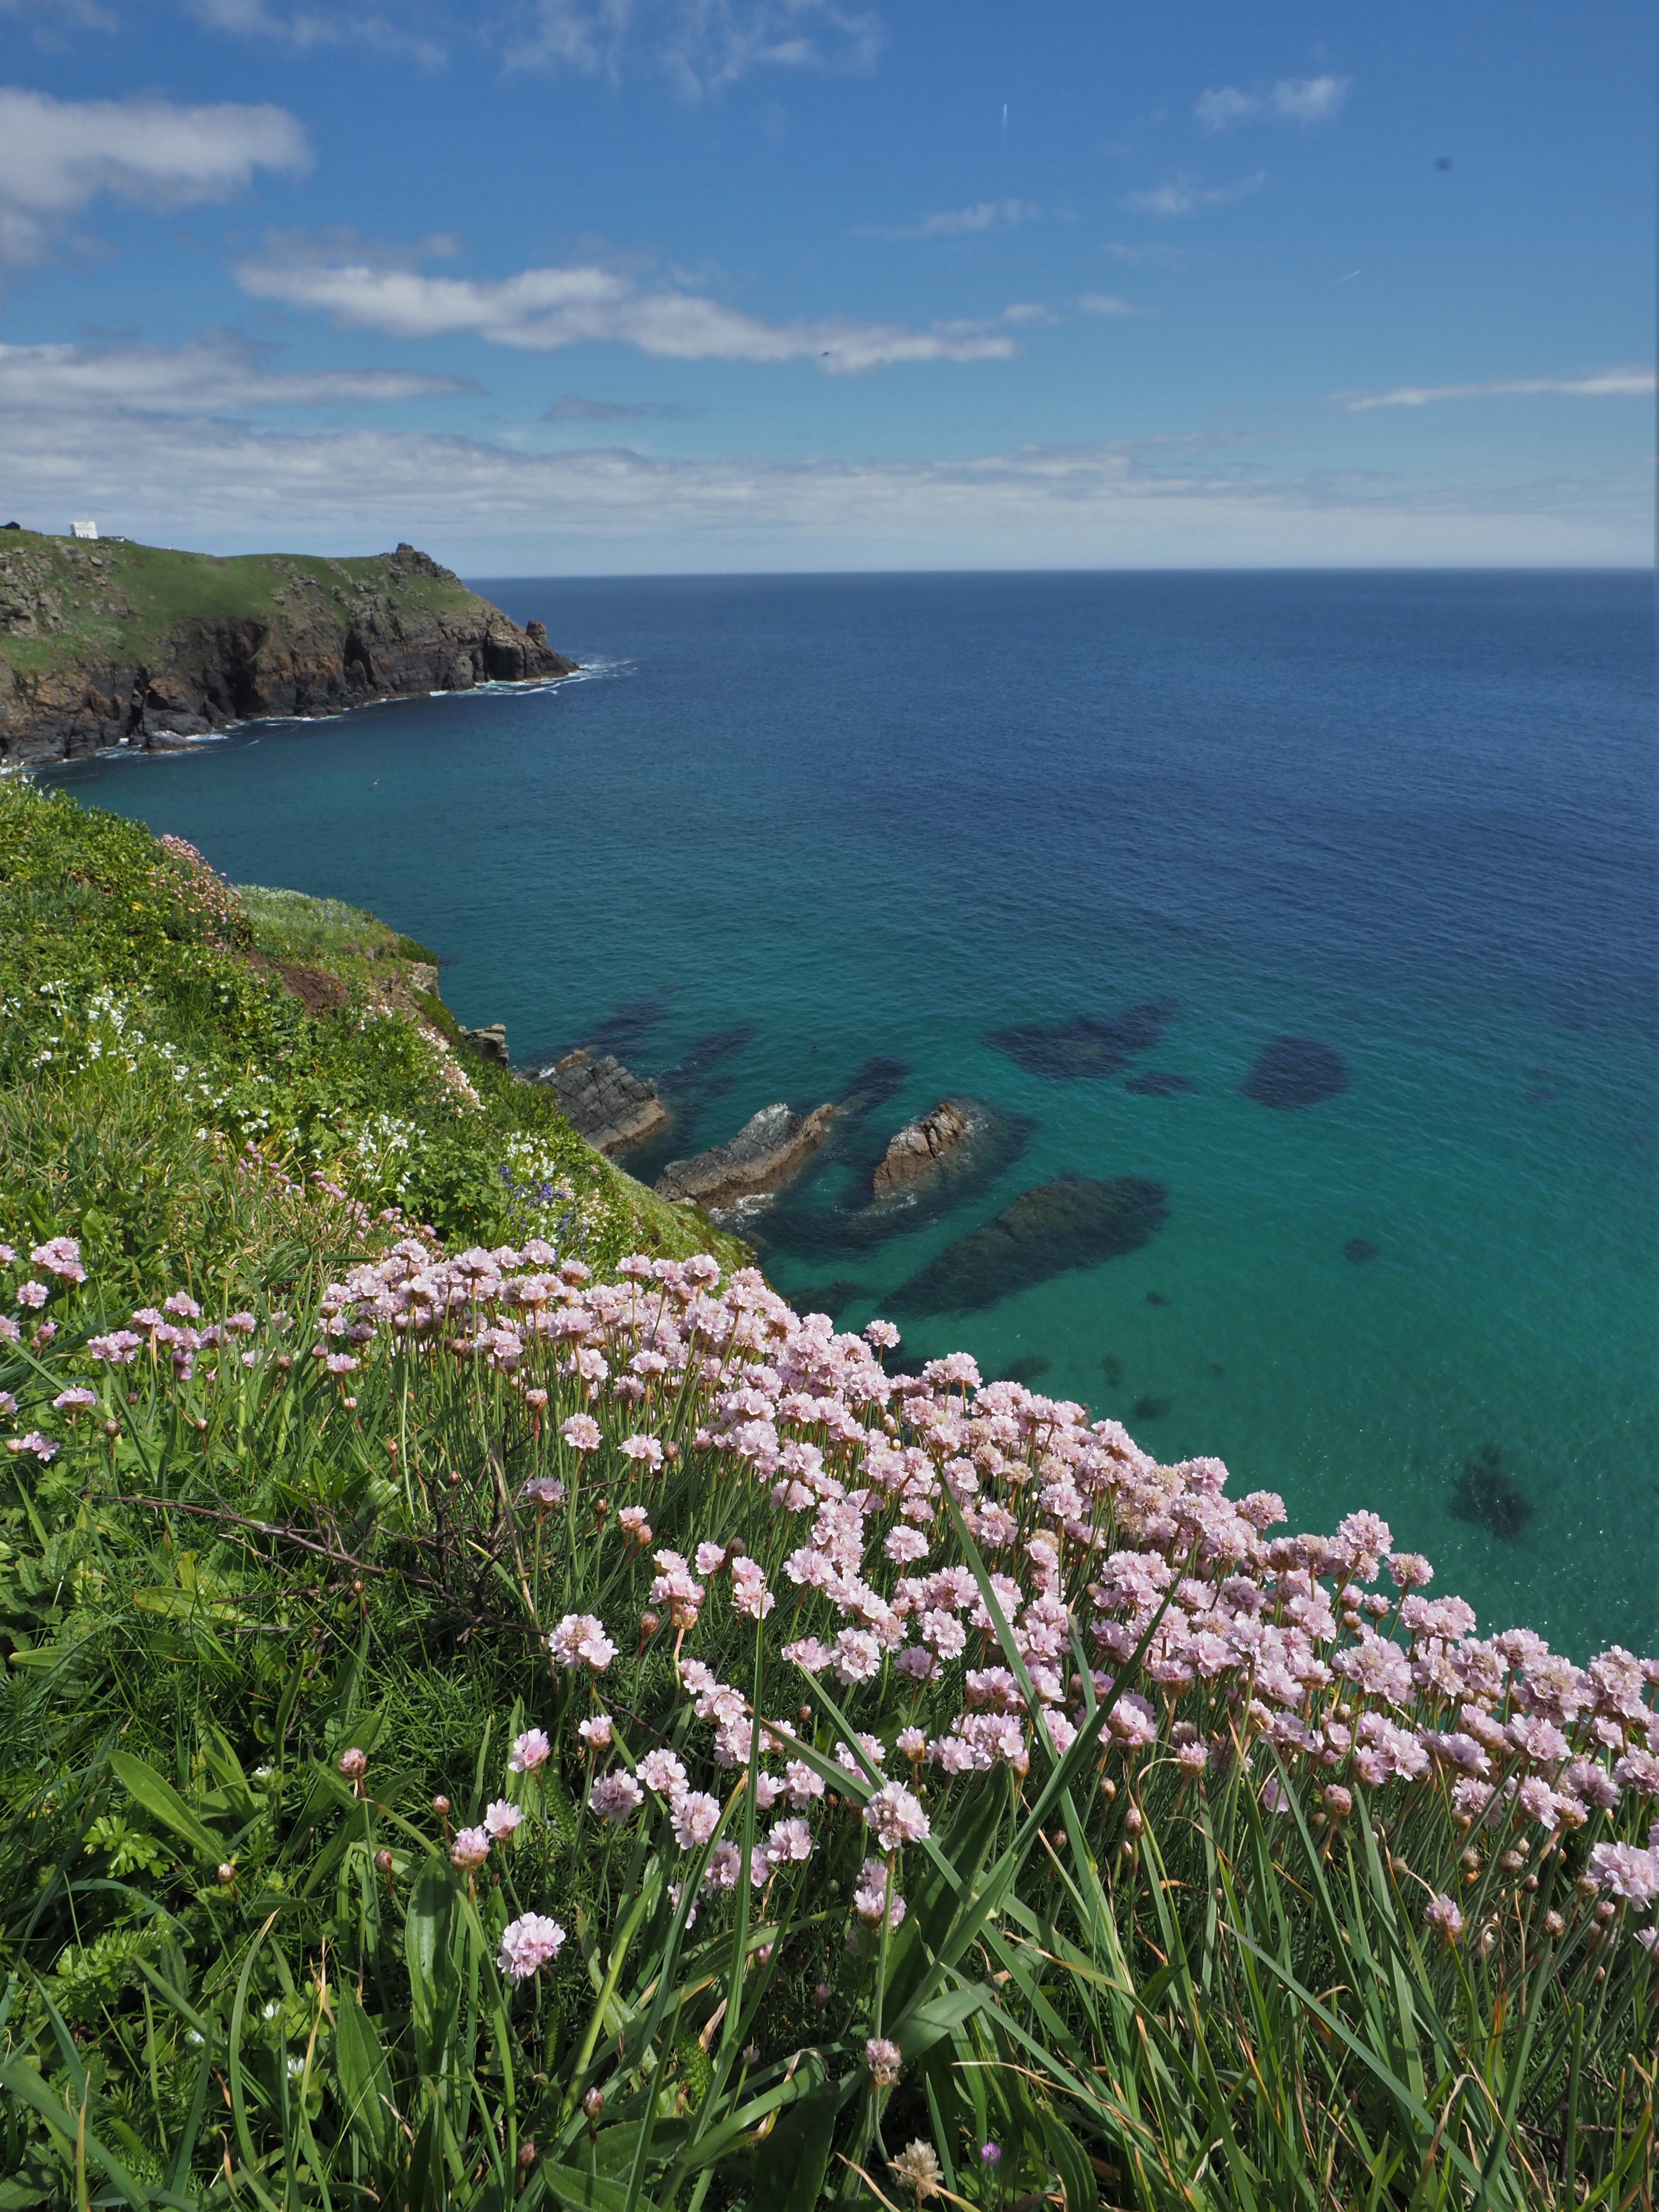
The bank holiday Monday warranted a morning visit to one of our favourite haunts Windmill Farm to do some ‘herping’. Adders and slow worms were found after lifting up corrugated iron sheets, but they slithered off before I could take any good shots. However, there was a toad that sat nice and still so I was able to take multiple shots, camera in one hand, diffuser in the other. For a first try, I was pretty happy with the result. Next, we took a walk from nearby Lizard Point to Housel Bay. The weather was absolutely glorious, with many wild flowers on the cliffs and fulmars, choughs and pipits flying around. The water was blue and crystal clear – you could see the seals swimming underwater! A small part of me was cursing that I was not in the water myself to take photos, but it was a fantastic day on land too.
P.S. annoyed that the Windows photo software straightening tool is not very precise – the horizon is not straight!
‘Portfolio’ sounds a bit pretentious so ‘Photo Gallery’ it is…. check the page link on top for some of my better pics. These also feature on my instagram account ‘@an_bollenessor‘.
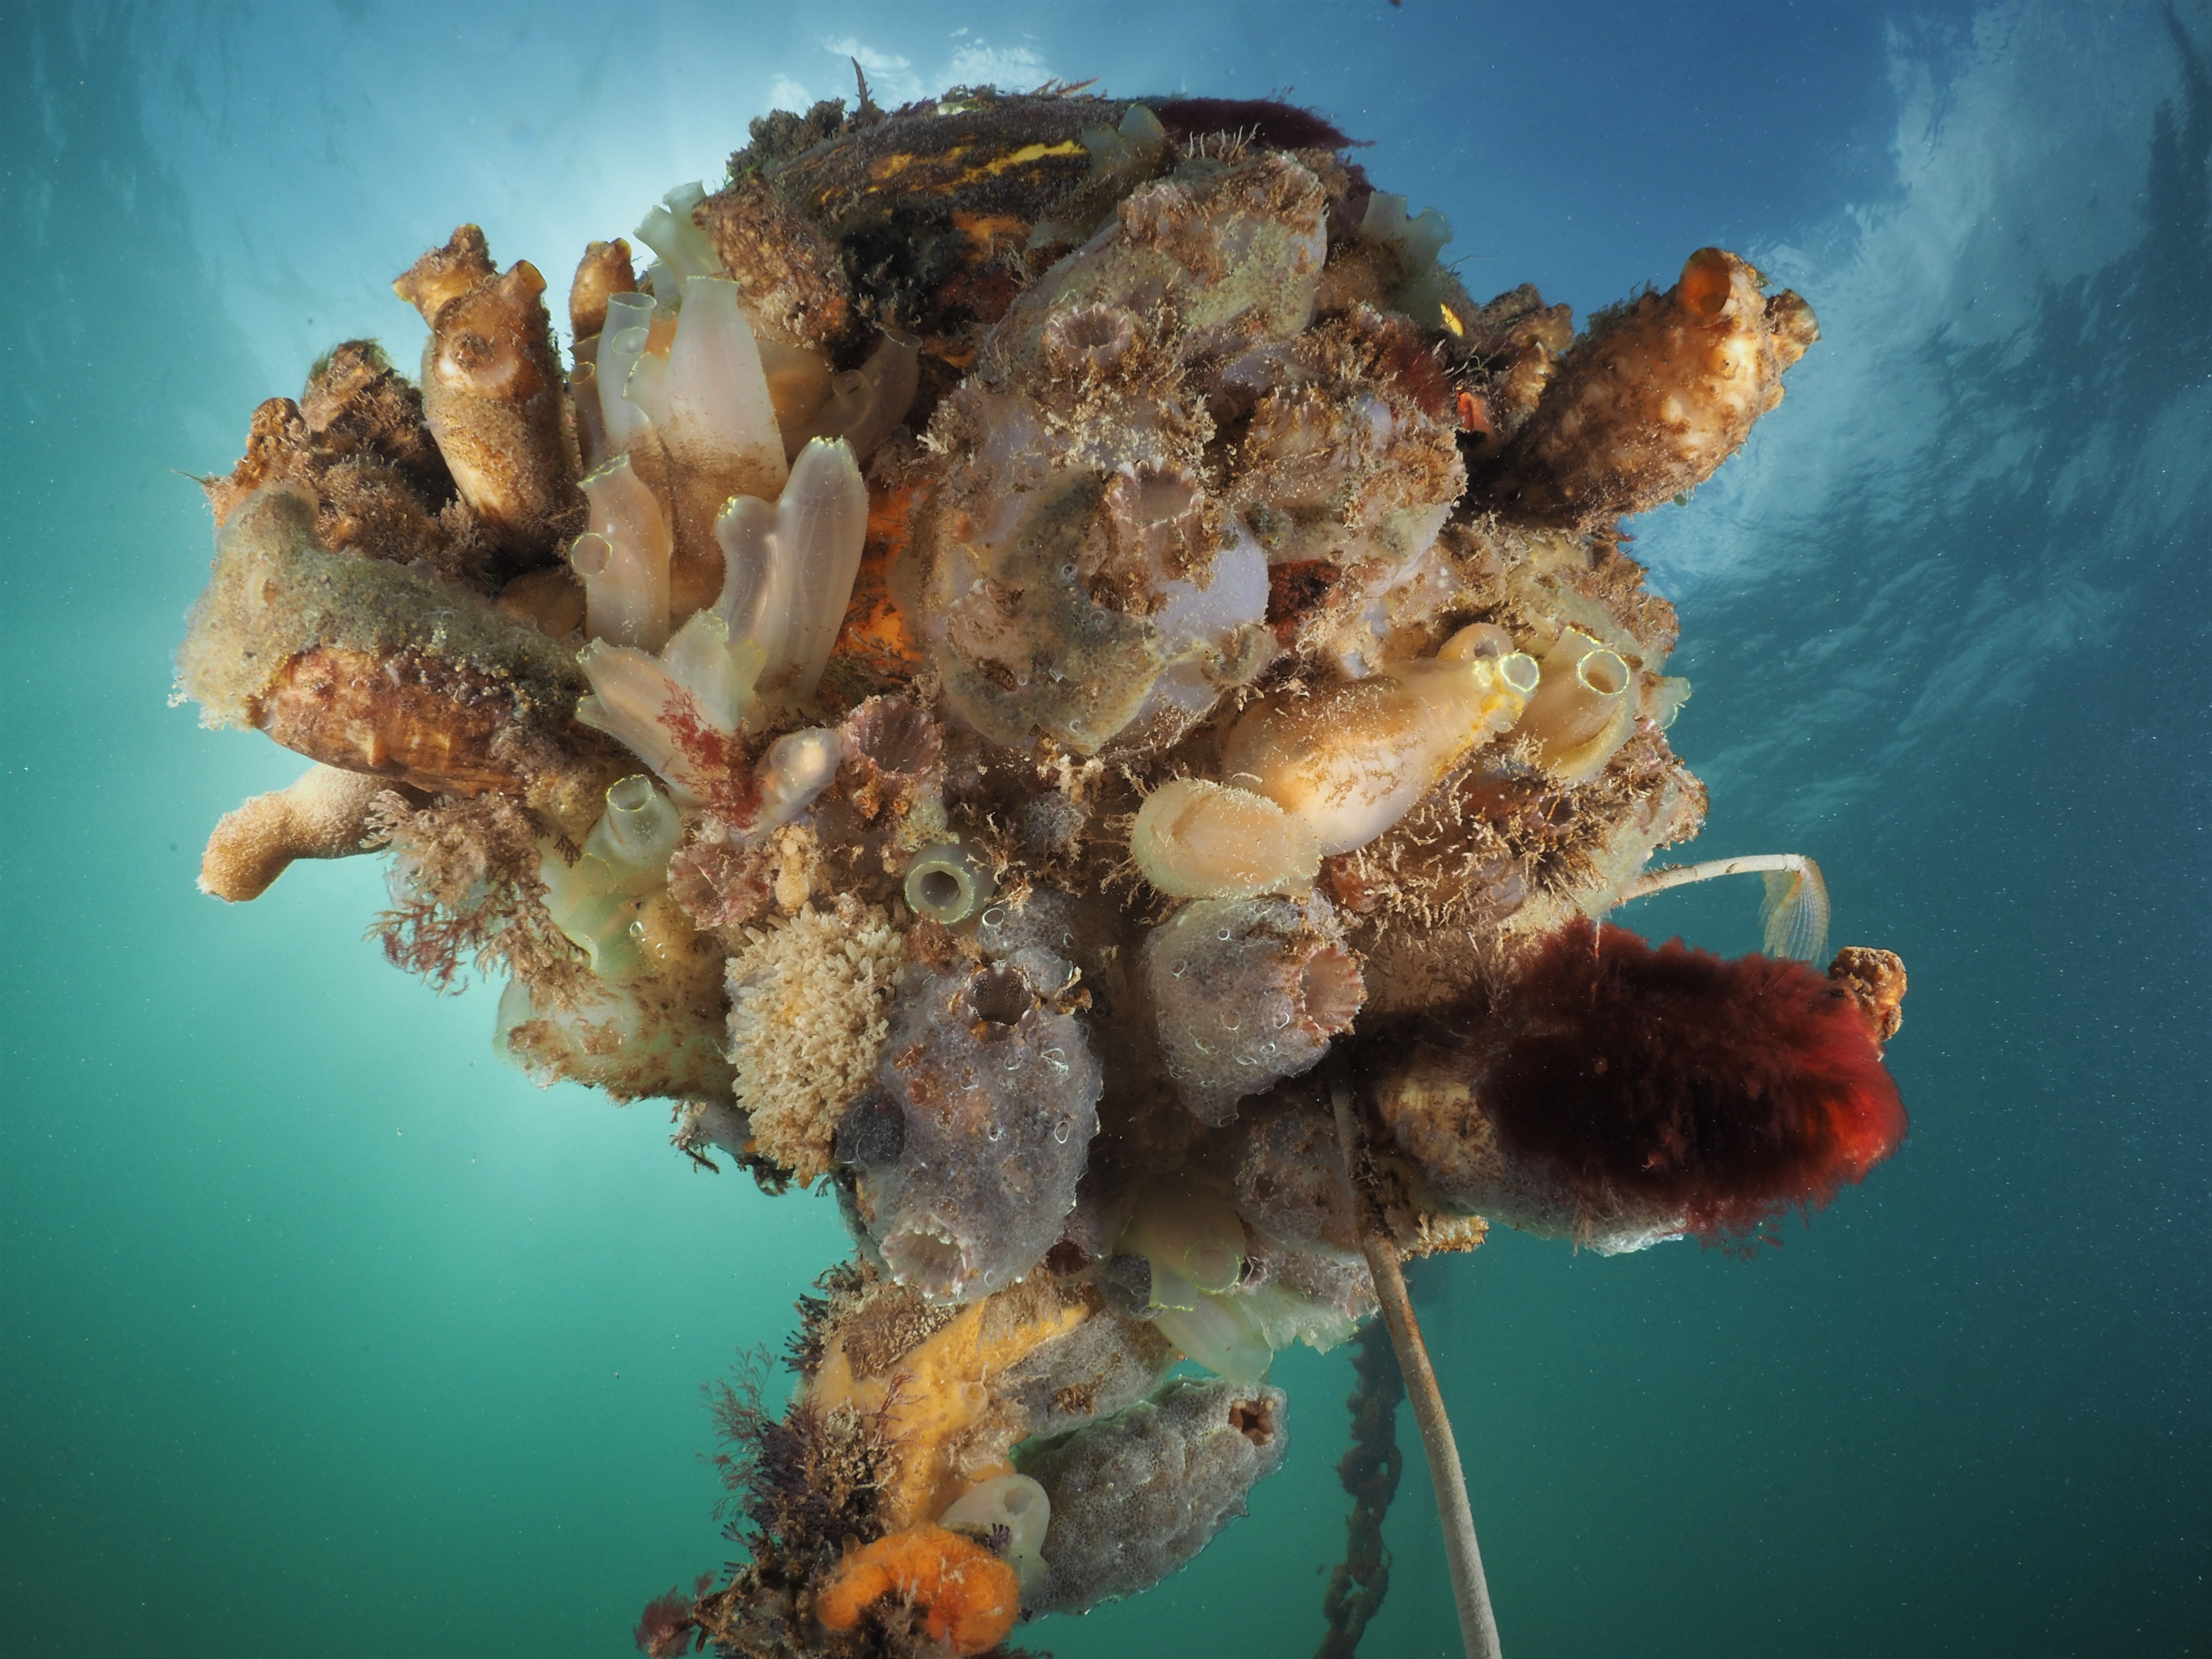

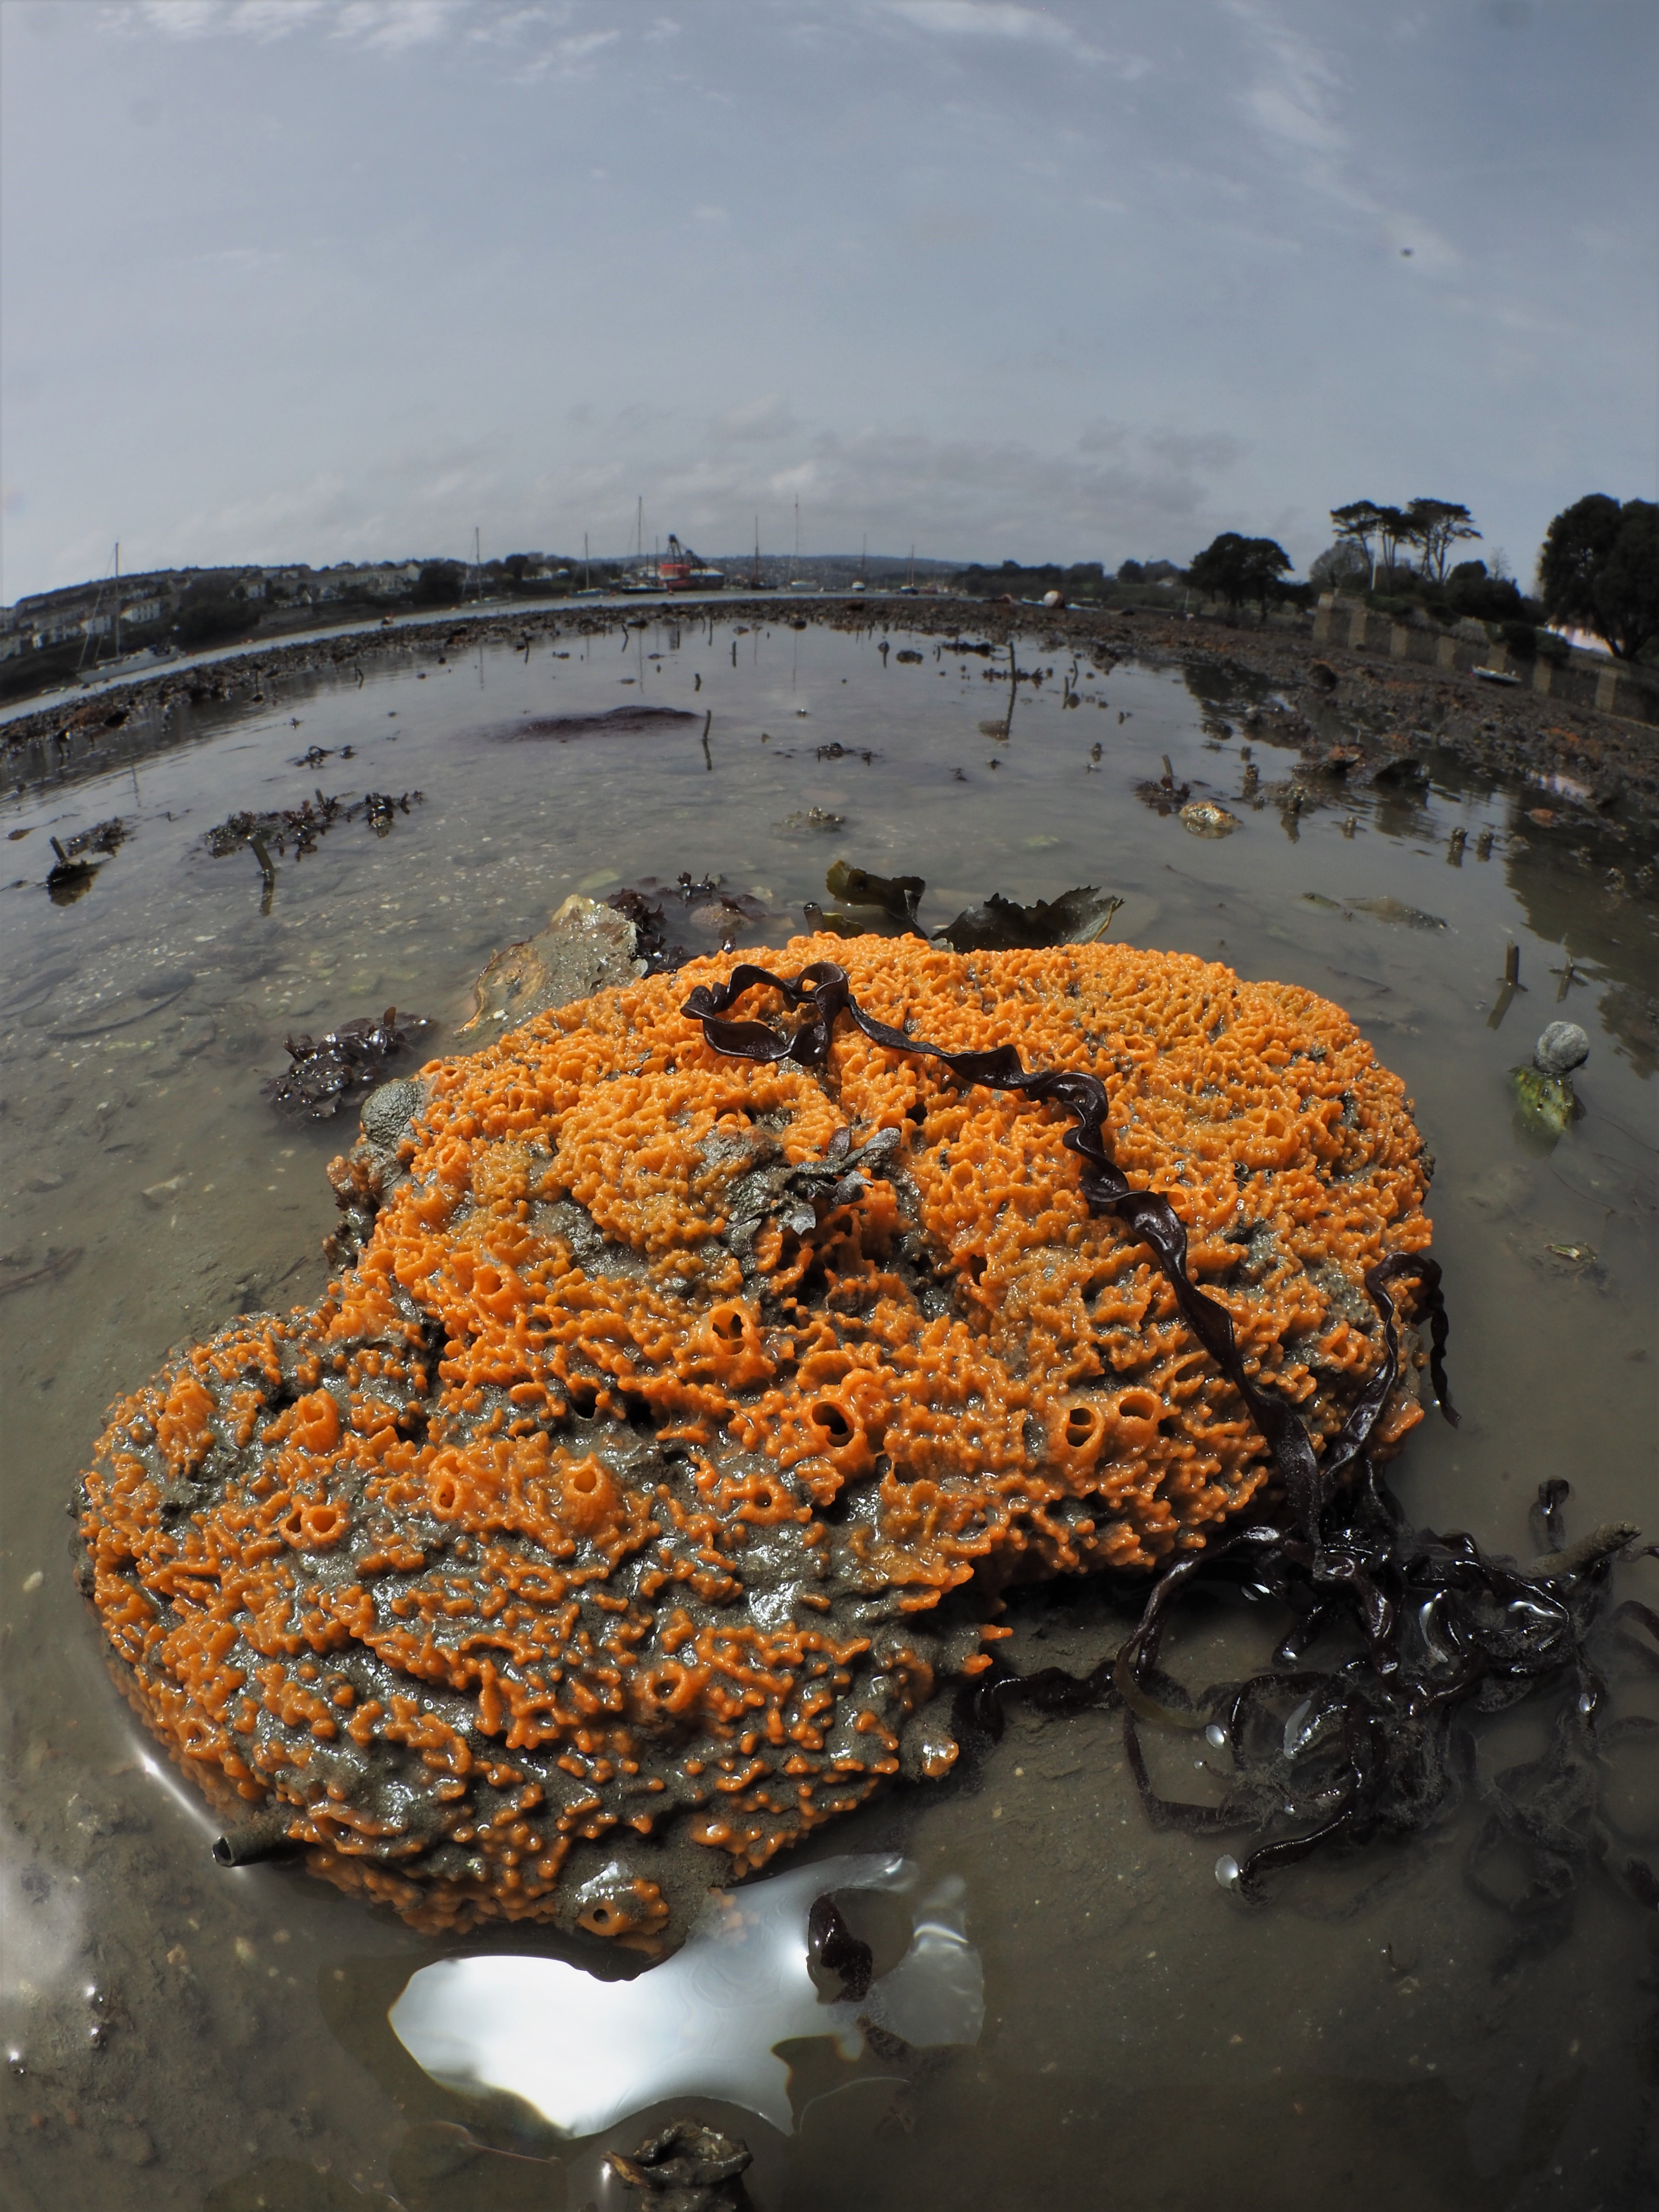
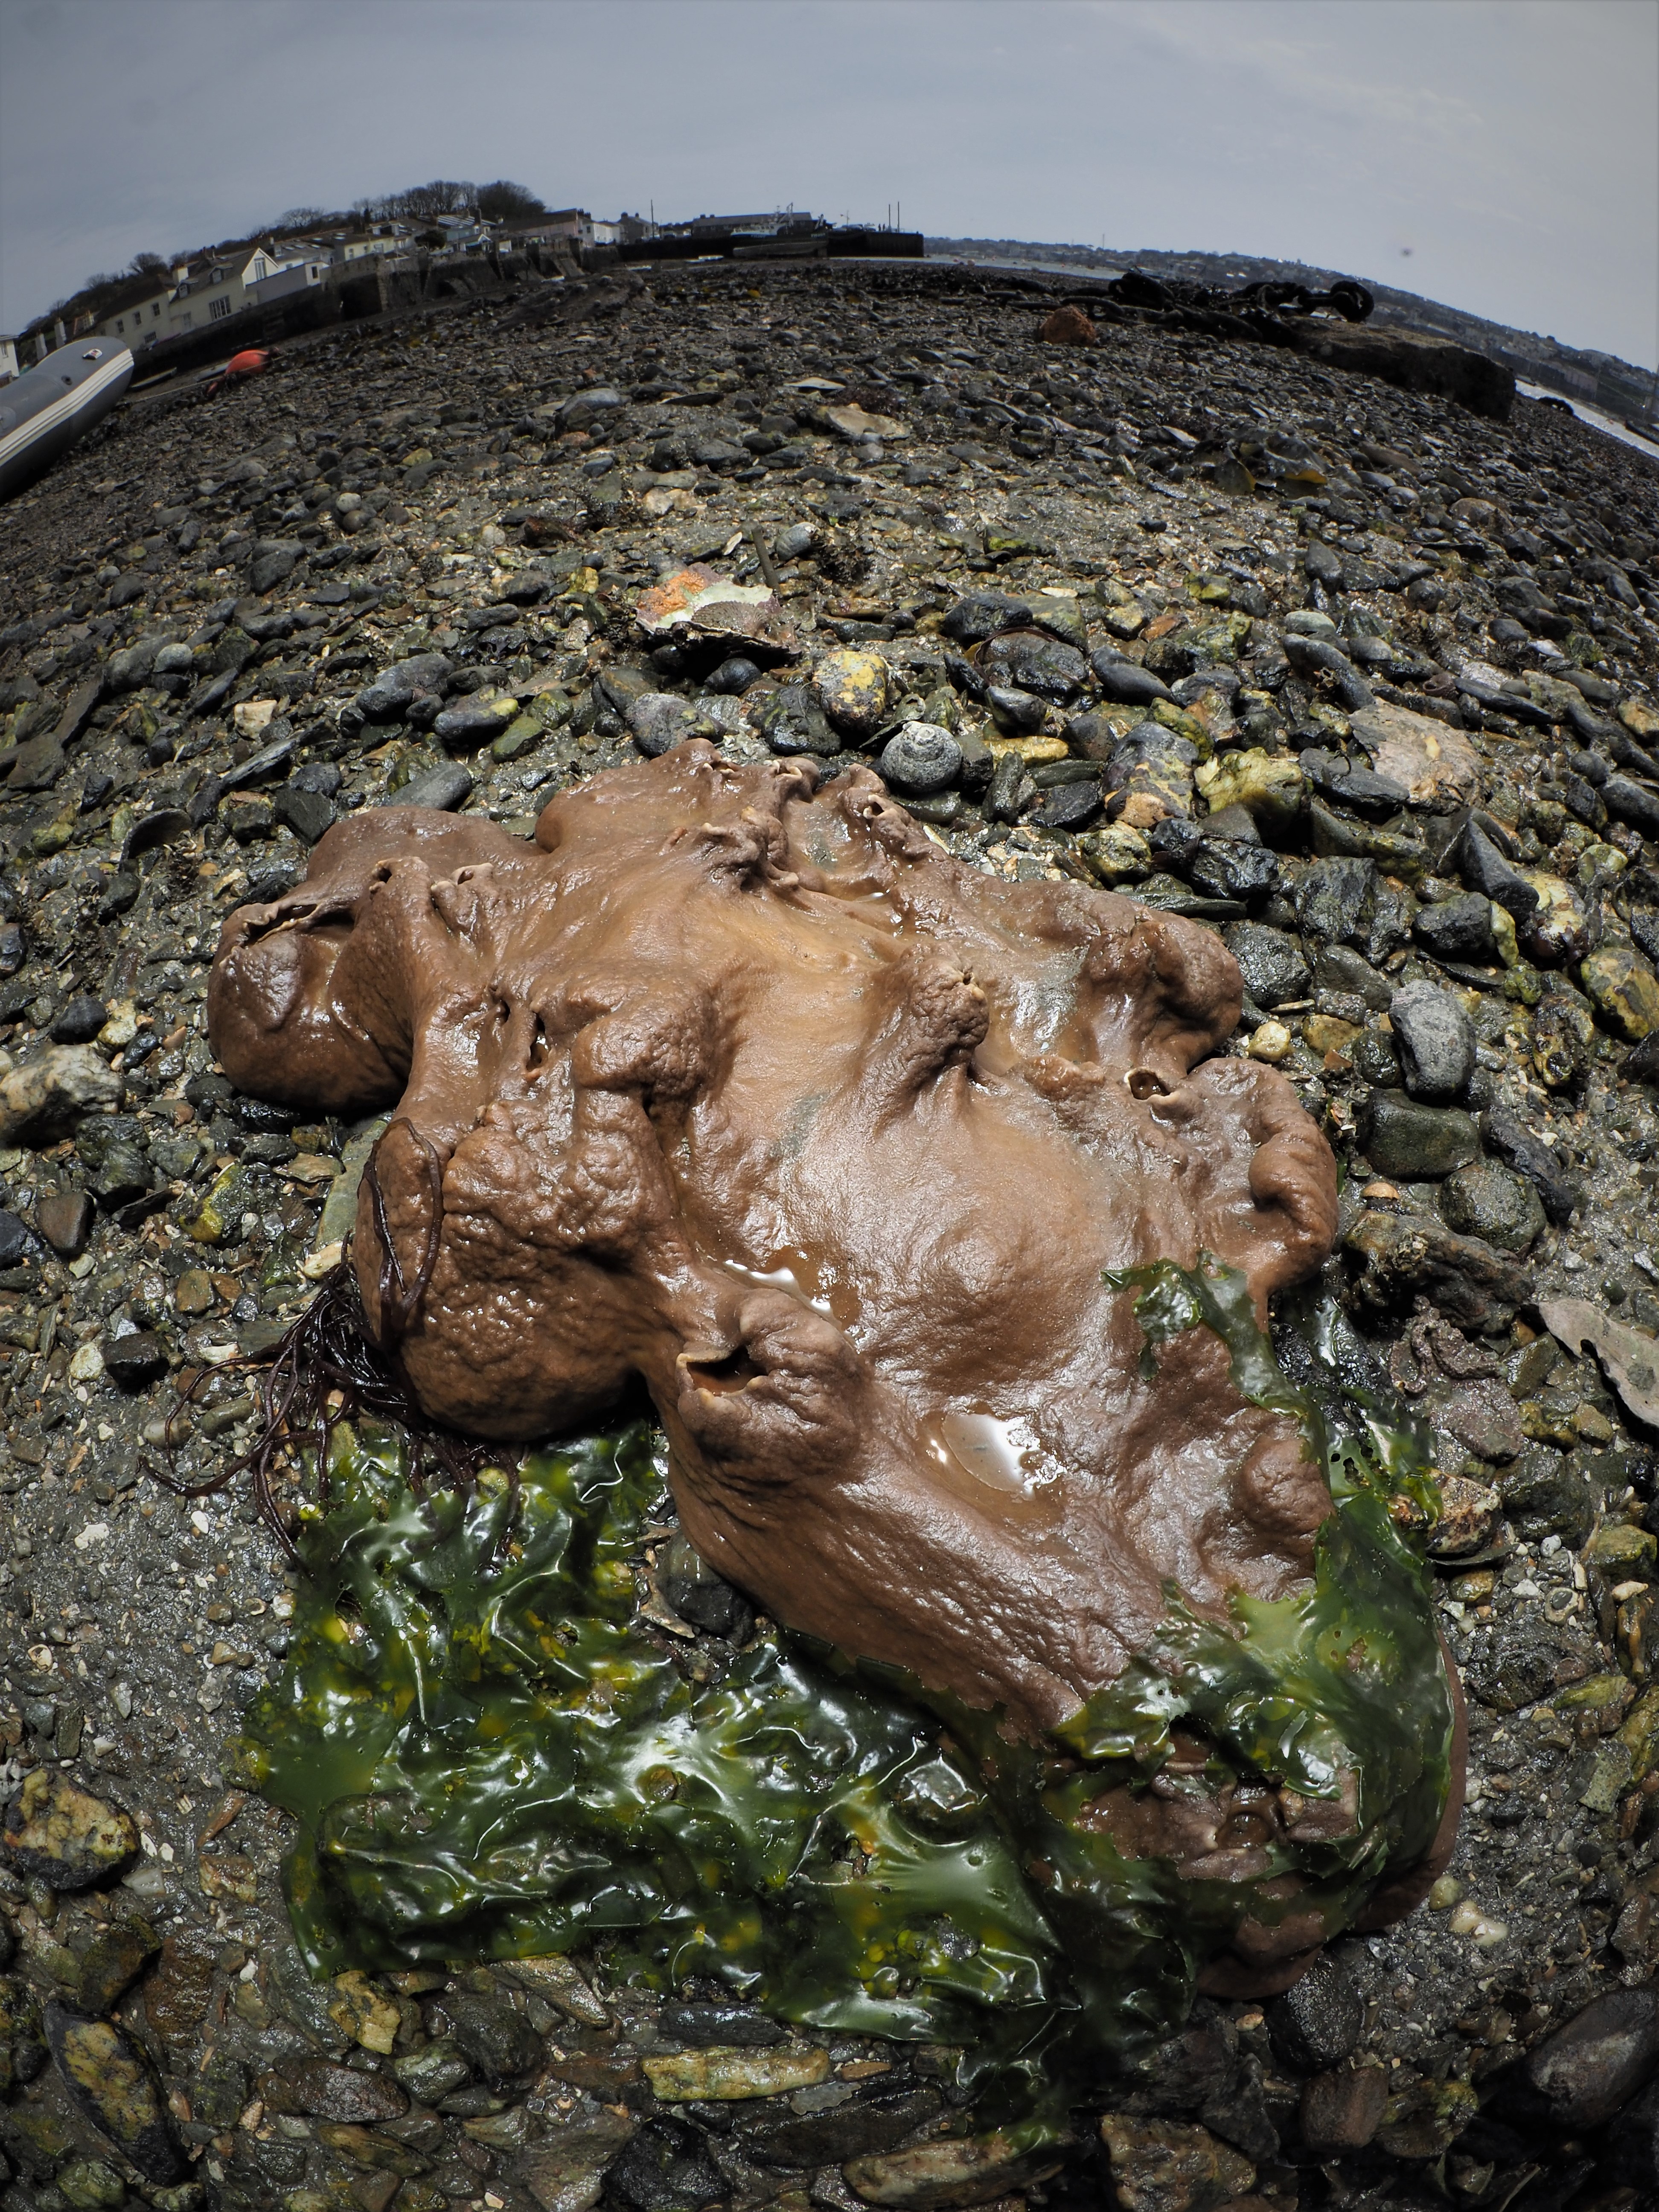
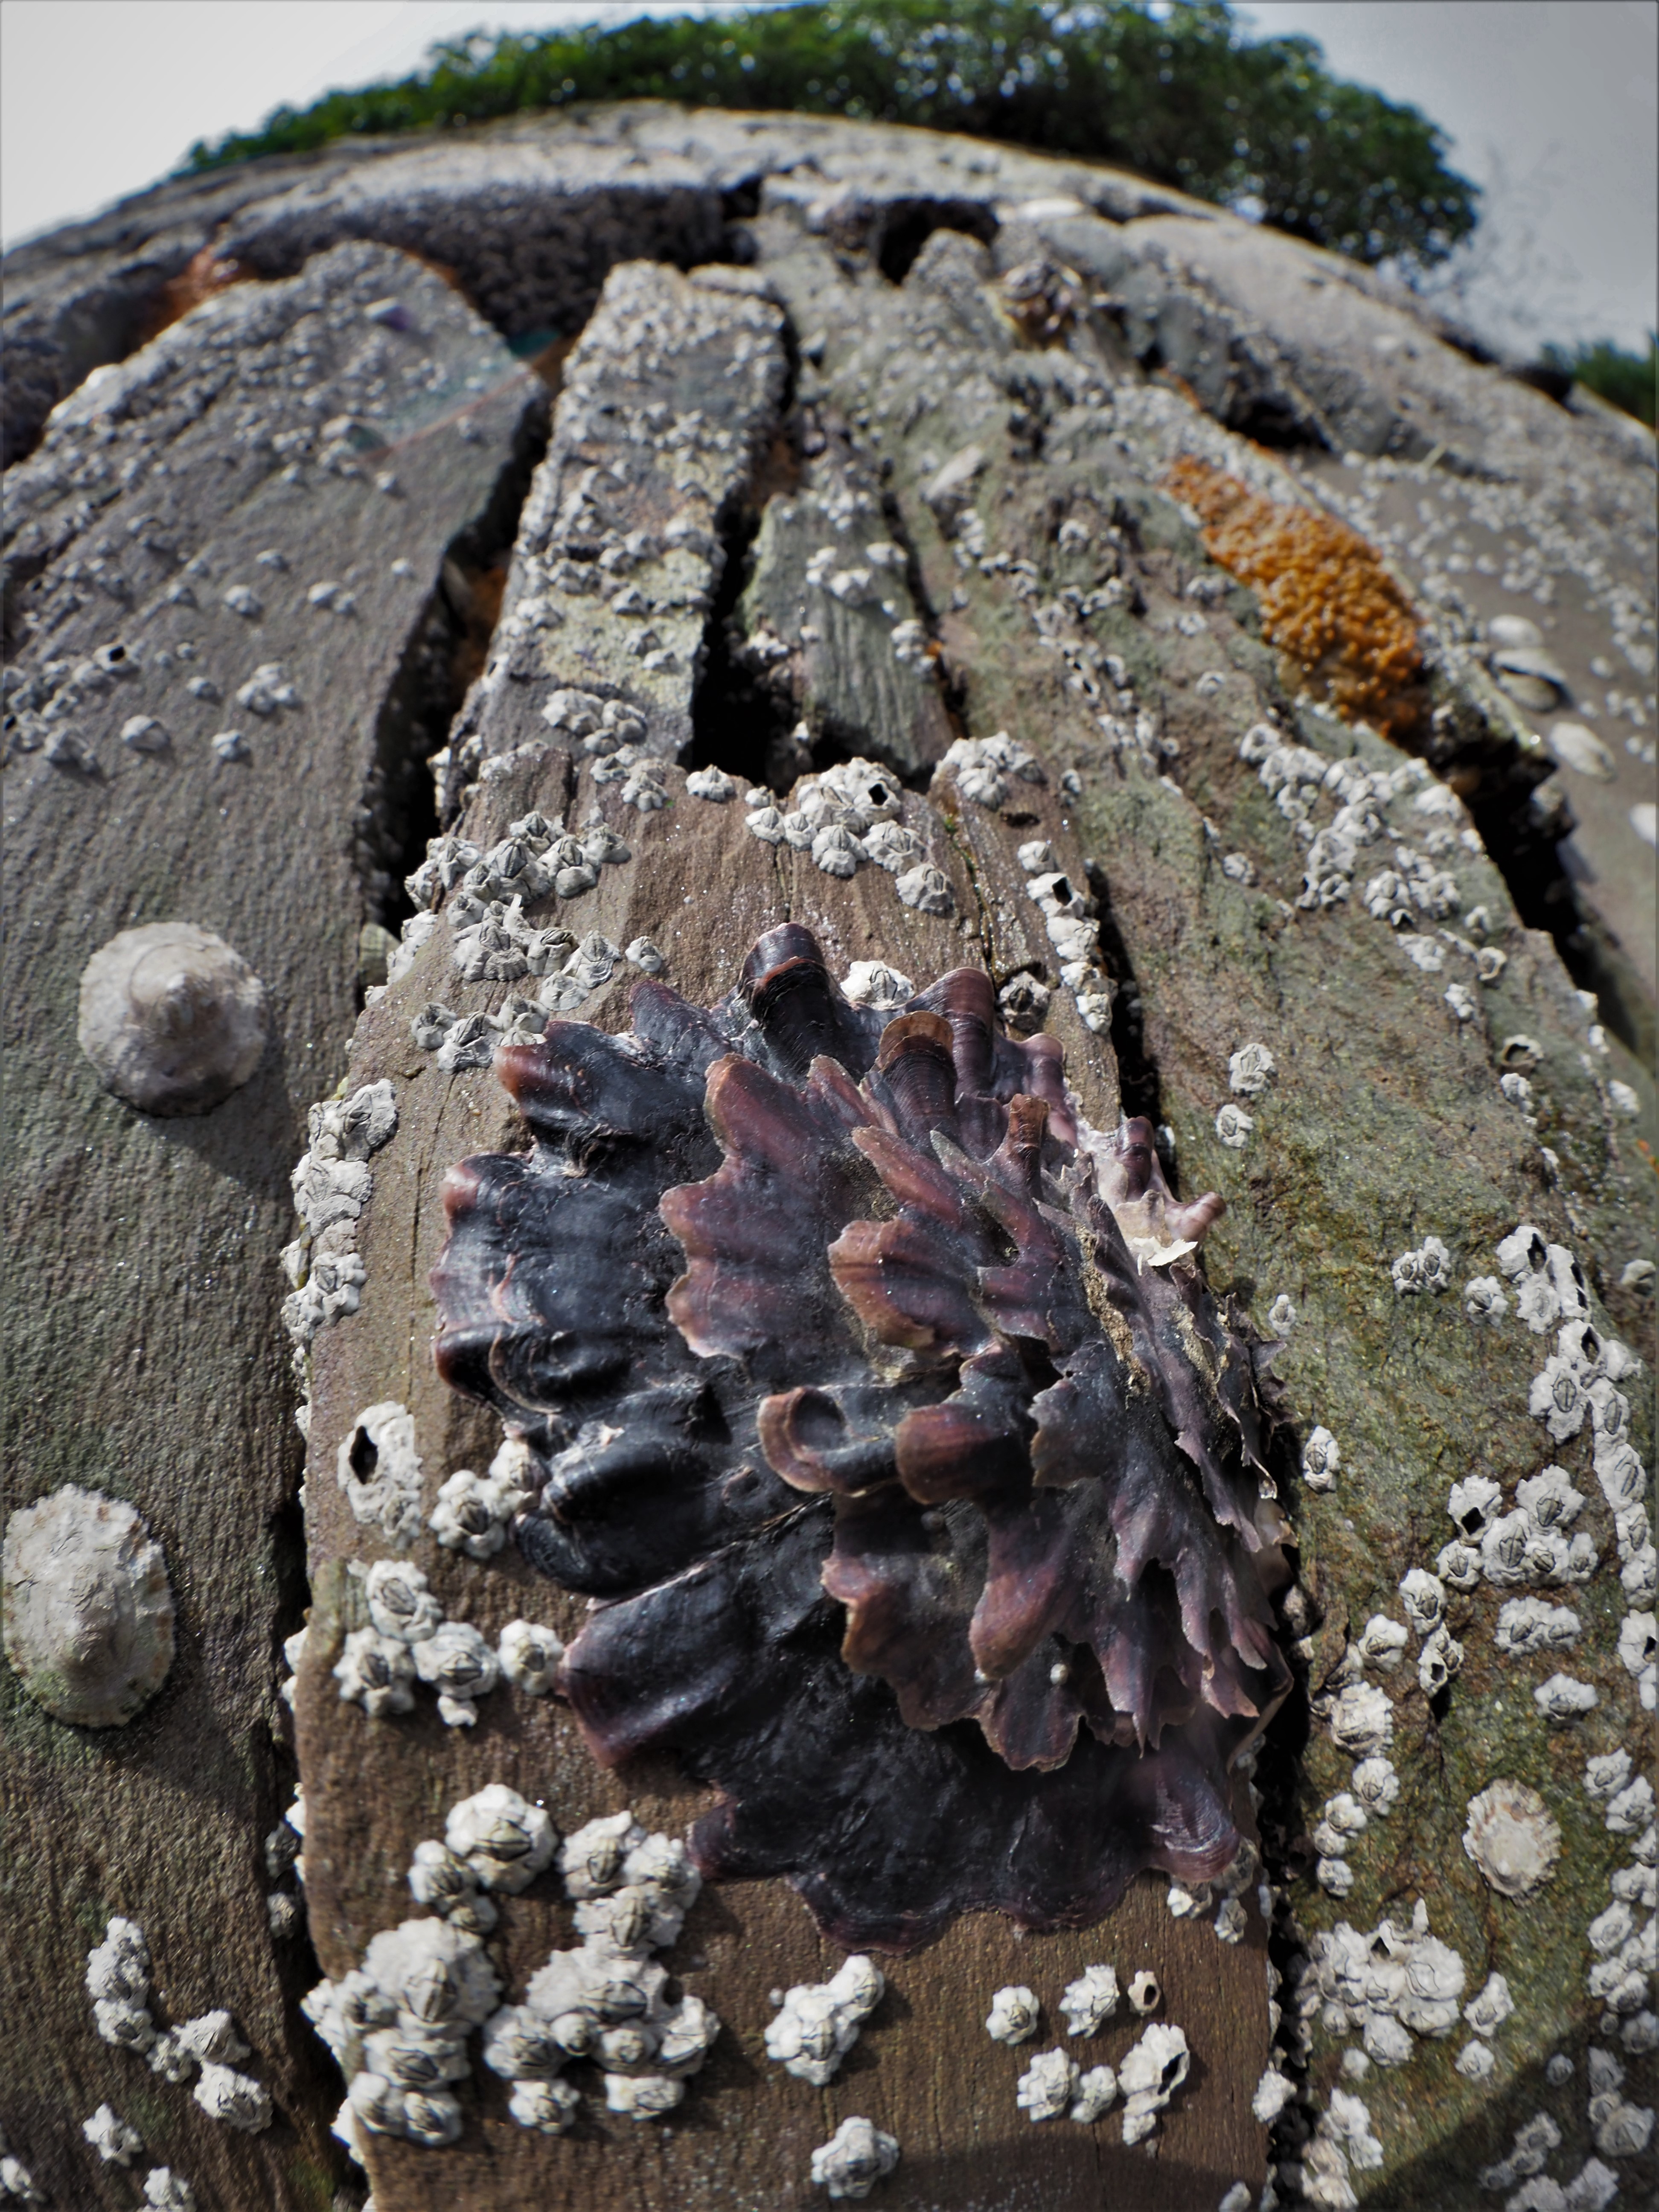
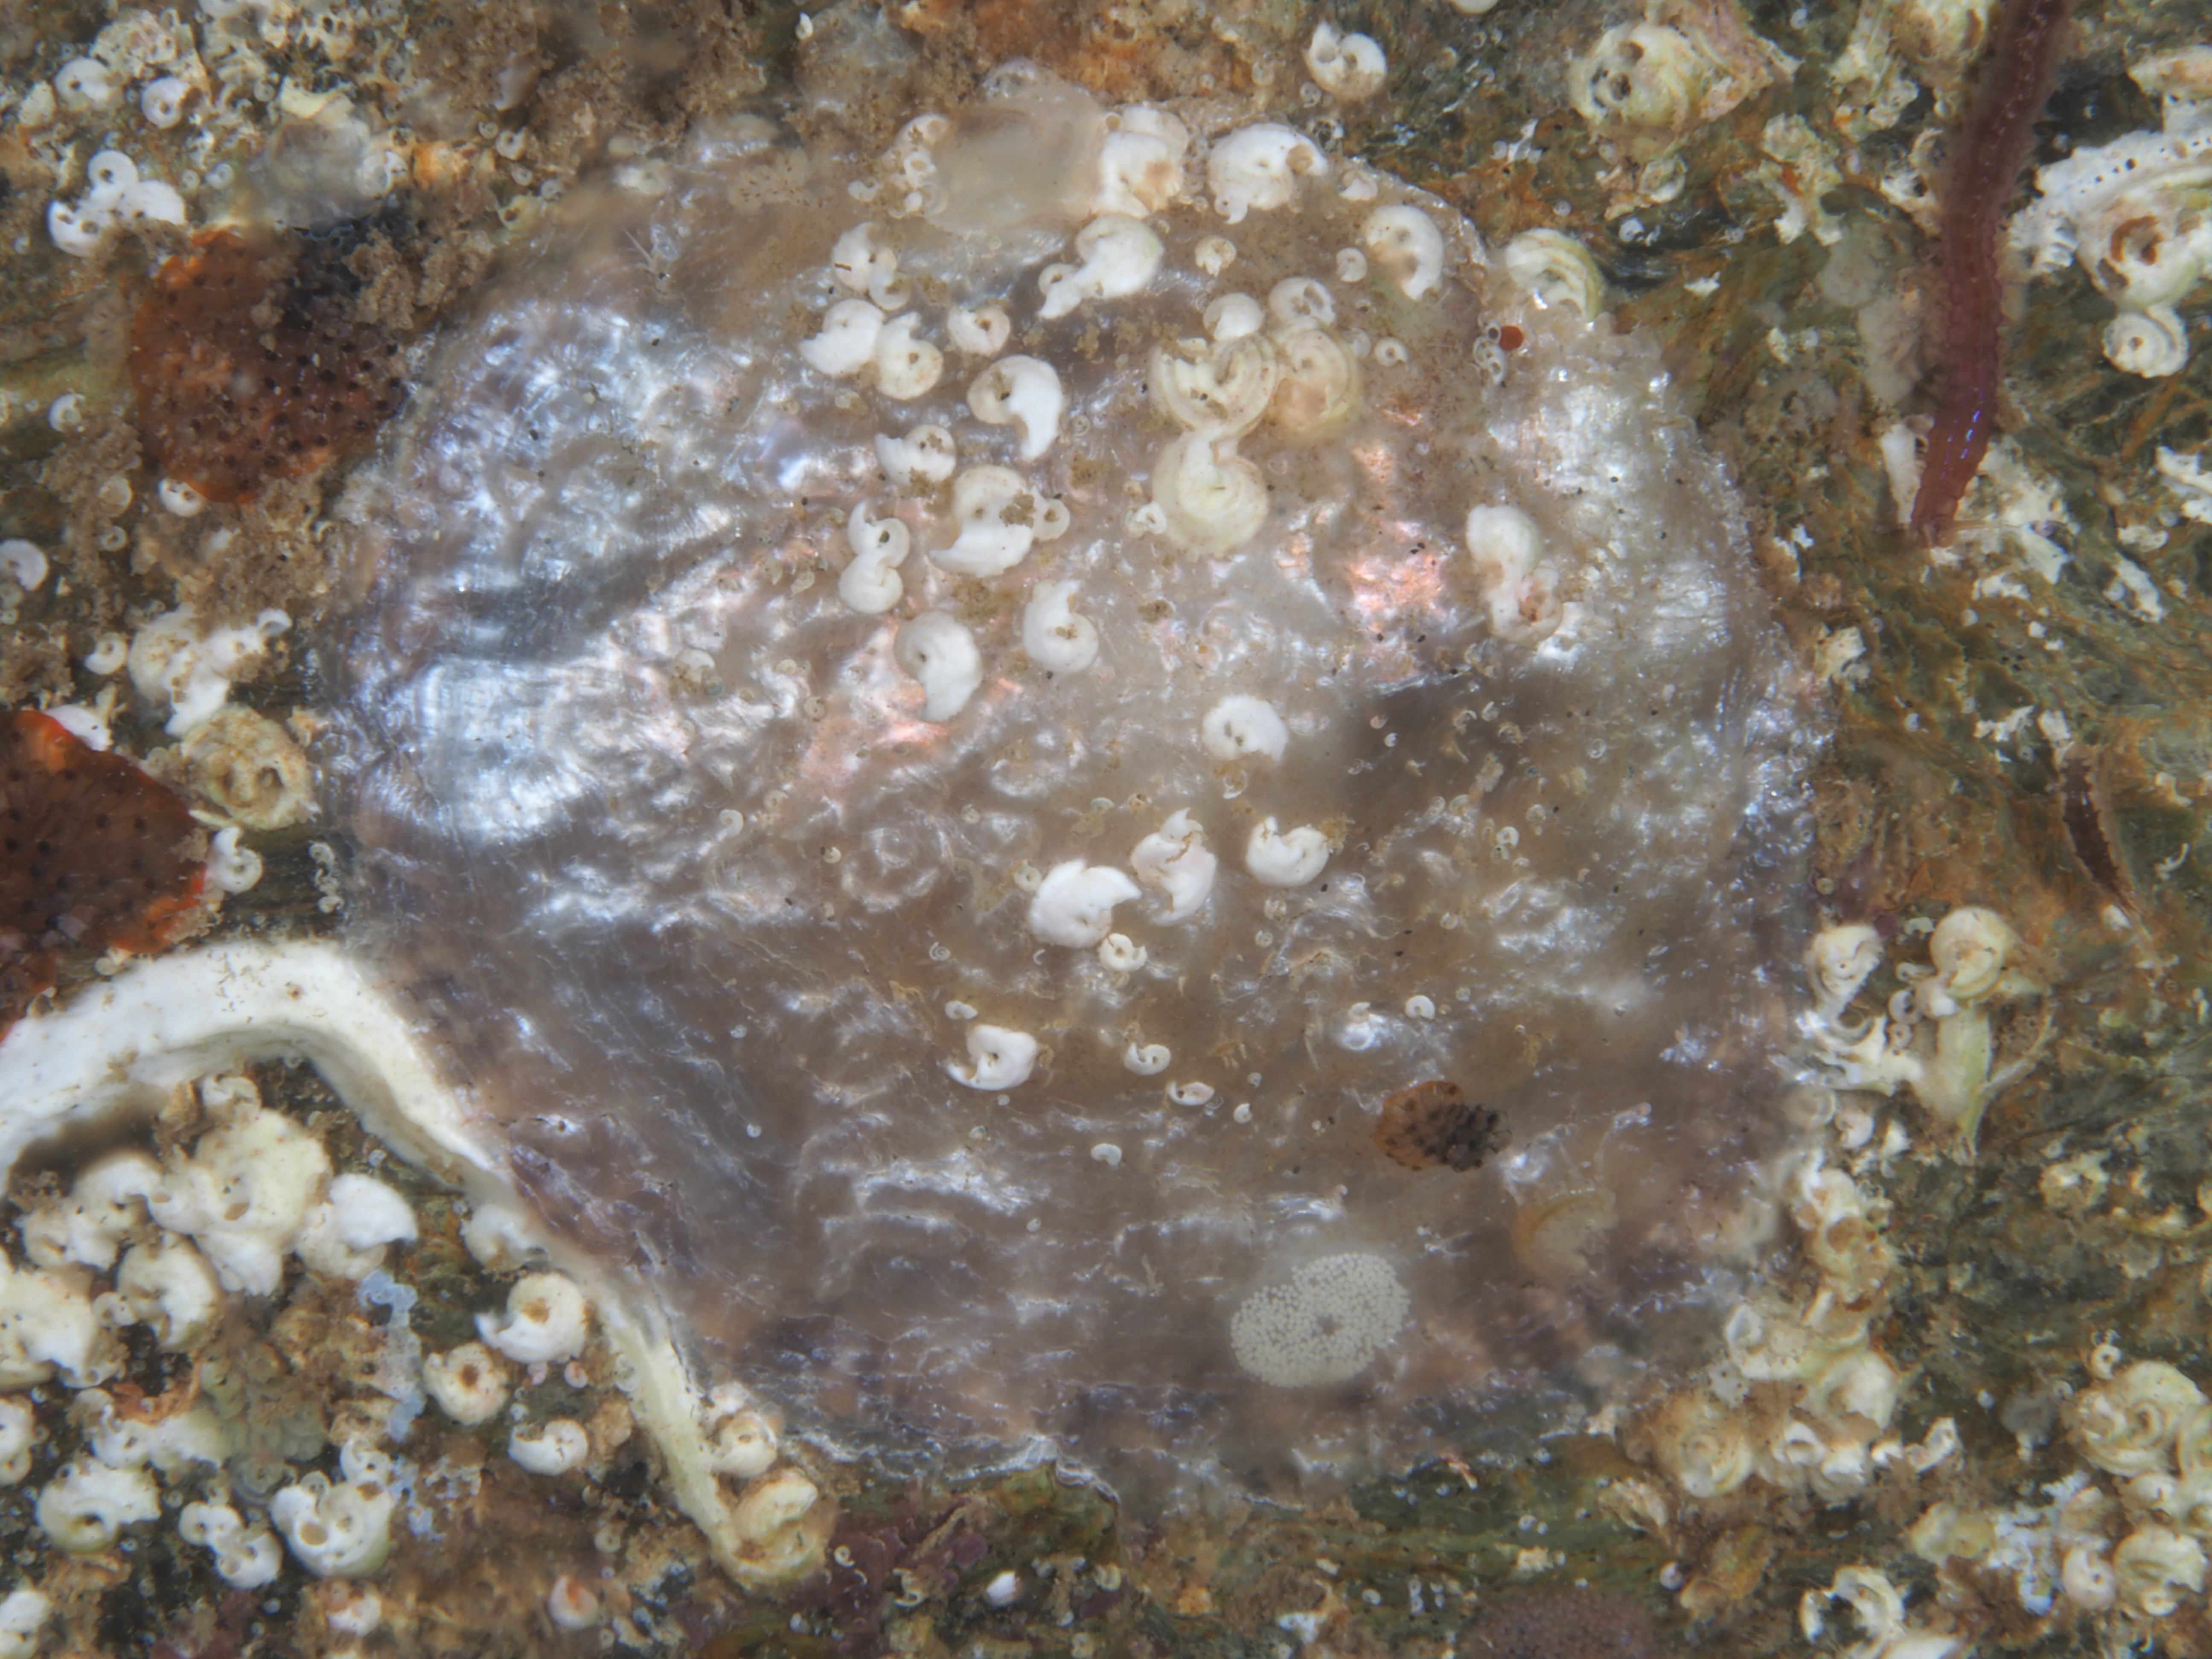
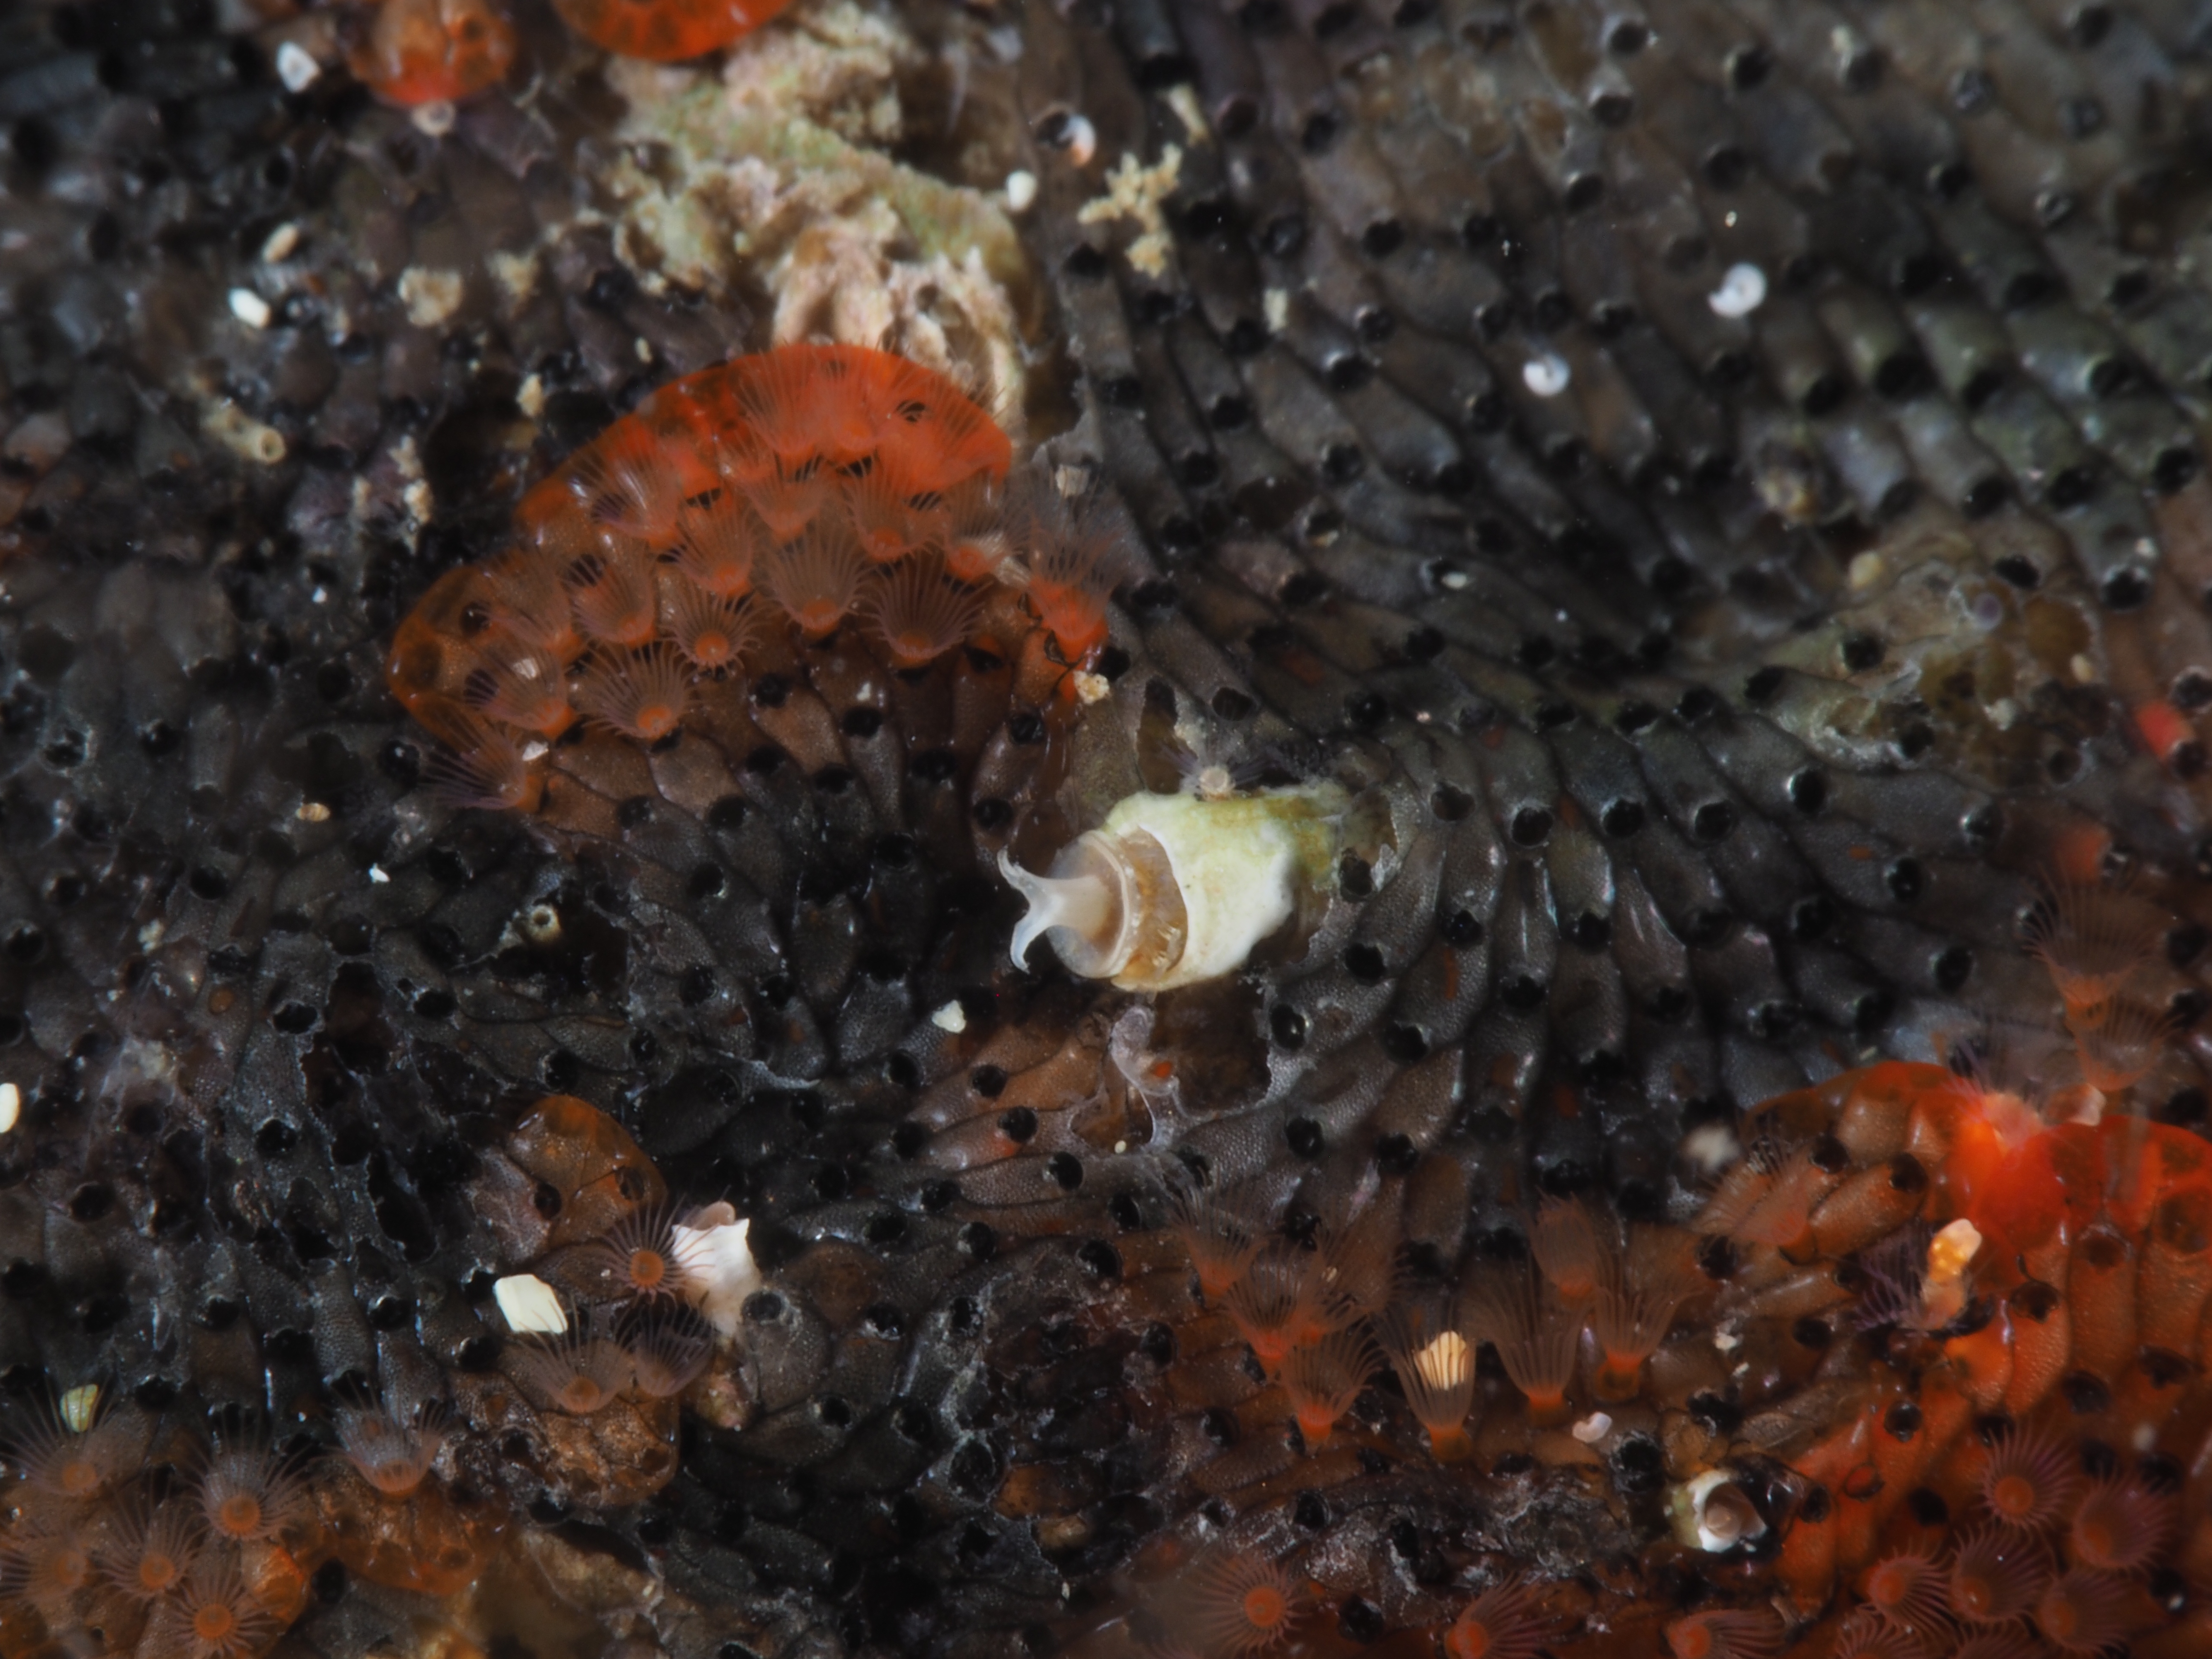
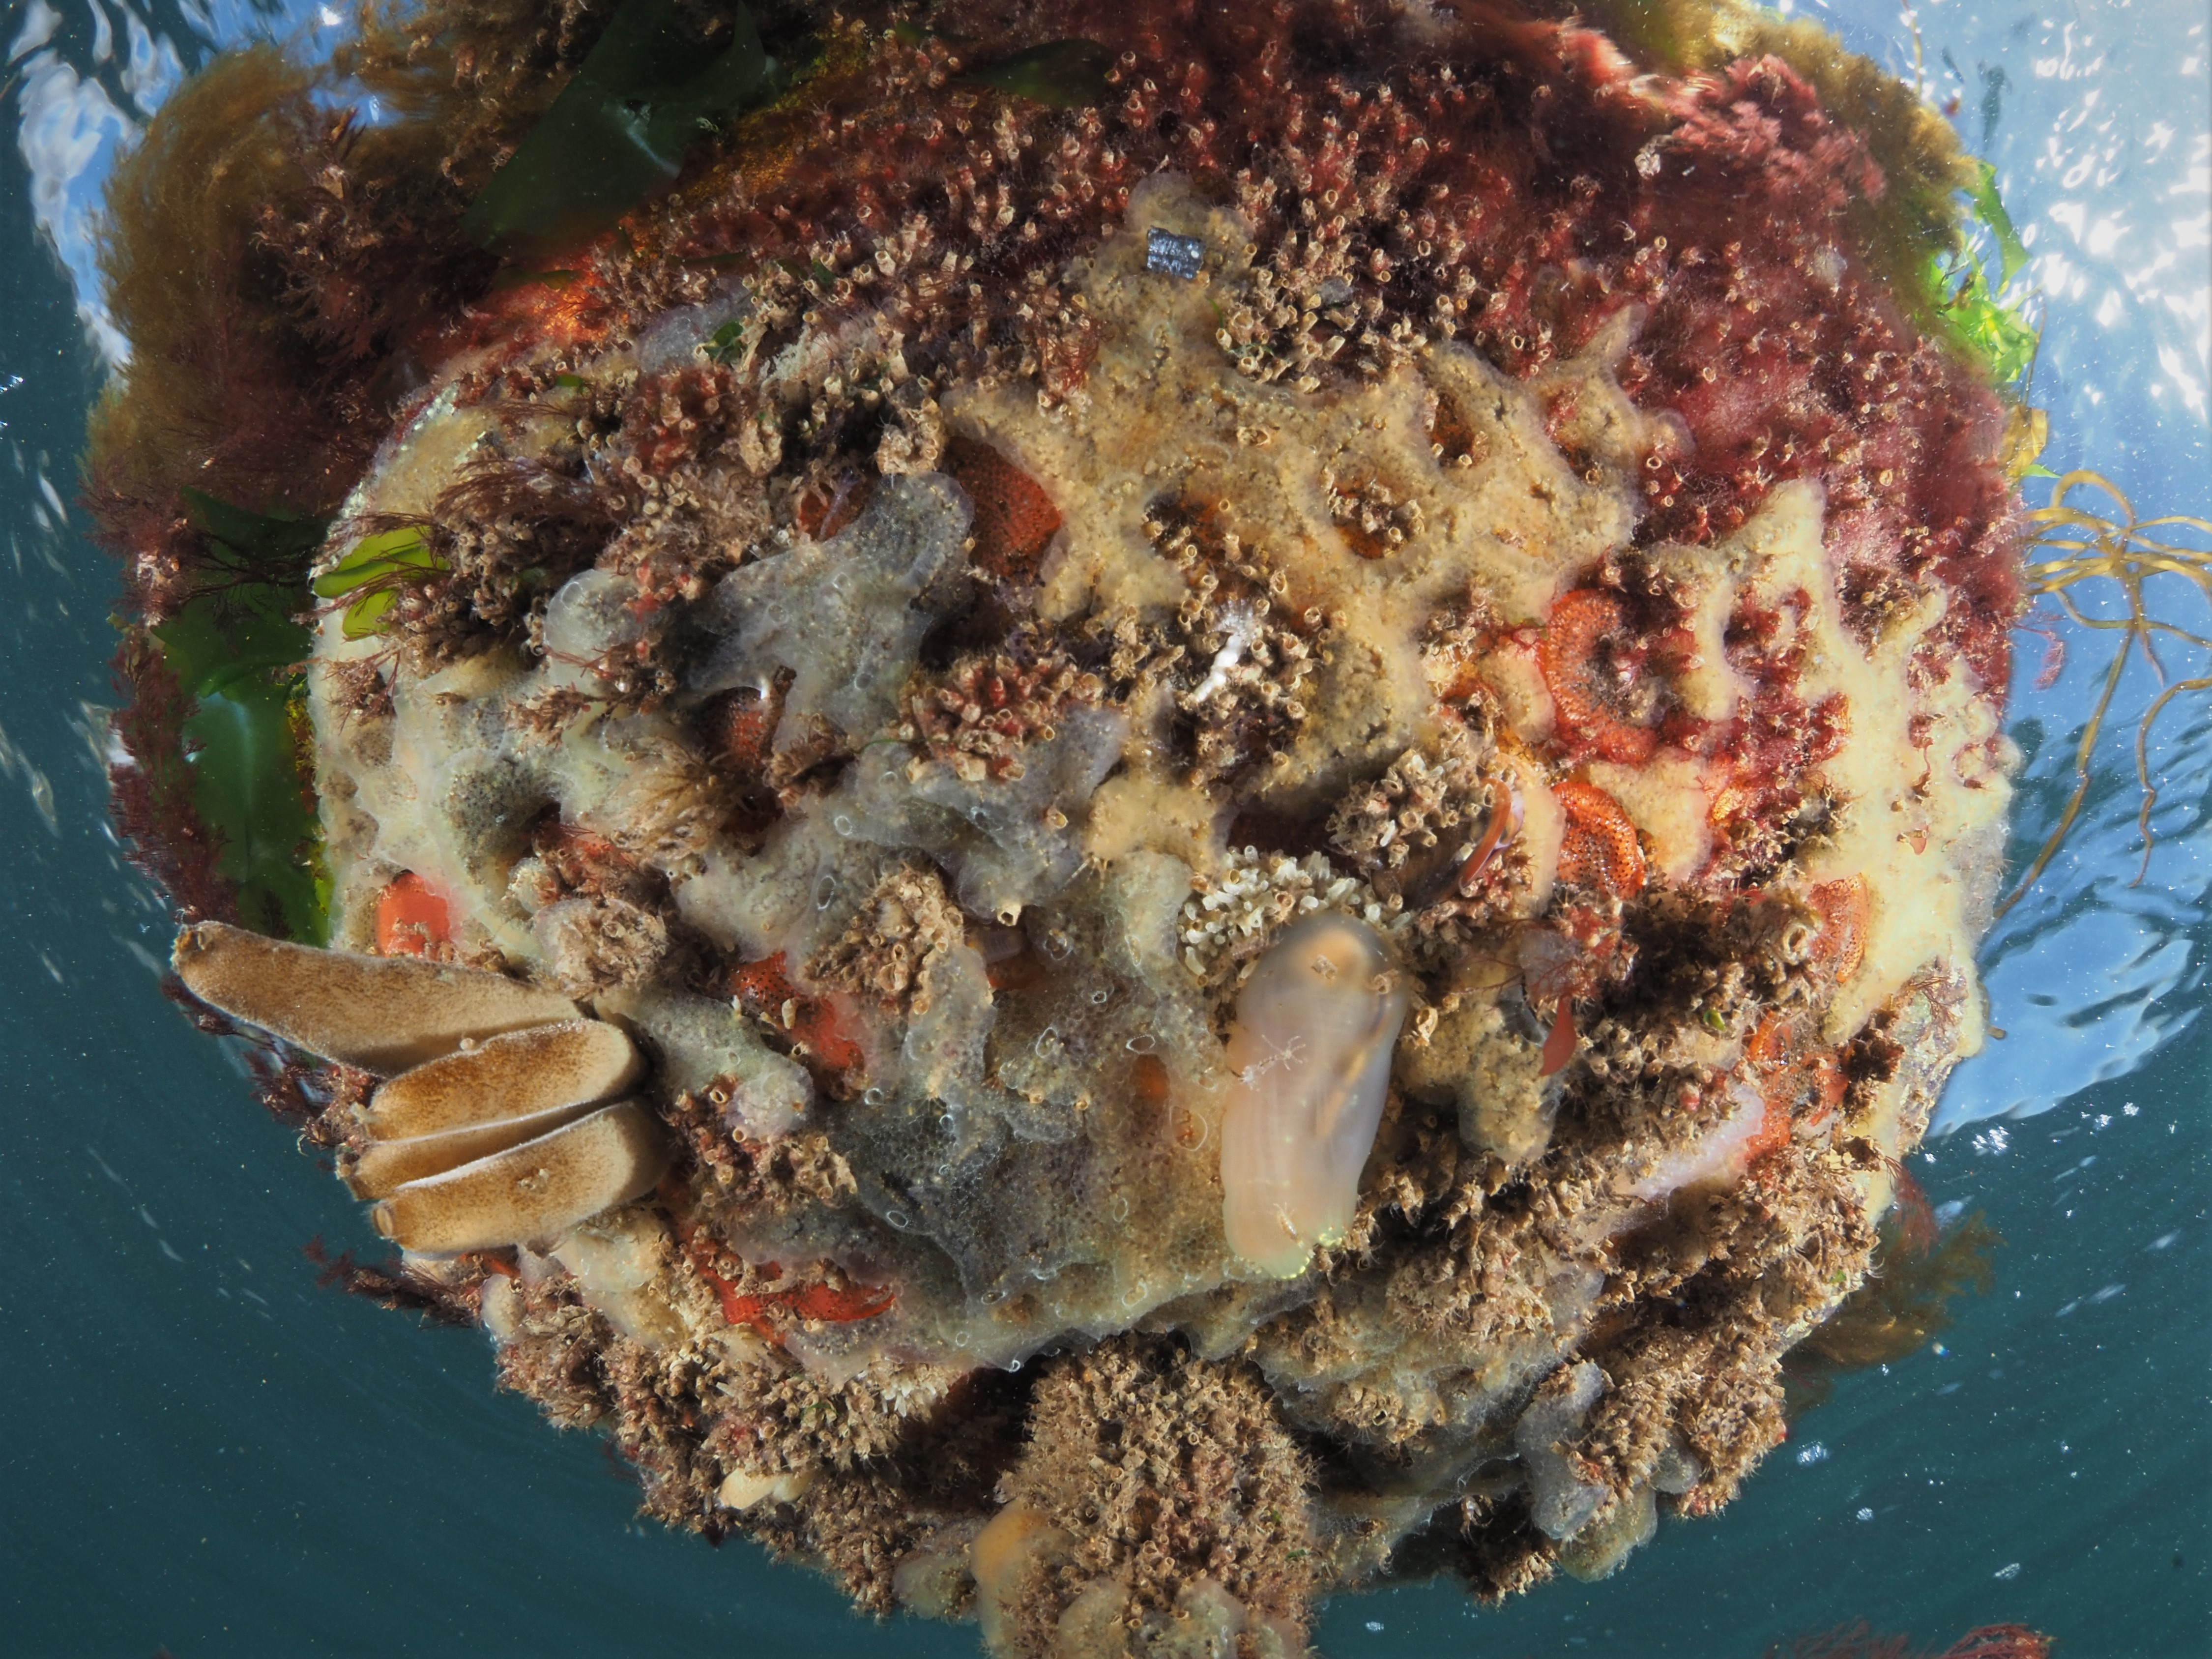
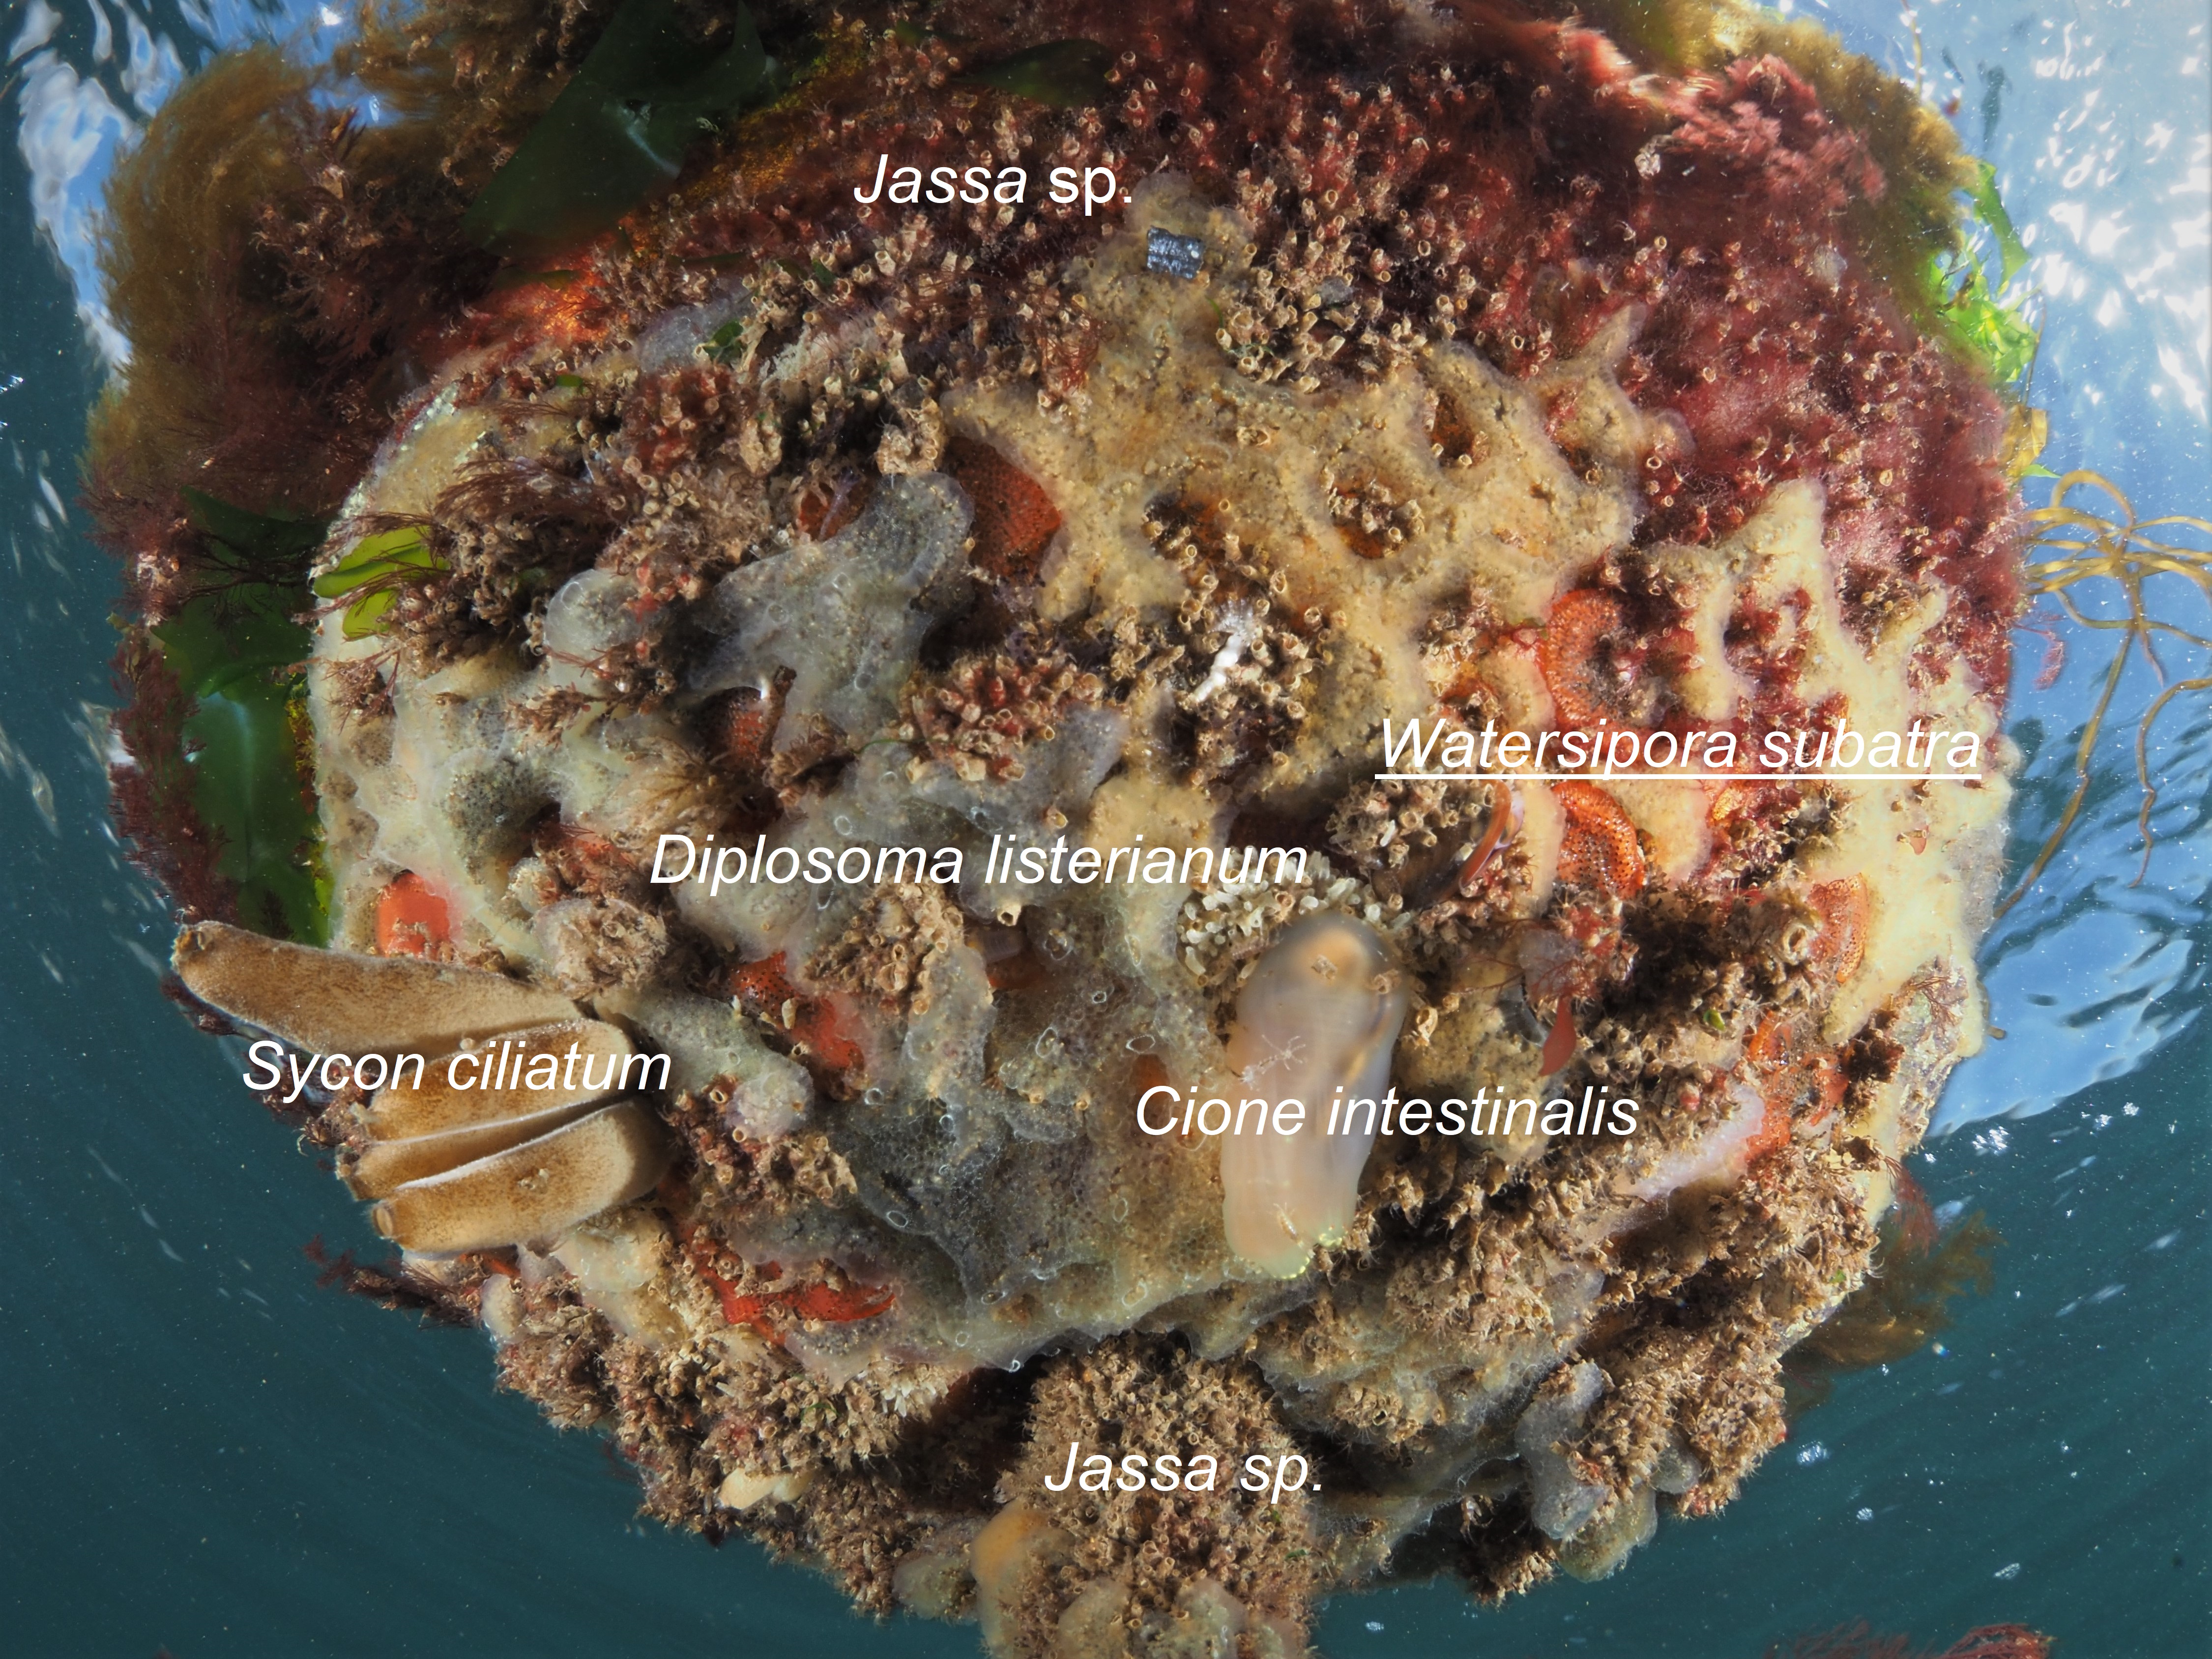
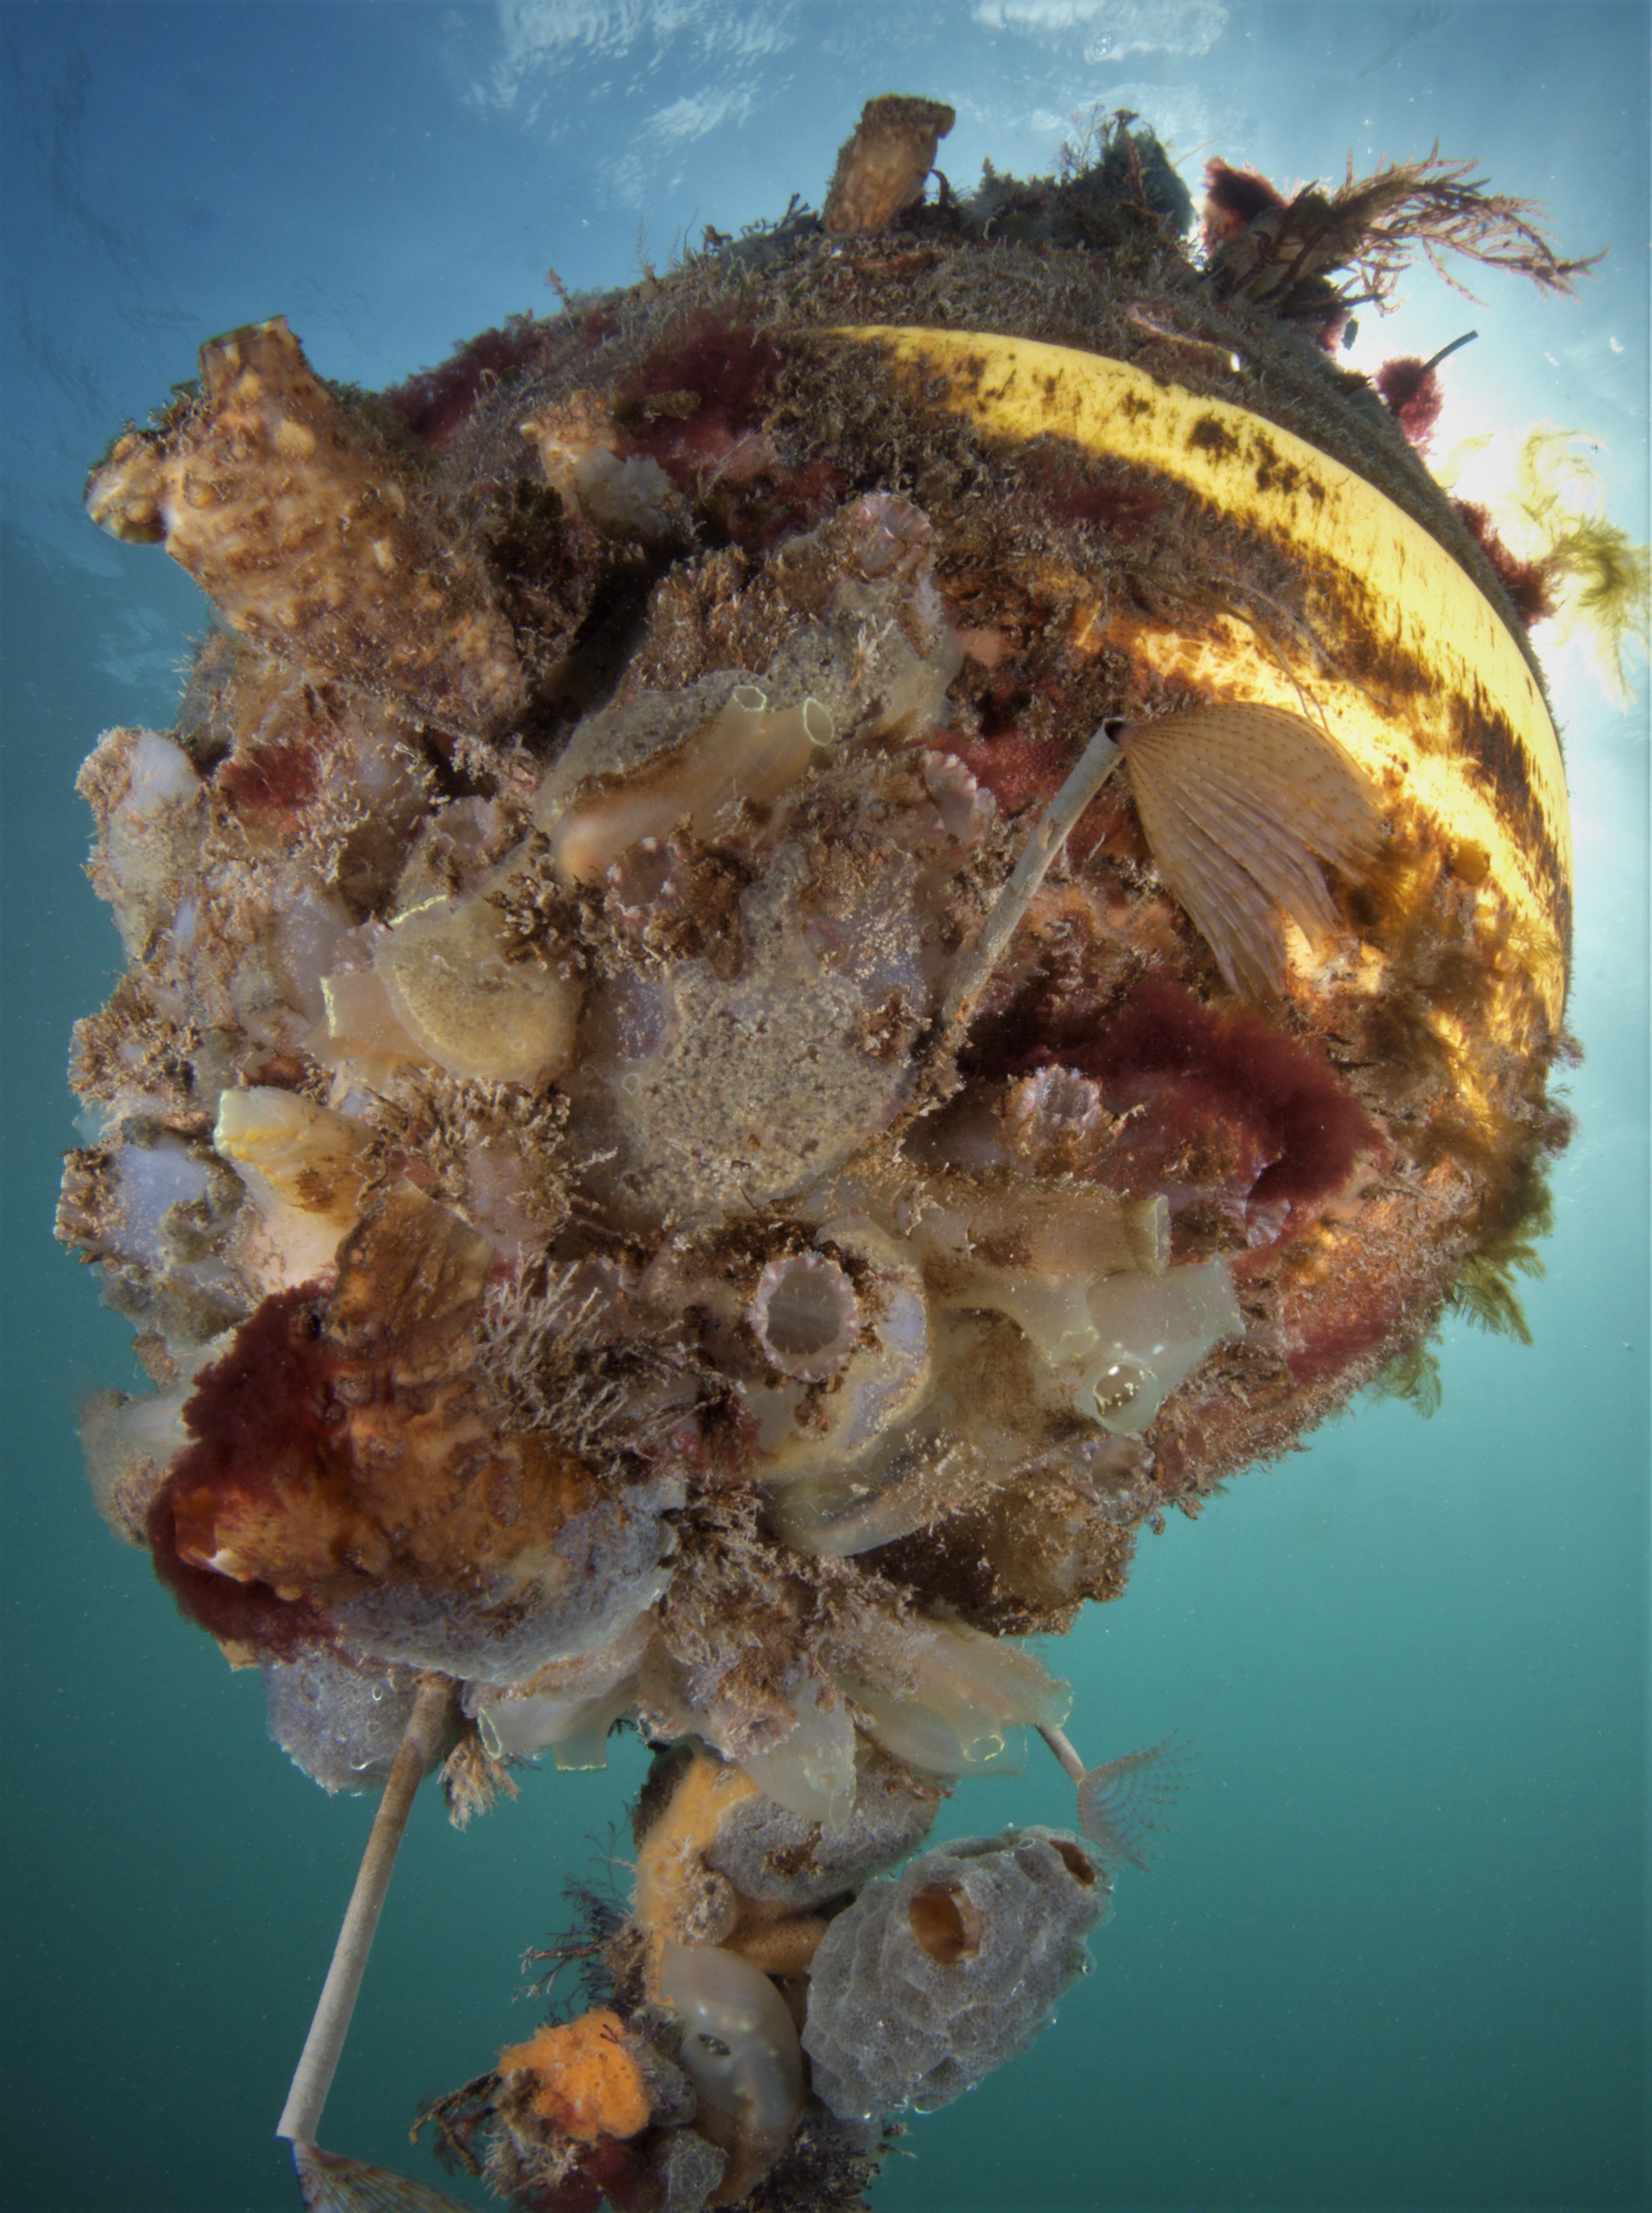
A while ago I played around with taking pics of the underside of a buoy, which was fun, and so i wanted to practice this some more. My mistake the first time (see here) was to use a fast shutterspeed (the buoy was bobbing about after all) which made the water look unnaturally dark. I tried again this weekend and it went a bit better, although I already know I can improve things. This time I thought it would be nice to put some names to the amazing fouling biodiversity (I did this before for some seaweed images, see here). Crustaceans (tube-dwelling Jassa), Sponges, Bryozoans, Seaweeds but especially a lot of Tunicates (seasquirts; both solitary and colonial species). David Fenwick (of AphotoMarine fame) had a quick look to help with some IDs; there is a more there but this was not meant to be exhaustive. I have underlined species that are invasive. Anyway, I am sure I will post more of these types of images: the buoys are always there and these organisms do not swim off when you try to take a photo!

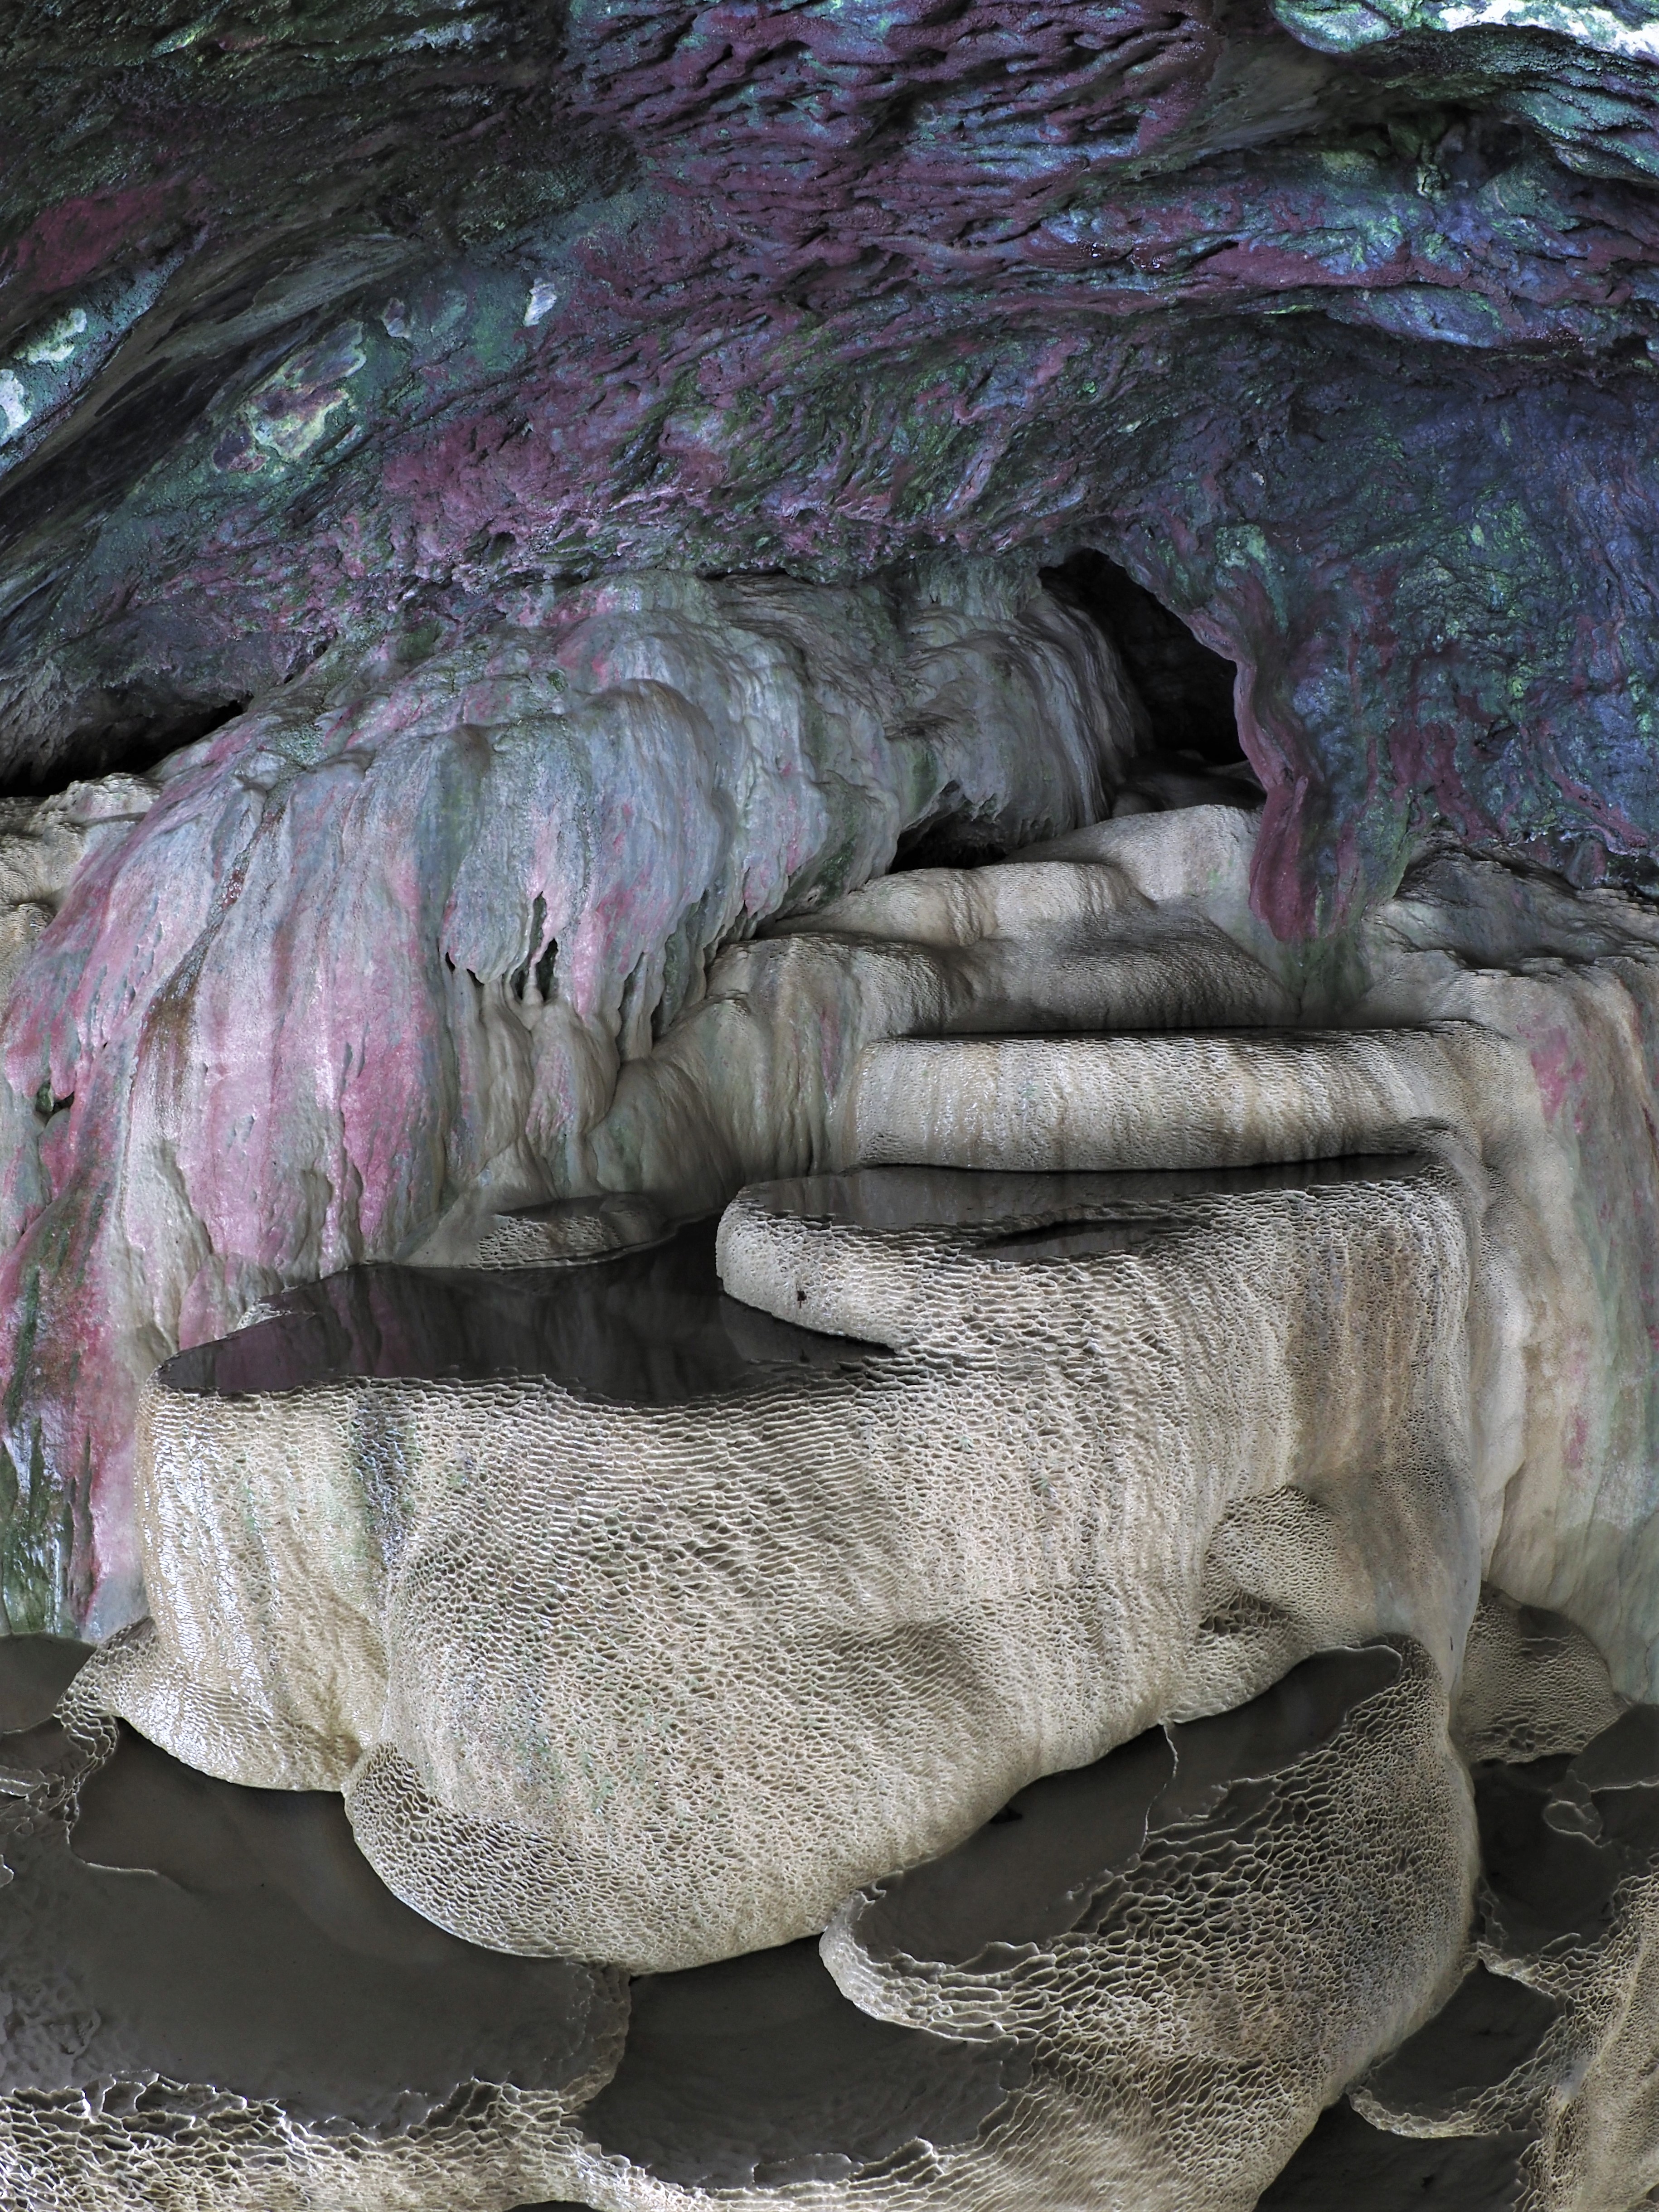
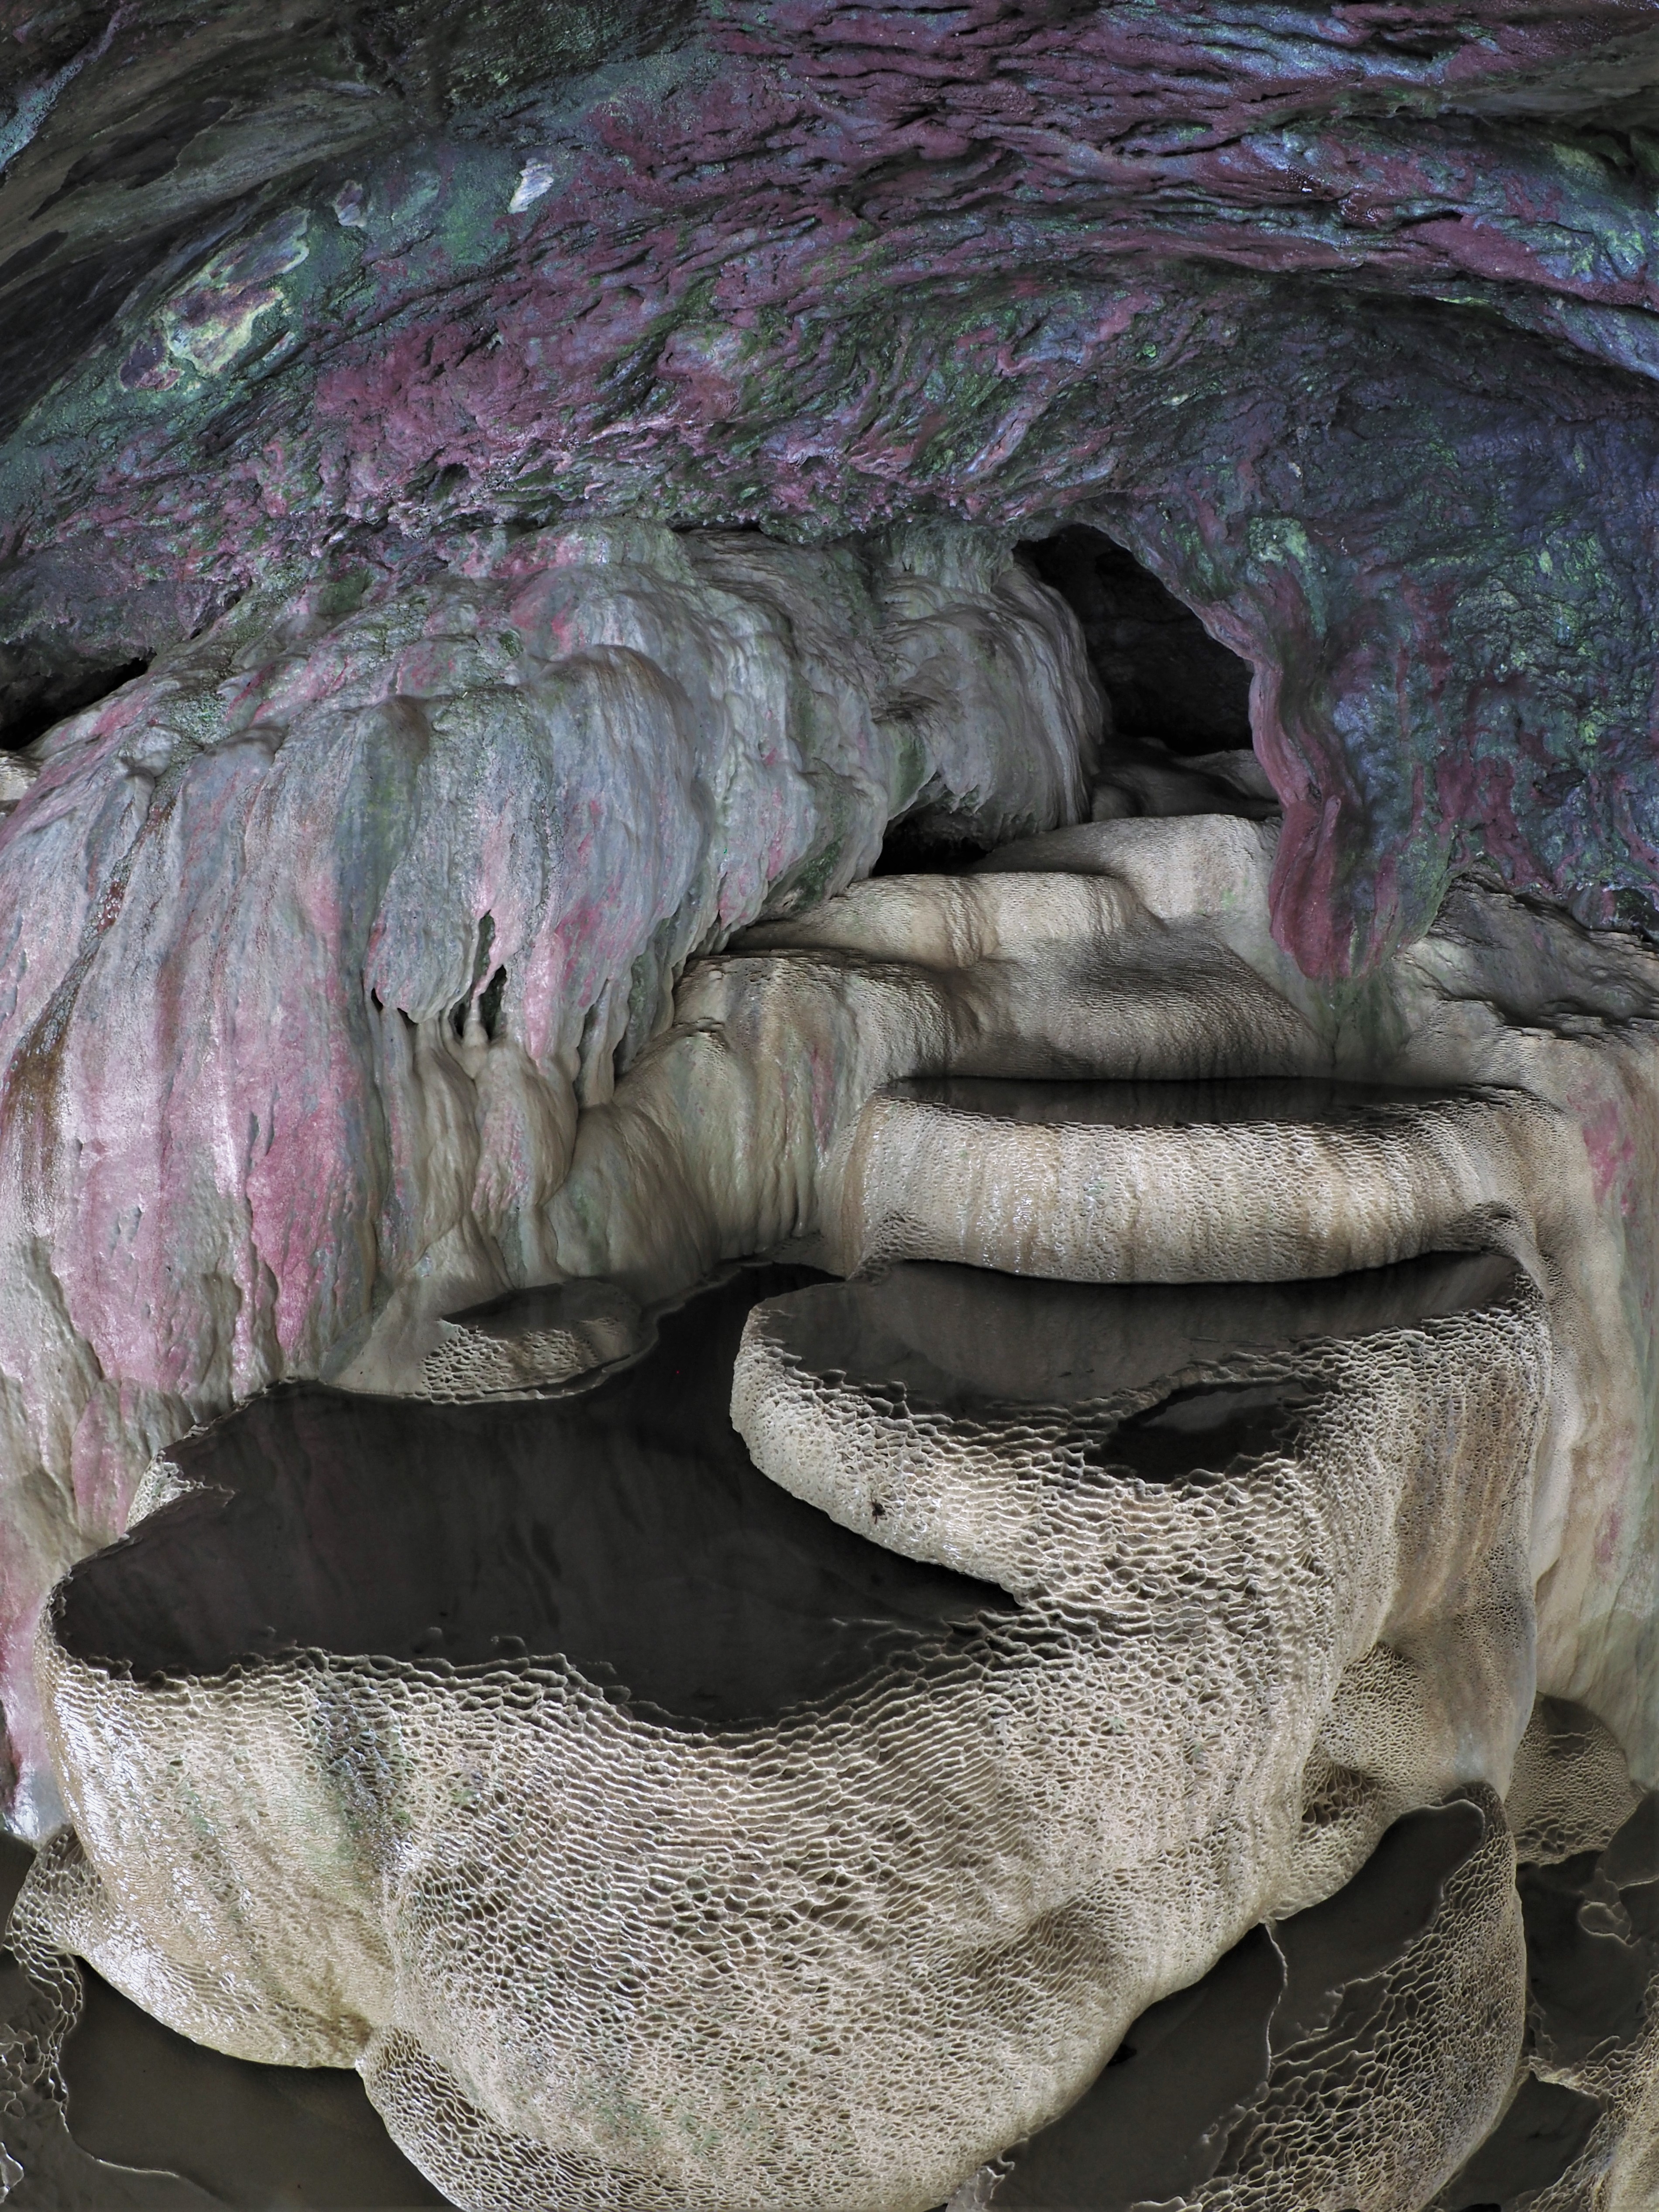
Holywell Beach on the North Coast of Cornwall is known for a small sea cave which houses a ‘holy well’. According to Mabel Quiller-Couch, in her 1894 book “Ancient Holy Wells of Cornwall” in 995 AD the bishop of Lindisfarne, Aldhun, was bringing the remains of saint Cuthbert back to Ireland. Blown off course in a gale, he was left stranded in Cornwall where he settled and built a church dedicated to St Cuthbert. After some years however, an oracle instructed Aldhun to return the relics of St Cuthbert to Durham. As he was leaving from Holywell Bay, the saint’s bones touched the side of the well, giving the spring its magical healing powers. In medieval times, many people flocked to this cave to seek out the healing powers of the spring.
I was in the area this week when the tide was low (at high tide the cave is completely flooded, so you have to check the tides!) and decided to bring out the fisheye lens and a tripod to take some long exposure pics. They came out all right. There are more colourful photos available online, but my suspicion is that these use artificial light and sometimes also some enthusiastic post-processing. By using the longest possible exposure time on my camera (Olympus OMD E-M1markII), a full minute, I was able to let enough light into the camera. This enabled me to use f/18, allowing great depth of field, and ISO200, meaning little noise.
The formations result from a rare (in Cornwall) limestone deposit in the roof of the cave. Slightly acidic rainwater percolates through this limestone, dissolving calcite and becoming enriched in calcium bicarbonate. When the water drips down the rocks, the process is reversed and calcite precipitates, especially in areas where the water moves a little, causing CO2 to gas off. This results in the dam-like rimstone (or gours) formations. The tiny ‘rice terrace’-like formations on the dams are called microgours. I’d like to go back one time to experiment more and also to take some macro photos of the microgours and colourful microbes.